This post may contain affiliate links. Please read our disclosure policy.
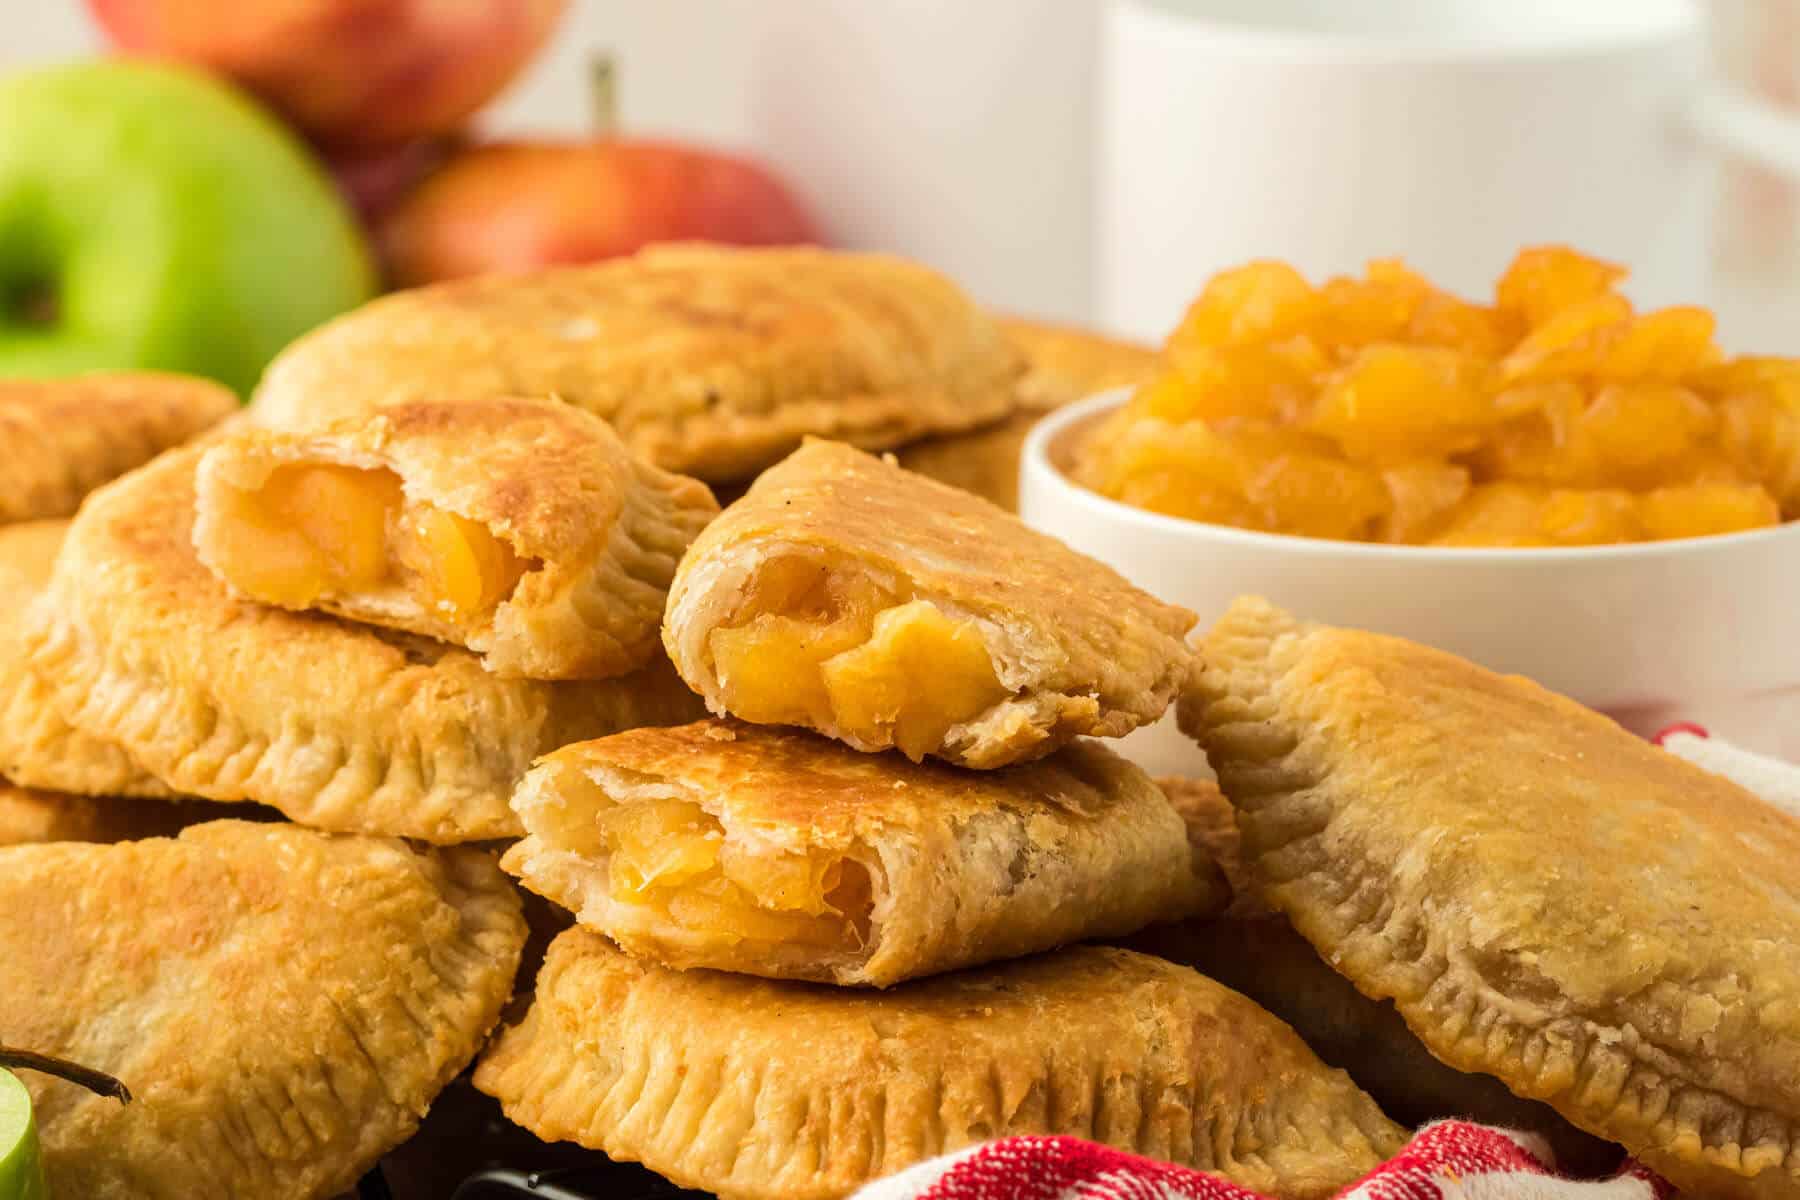
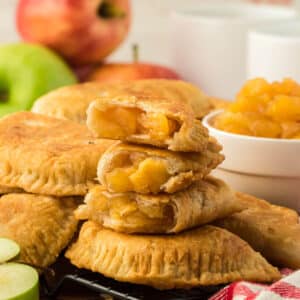
These fried apple pies, with a golden, crispy crust and warm, sweet apple filling, come from a treasured family recipe we have loved for generations.
These are not the copycat McDonald’s apple pies, but rather the old-fashioned fried pies like Grandma used to make. Millions of readers can’t be wrong — this recipe has been a constant in the top ten for over a decade!
This is the best illustrated recipe I have ever used! Sometimes you just need a picture to make sure the dough is the consistency It should be. This is the first time I have tried to make these because I just knew they would never measure up to the memory of my grandmothers pies. You gave me back my confidence, and I nailed it!
Jewell
Thank you so much !
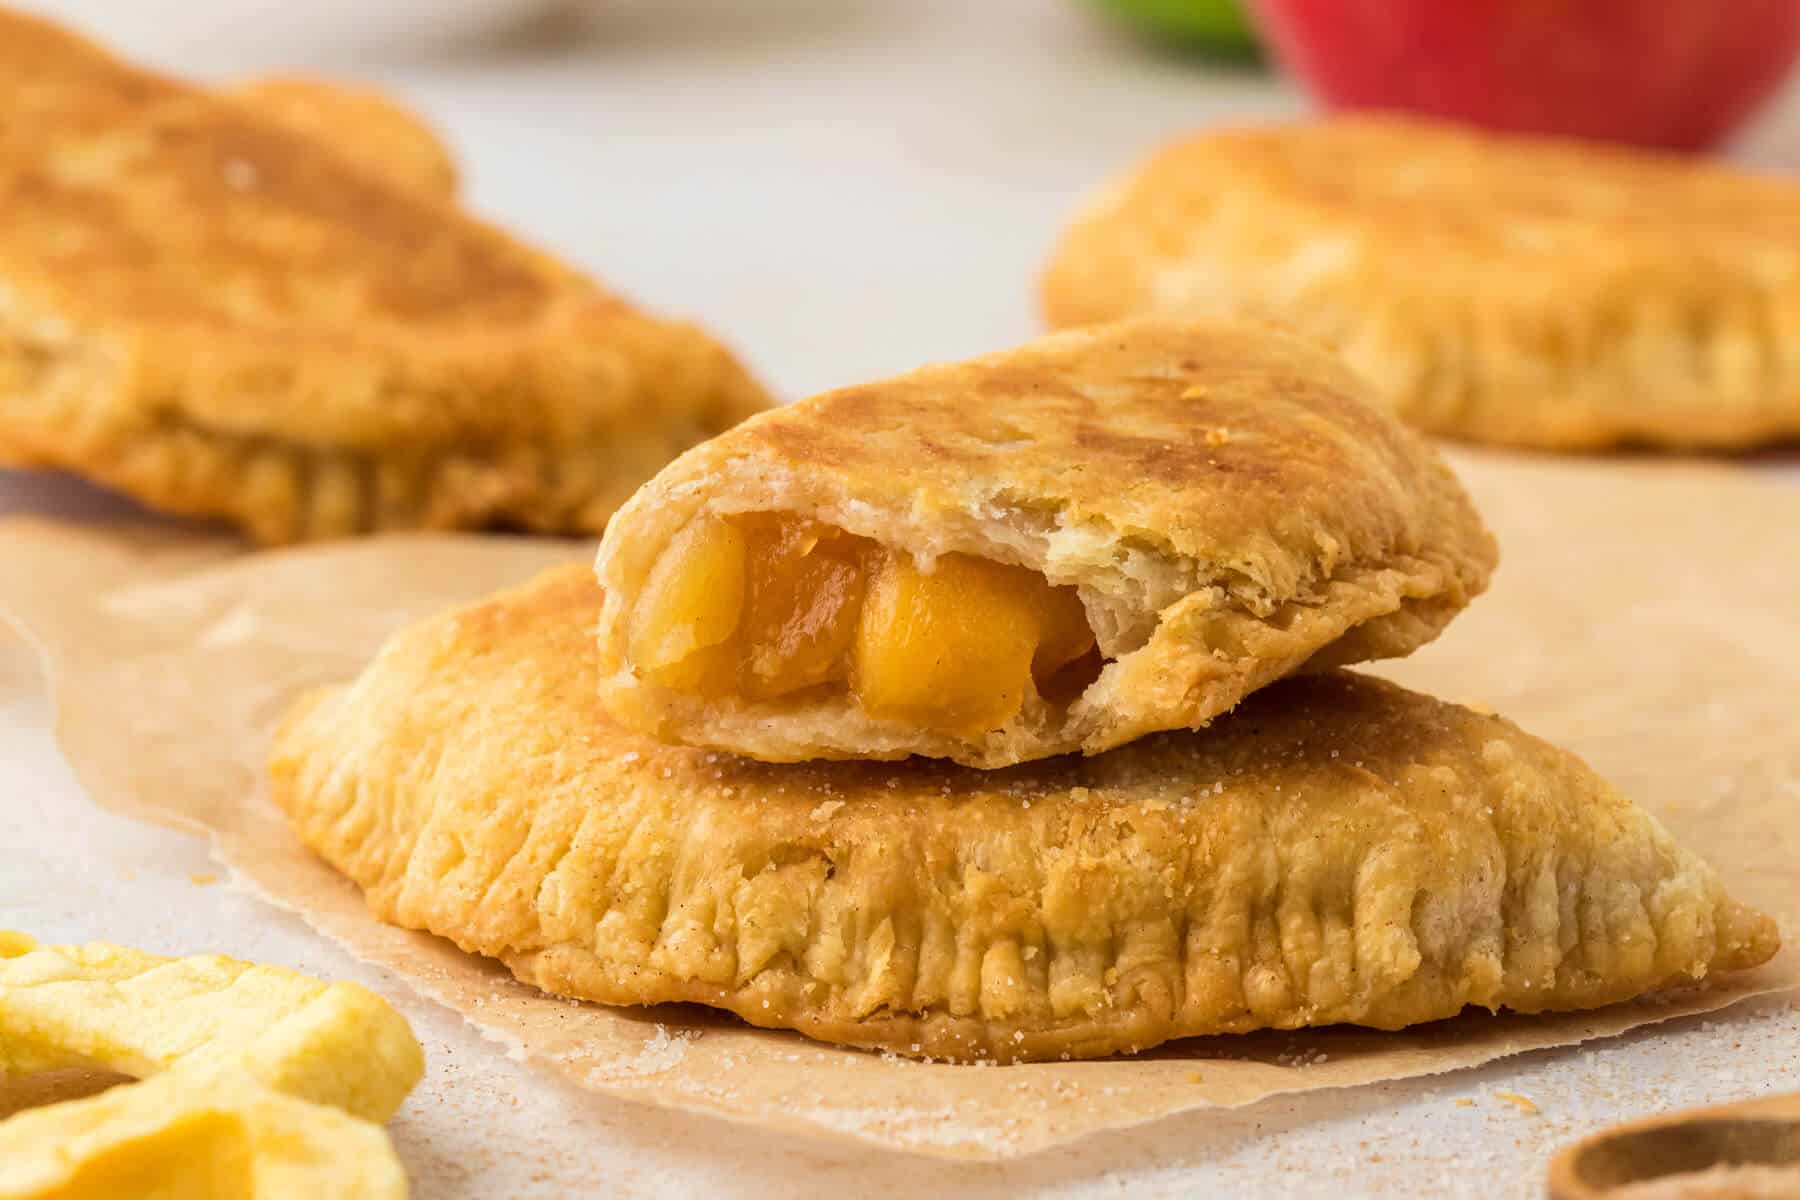
Table of Contents
For such a simple food, fried pies can be challenging to make and often end up soggy, greasy, or with a weird ratio of dough to apples.
That’s why this recipe is special to so many people, especially lifelong Southerners.
Here’s what’s different:
We don’t deep fry the pies, and we don’t add any ingredients that you’ll have to drive two counties over to find. All you need are dried apples, sugar, flour, shortening, and water. Of course, a little butter helps, too!
What kind of fried pies are these?
This fried apple pie recipe is different from the fried pies you buy at the truck stop, in a restaurant, or even those found at apple orchards in the fall.
Unlike the McDonald’s fried apple pie, this is an old-fashioned recipe, with a filling from dried apples and a crust that’s crispy around the edges and slightly softer in the middle.
If your grandmother made fried apple pies when you were growing up, this is the recipe you’ve been searching for!
You can make these delicious fried apple pies for special occasions or surprise your family on a Saturday afternoon. And once you’ve made them a few times, you’ll be ready to experiment with different fruits and fillings.
Granny’s fried apple pies
Granny would make these pies for no particular reason other than to have something sweet in the house. They never lasted more than a day or so, and although best when hot from the skillet, they are also delicious at room temperature.
A few years ago, I decided to make Granny’s fried apple pies, and when I called her to find out how, she said, “Just mix up your dough and stew your apples with a little sugar, then roll out each ball of dough and put a spoonful of apples inside and then fry it.”
Uh, ok. Could you be a little more specific, please?
I thought lessons were in order, so when Granny came to visit, we had Fried Apple Pies Day. Those turned out perfectly because she did most of the work.
After she left, I tried them on my own and realized I hadn’t written anything down. So I had to have another Fried Apple Pies Day with Granny, in which I did the work and remembered to write things down.
Since then, my grandmother has passed away, and I’ve made these fried pies many times. I’ve never changed a thing because they are perfect, just the way she made them.
And I get emails from readers all the time, saying this recipe is exactly the way their own grandmother made fried apple pies — and for a Southern food blogger, that’s about the best compliment you can ever receive. 💜

I hope you make this recipe. I think you’ll love it!

P.S. If you’re looking for a little easier recipe for apple pies, try our baked apple turnovers. They’re easy and delicious!
Ingredient notes
We’re using basic pastry dough ingredients in this recipe. Here are a few things to know:
➡️➡️➡️ The full ingredient amounts and instructions are listed below on the printable recipe card. Scroll below the recipe card for frequently asked questions and tips for success.
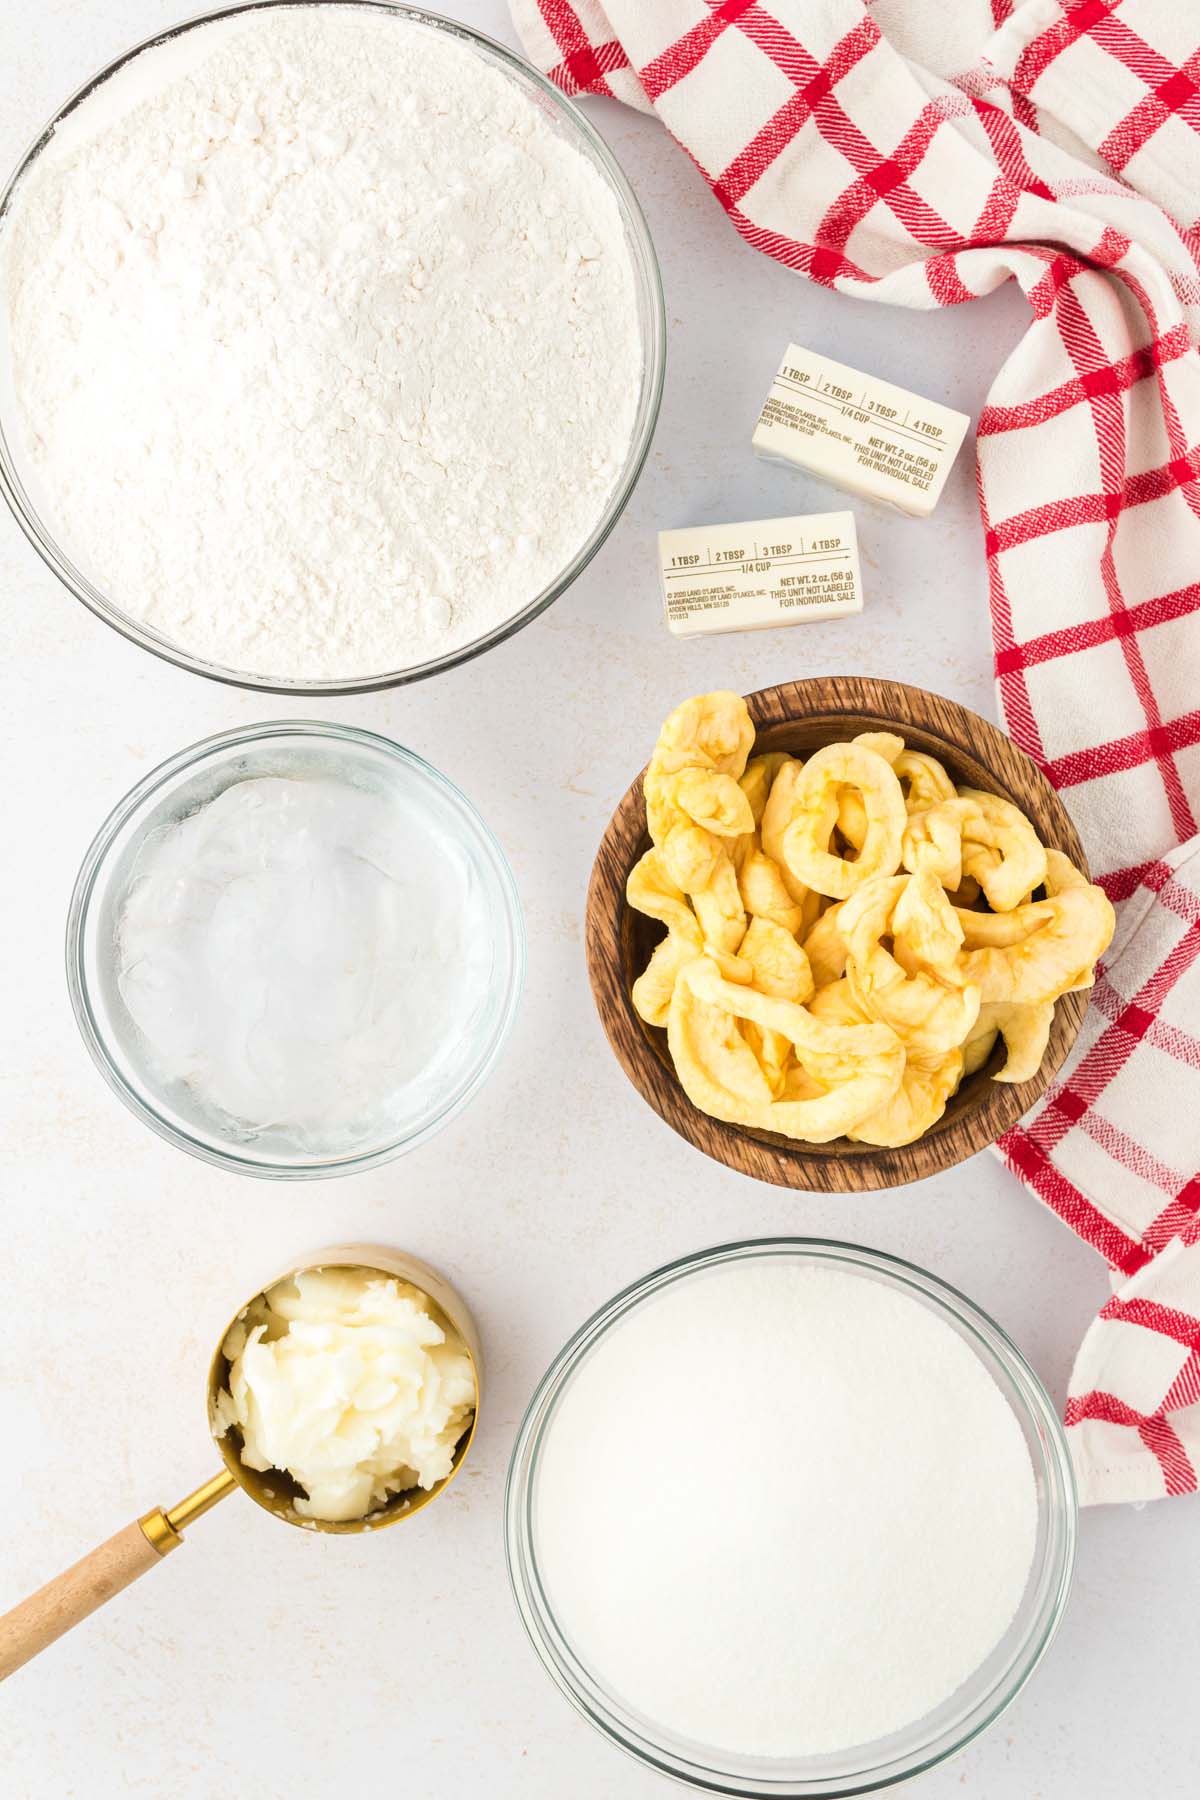
Dried apples: You can always find them at an apple farm, but if you don’t have access, try these from Amazon. I’ve found the ones you can buy in the grocery store are coated and have preservatives, and it’s much harder to get them to cook down to the right consistency.
Self-rising flour: We only use White Lily flour for this recipe. It makes the most flaky homemade pie crust, which is basically what this dough is.
Shortening or Lard: For frying these pies, you’ll need an oil with a high smoke point but a neutral flavor. You can melt shortening or lard, or use vegetable oil.
How to make fried apple pies
We’ve broken down the steps for this recipe, giving you a good tutorial. While it looks like a lot, once you get going, it’s pretty easy! Please read through all the steps before starting.
How to make apple filling
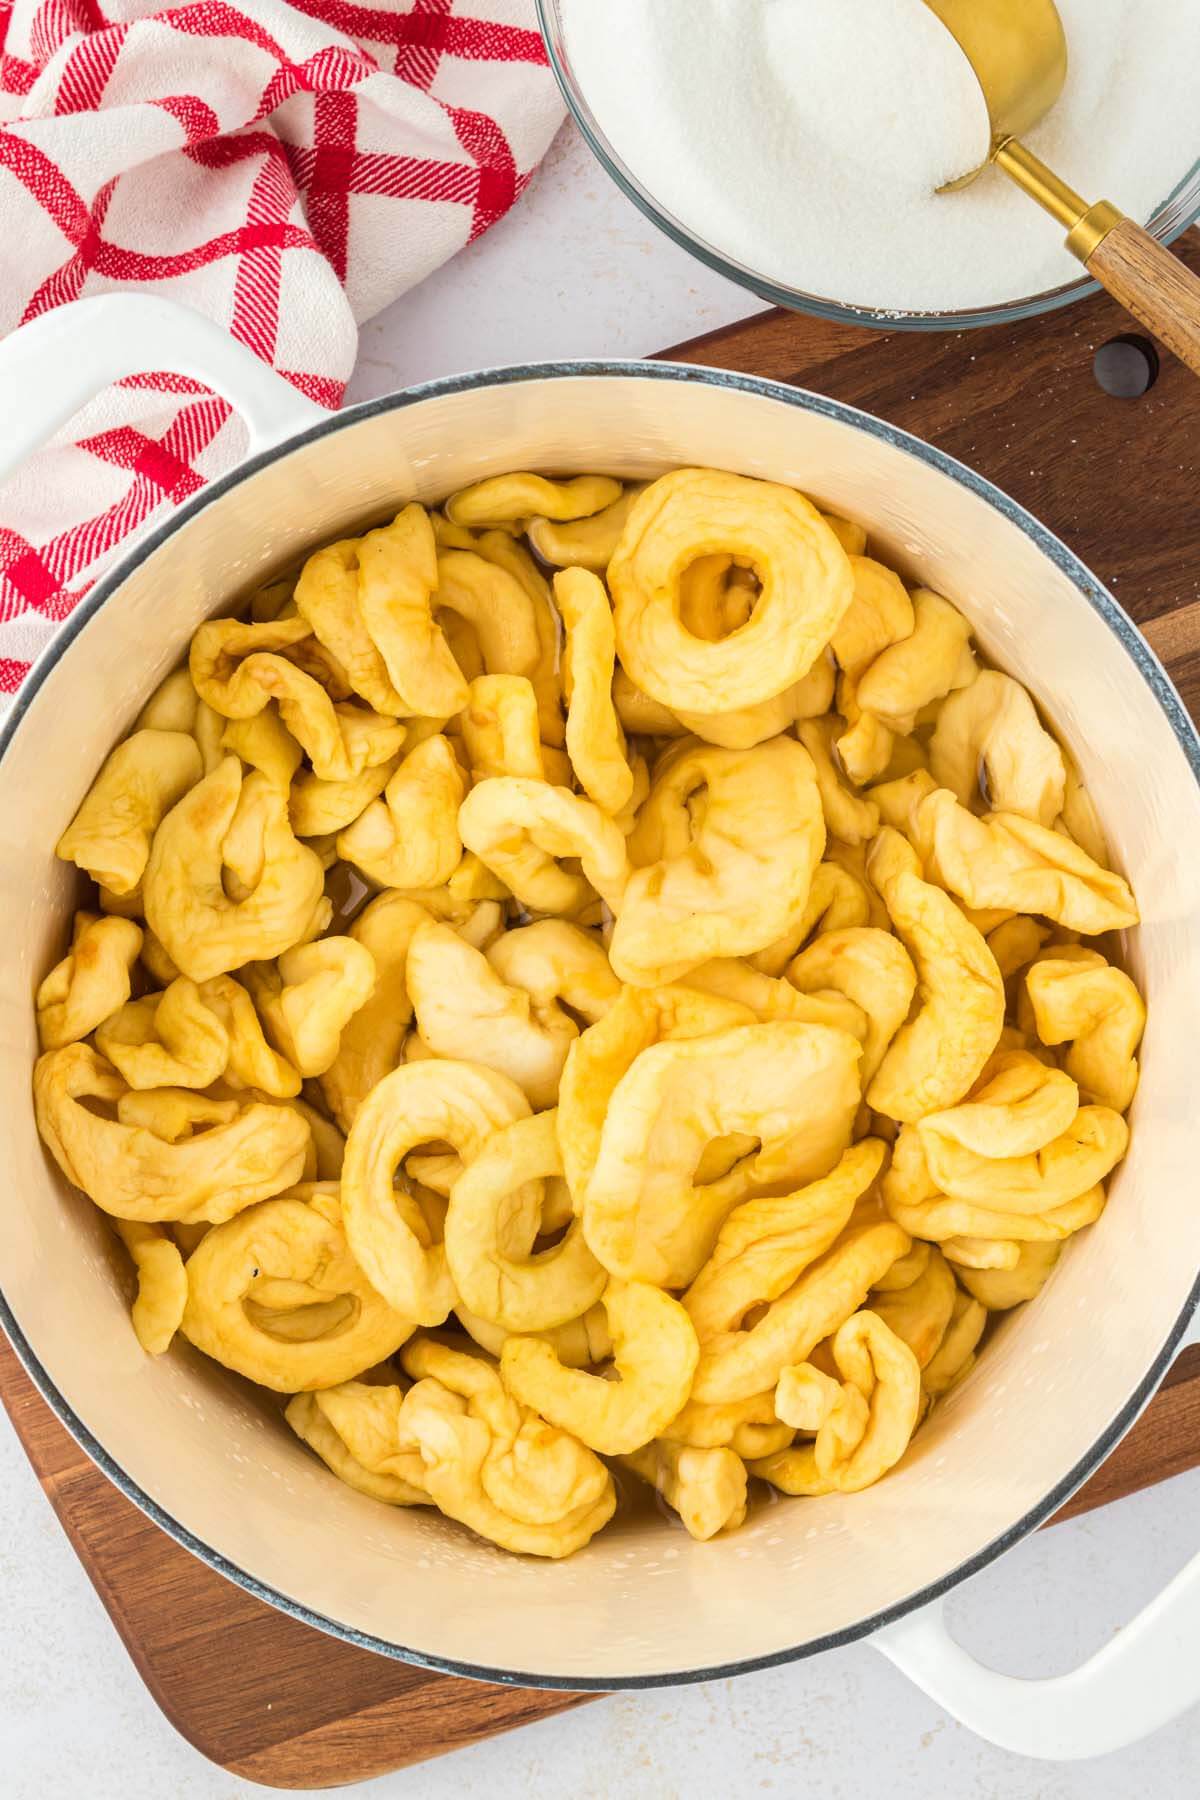
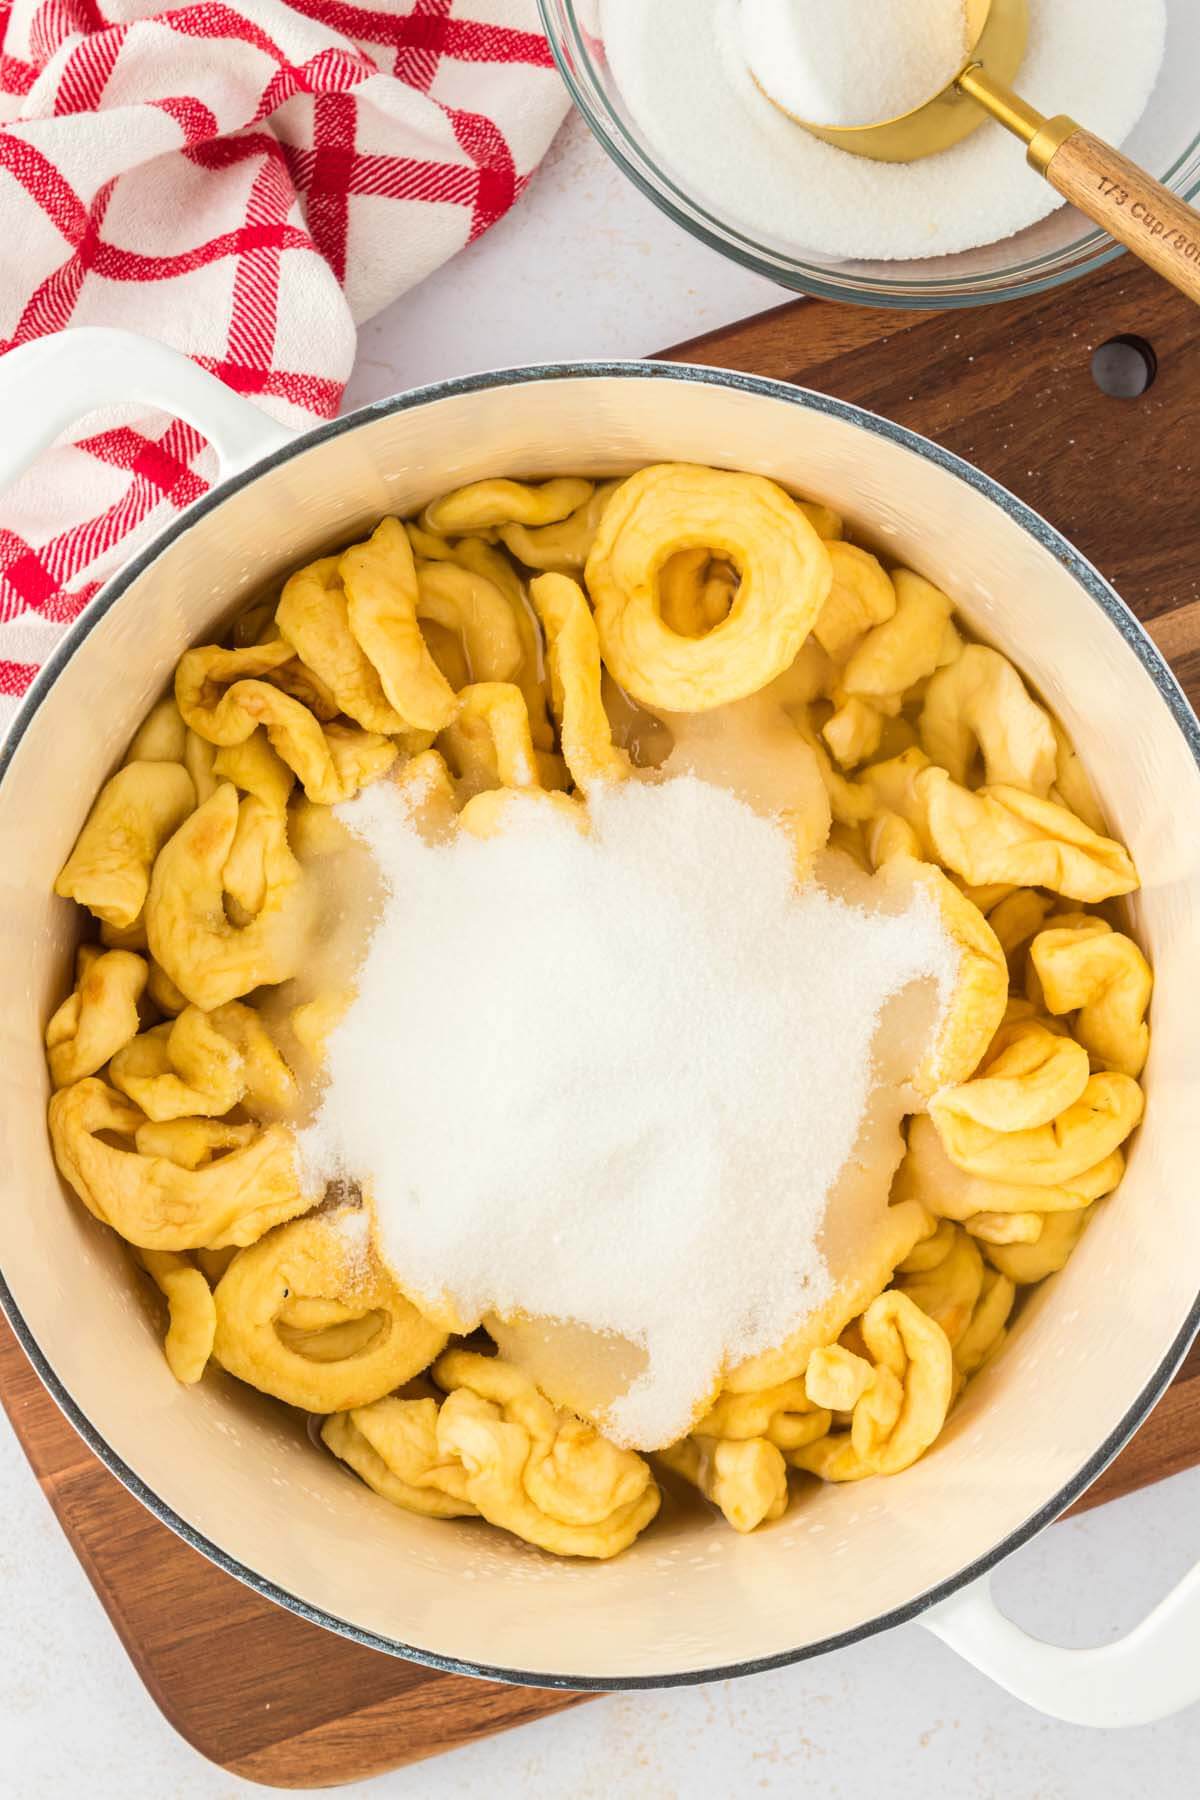
Start with 3 or 4 bags of dried apples and put them in a pot with enough water to just cover the apples.
Recipe Tip: If you can’t find dried apples in your grocery store—and don’t buy the commercial ones in the aisle with all the dried fruit because they take forever to cook down and are expensive—try these I found online.
The best place to get dried apples is at an apple farm if there’s one nearby. And don’t be shy about purchasing because the bags will keep for a while. Or you can make your own dehydrated apples.
Add about 2 cups of sugar. Turn heat to high and bring to a boil, then turn it down to a simmer and cook down until the apples are tender and juicy. This will require quite a bit of tasting since that’s the only way to know when they’re perfect.
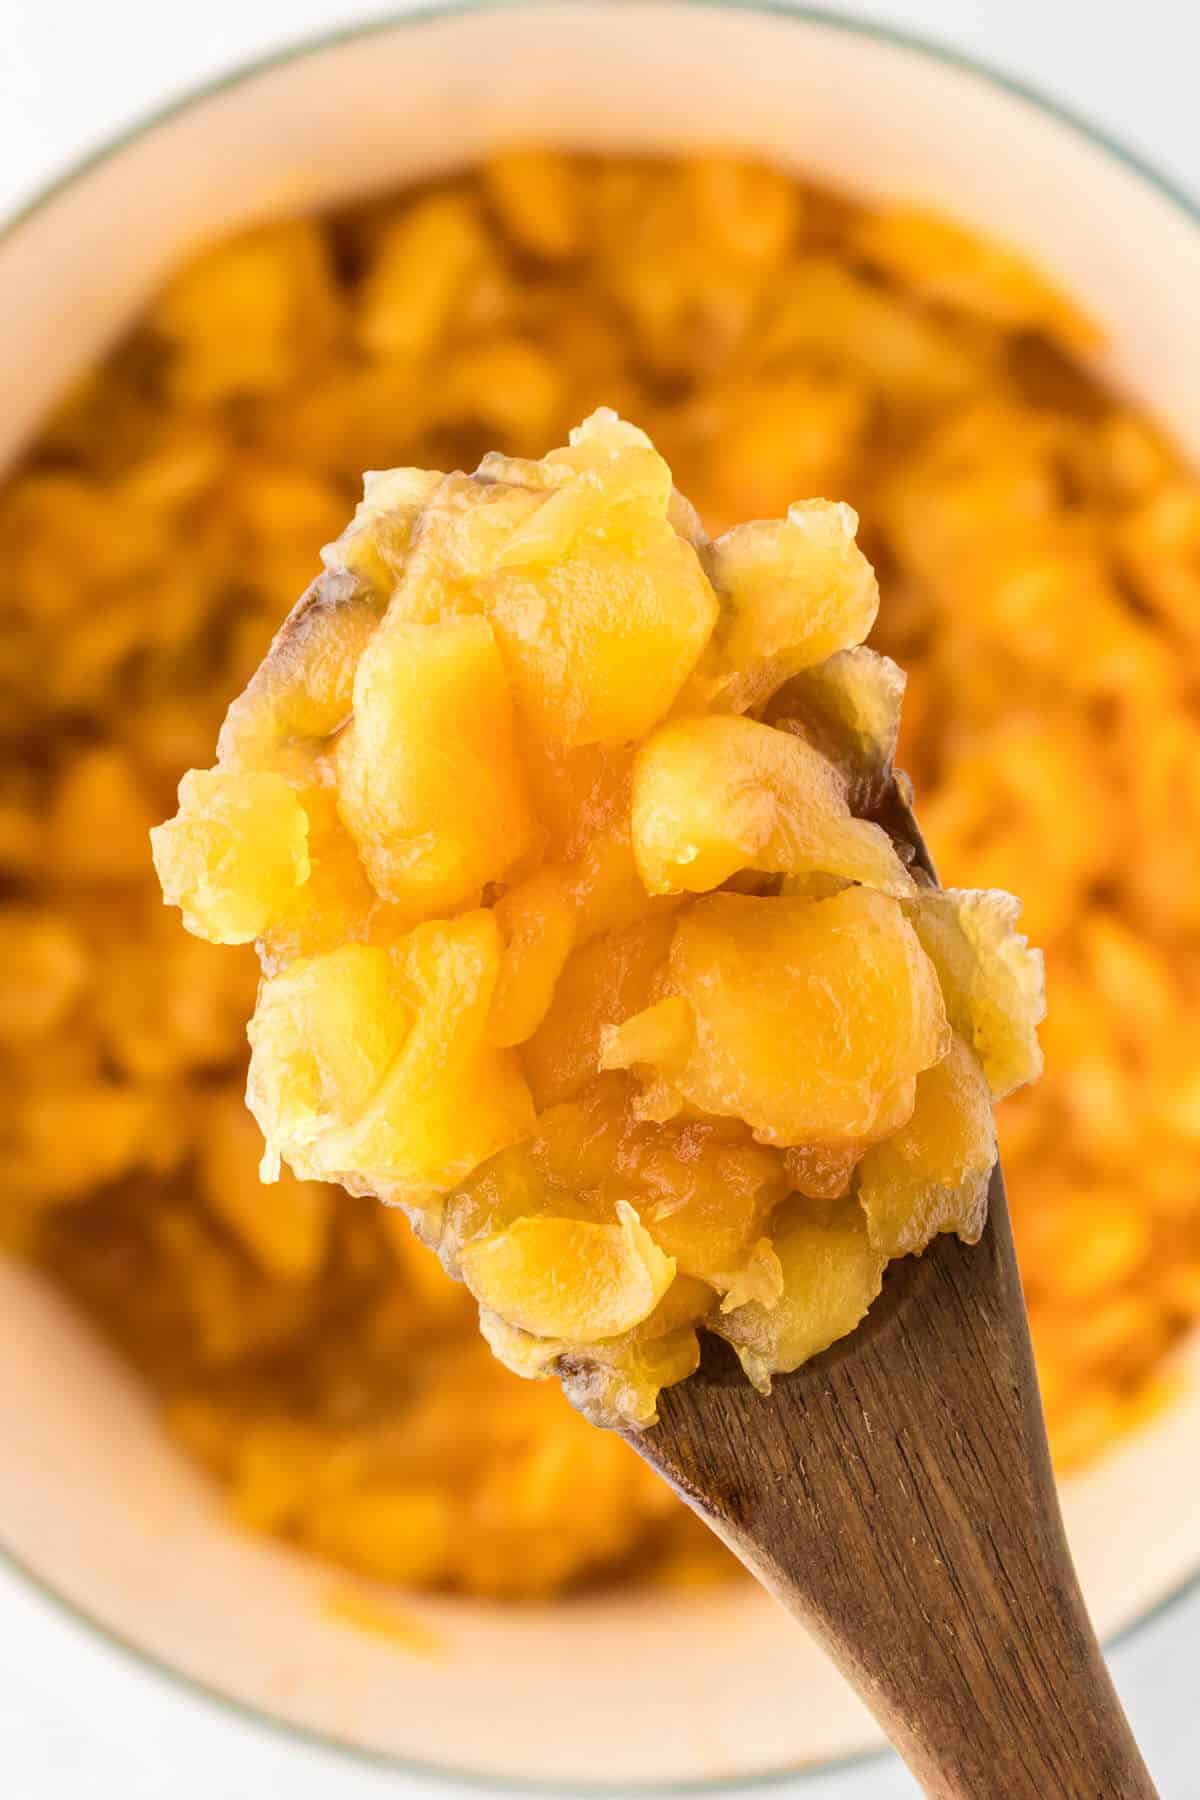
You’ll need to take your spoon and sort of chop at the apples to help break them up. Or you can use a tool like a ground beef masher. And you’ll probably need to add additional water.
Stir frequently so the apples don’t stick to the bottom of the pot, where they will scorch, and then you’ll have fried apple pies that taste very bad.
Scorched apples = bad fried apple pies.
After about an hour, your apples should be the consistency of a chunky applesauce. Taste them again and make sure they’re sweet enough and softened enough.
Remove the apples from the heat and let them cool while you prepare the fried pie dough.
Recipe Tip: Place some of the apples in another dish or spread out on a baking sheet to help them cool faster.
Making the dough for fried apple pies
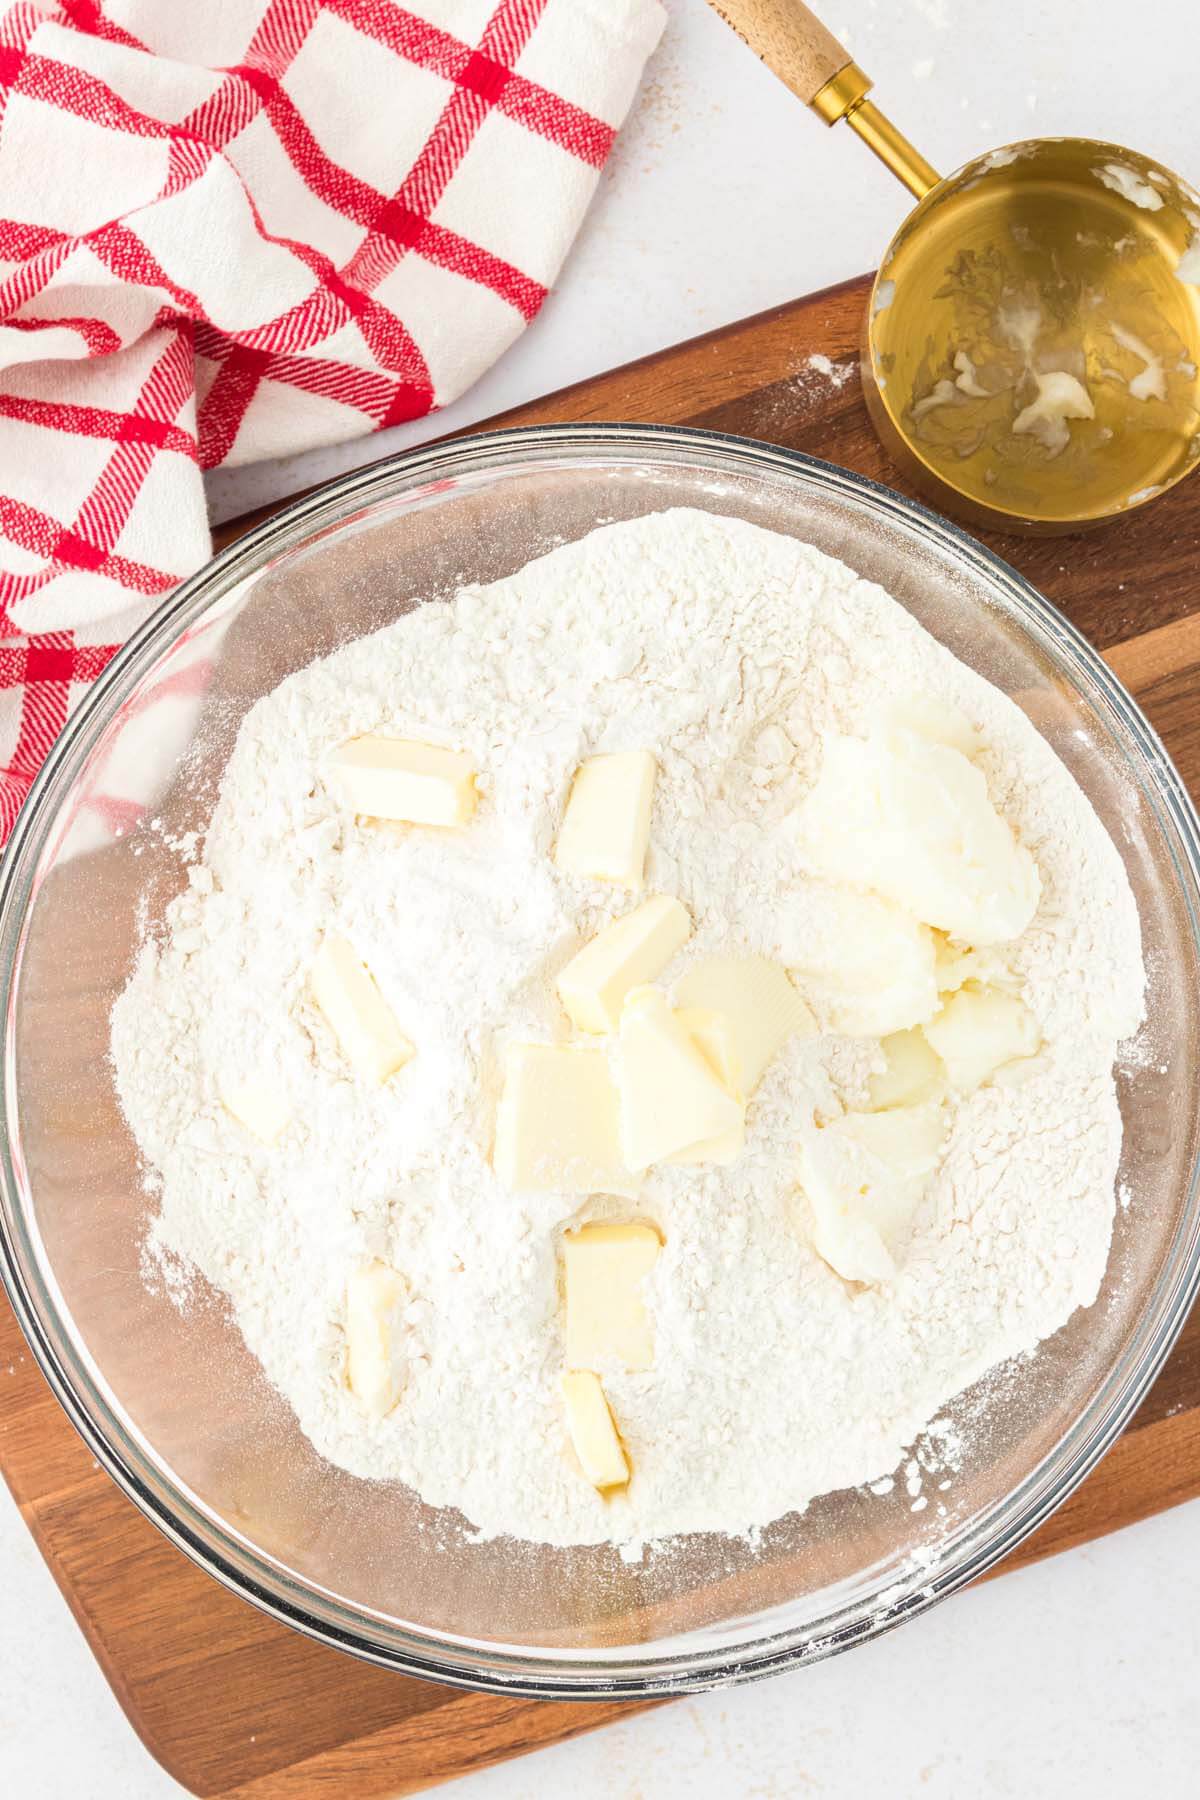
For the dough, start with four heaping cups of self-rising flour and add shortening and butter. Mix the shortening and butter into the flour with a fork or pastry blender, or do what I do and dig your fingers in there.
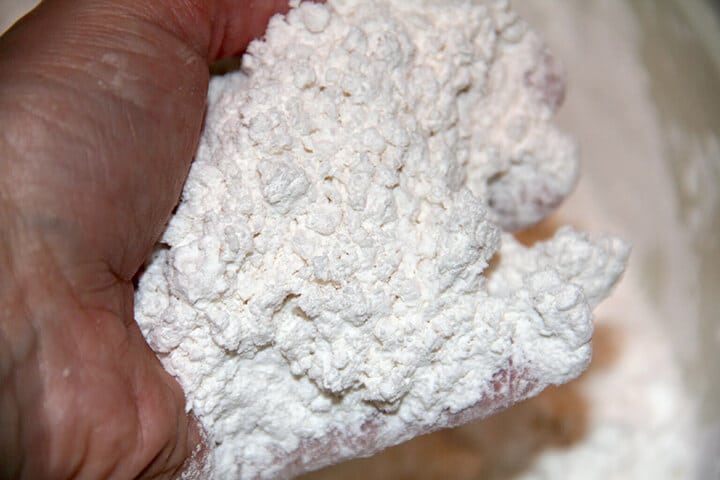
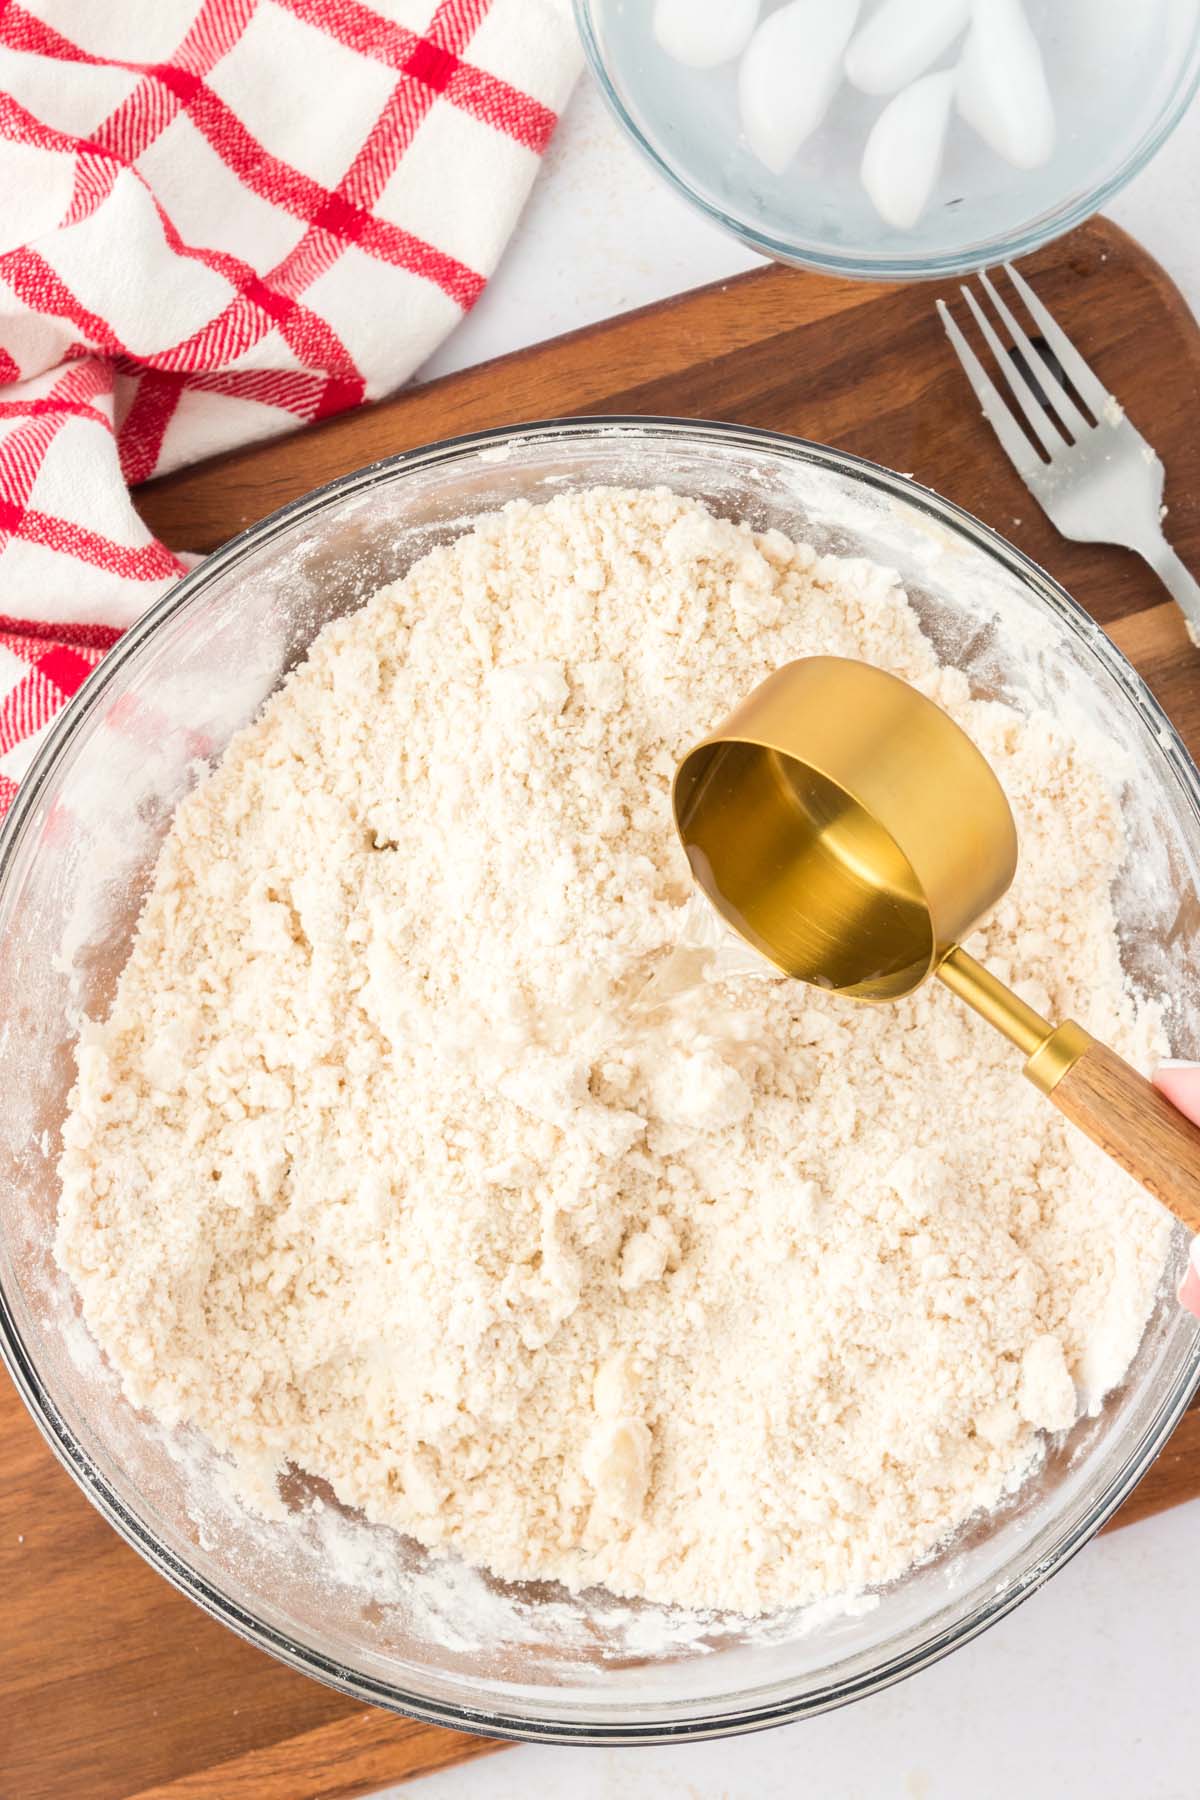
Mix well until the flour crumbles and has chunks a little smaller than peas. Make sure to incorporate all the shortening and butter into the flour. This is what’s going to make your fried pie dough tender.
The dough should get crumbly like this.
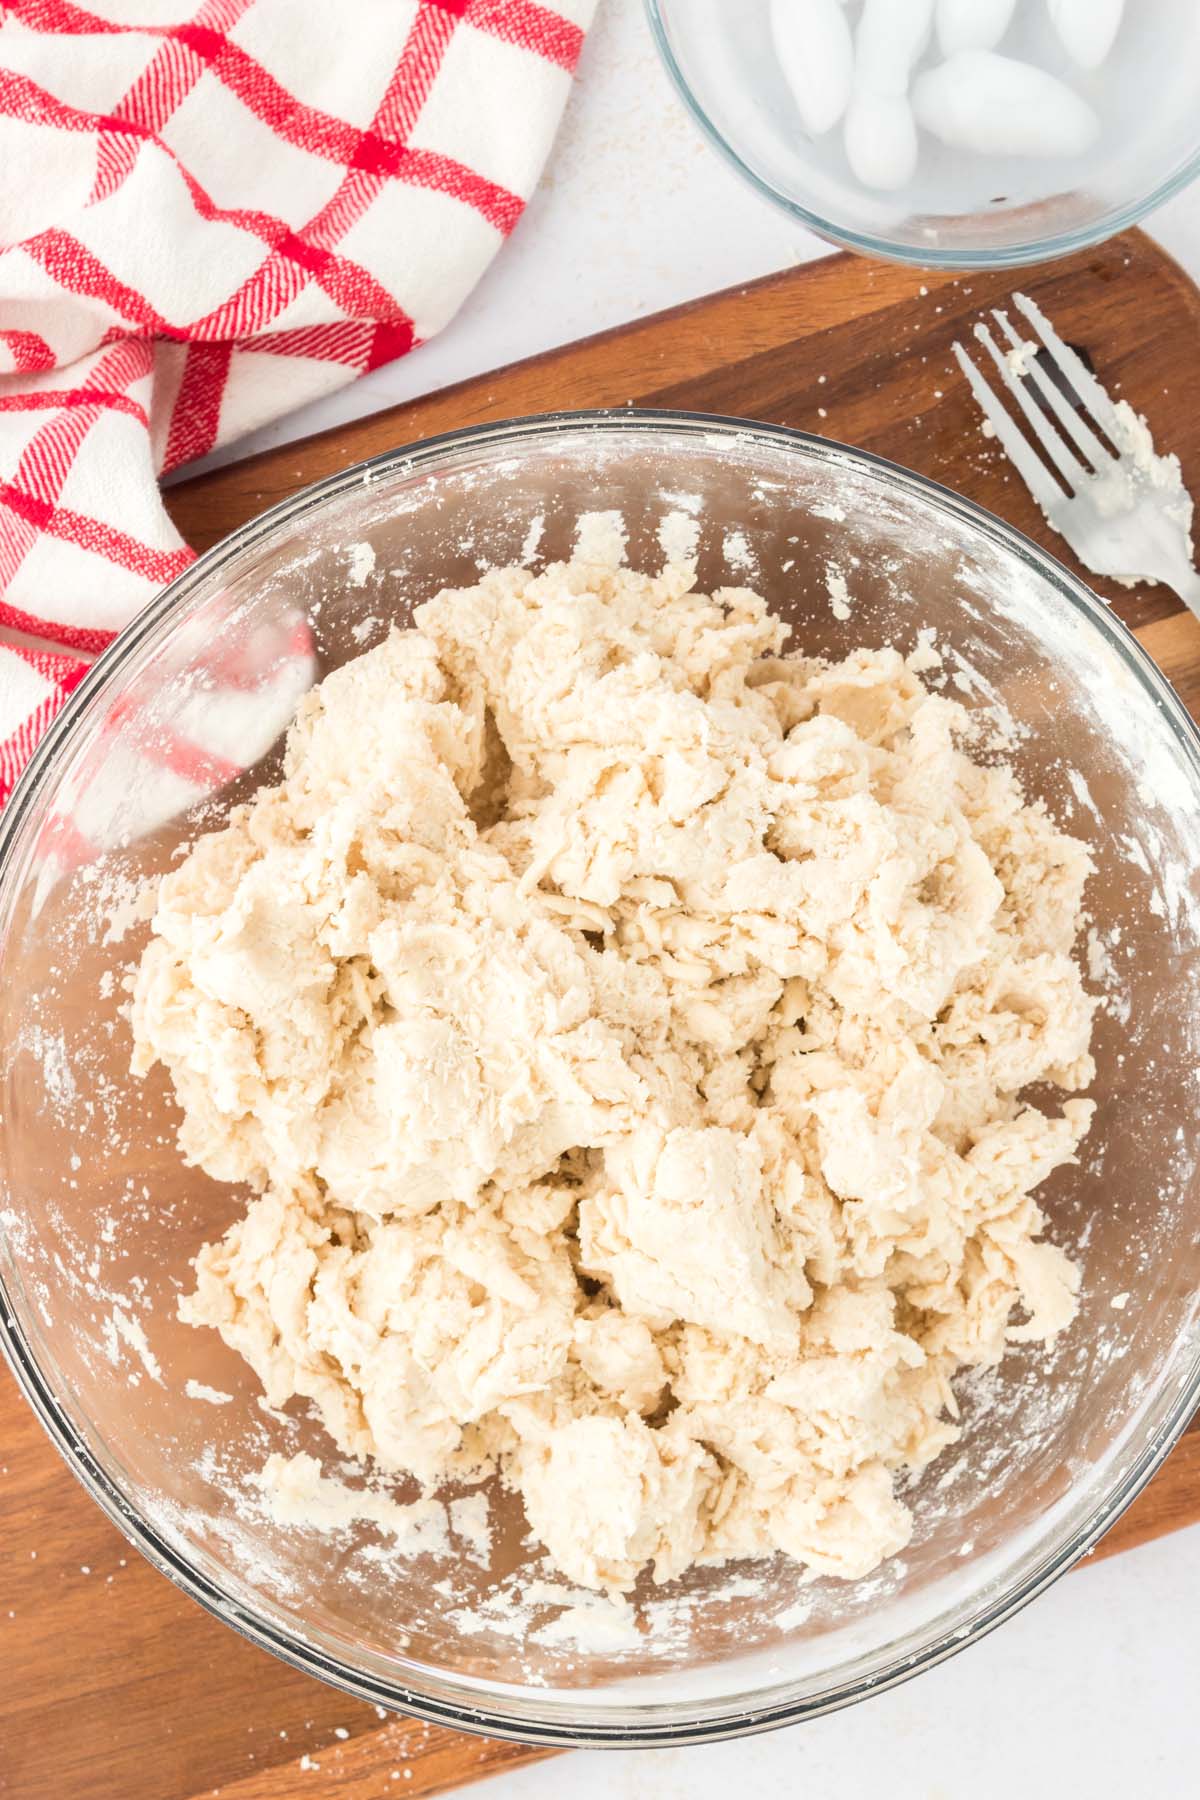
Stir ice water into the flour mixture with a fork, scraping underneath the dough to mix in all the dry flour. Mix until the dough is sticky and there is no way to pick it up.
Dip both hands in flour, then sprinkle a little flour on top of the fried pie dough, lift it, and sprinkle a bit more flour along the sides.
Again, you want to get the dough where you can easily lift and turn and begin to knead the dough.
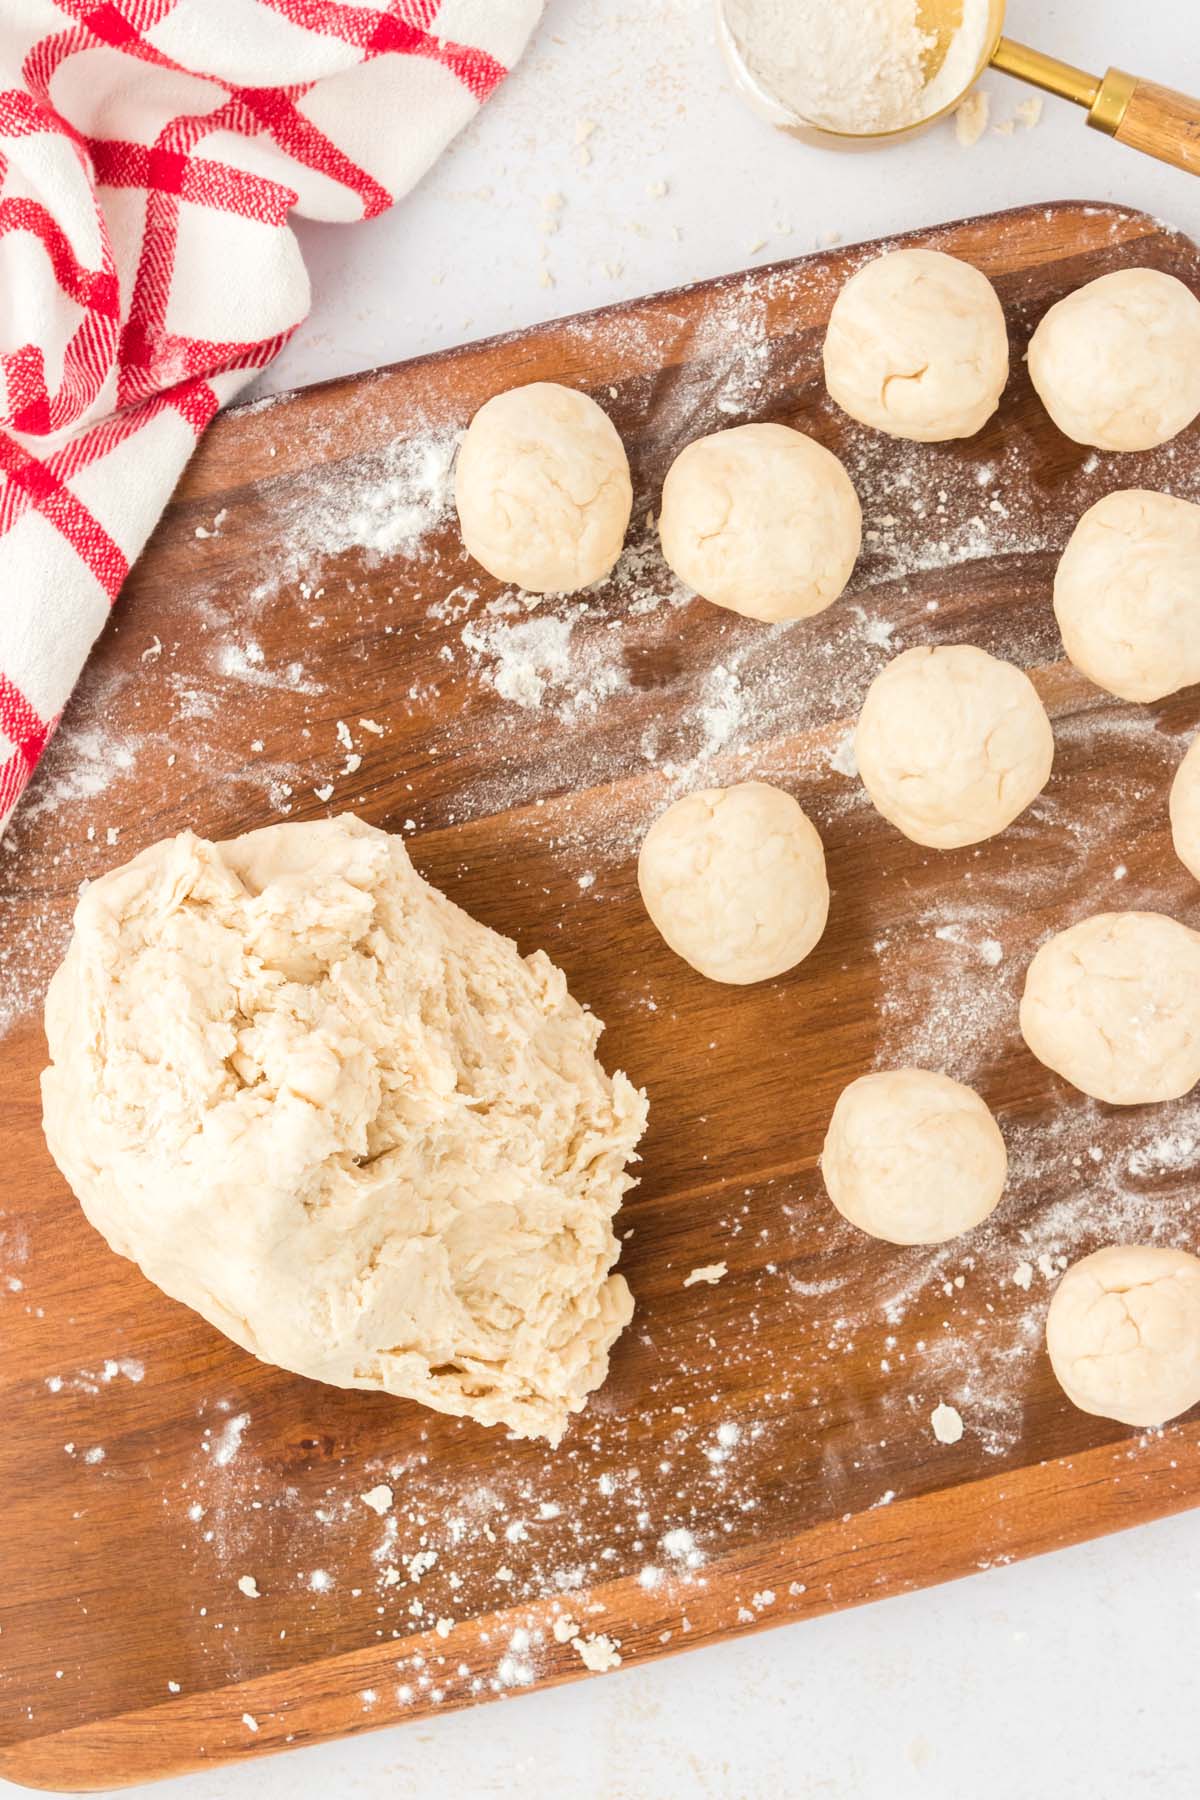
Once you can pick up the dough, turn it onto whatever lightly floured surface you will use to roll it out.
Sprinkle on additional flour so the dough doesn’t stick to your hands, and knead it well until you have a smooth, non-sticky dough for your fried apple pies.
Assembling fried apple pies
You have the dough and the apple filling, so let’s talk about how to make fried apple pies—time to put it all together!
First, pinch off small pieces of fried pie dough and roll into balls. The balls should be slightly smaller than a ping pong ball. I usually get about 30.
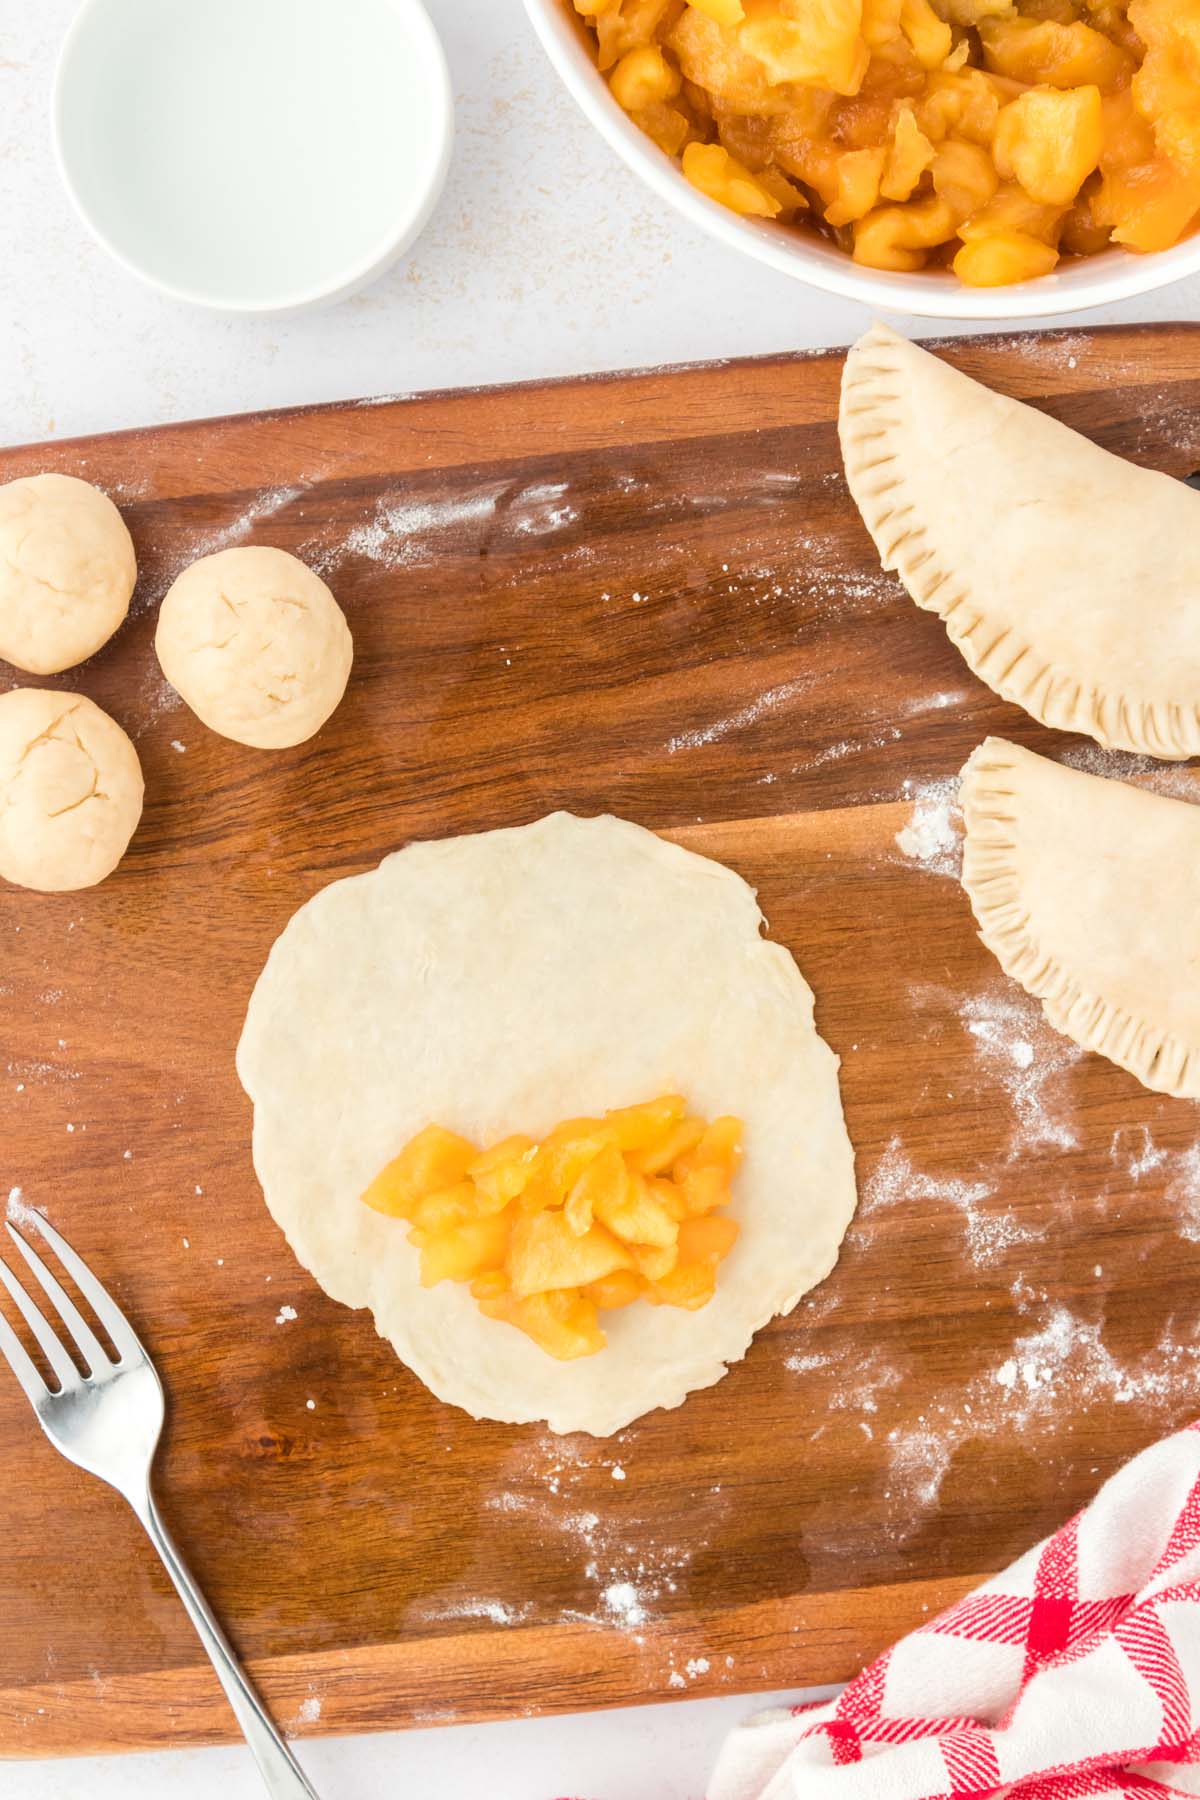
Take each dough ball and roll out until it’s thin, then put a heaping spoonful or two of apple filling on one side, leaving an edge for sealing. It usually takes one or two pies to be able to judge precisely how much filling to spoon on.
If you put too much, the apples will break through the dough in places and ooze out once you start frying.
You want just enough to make a nice pocket when you fold over the dough. For me, that’s usually about a tablespoon and 1/2.
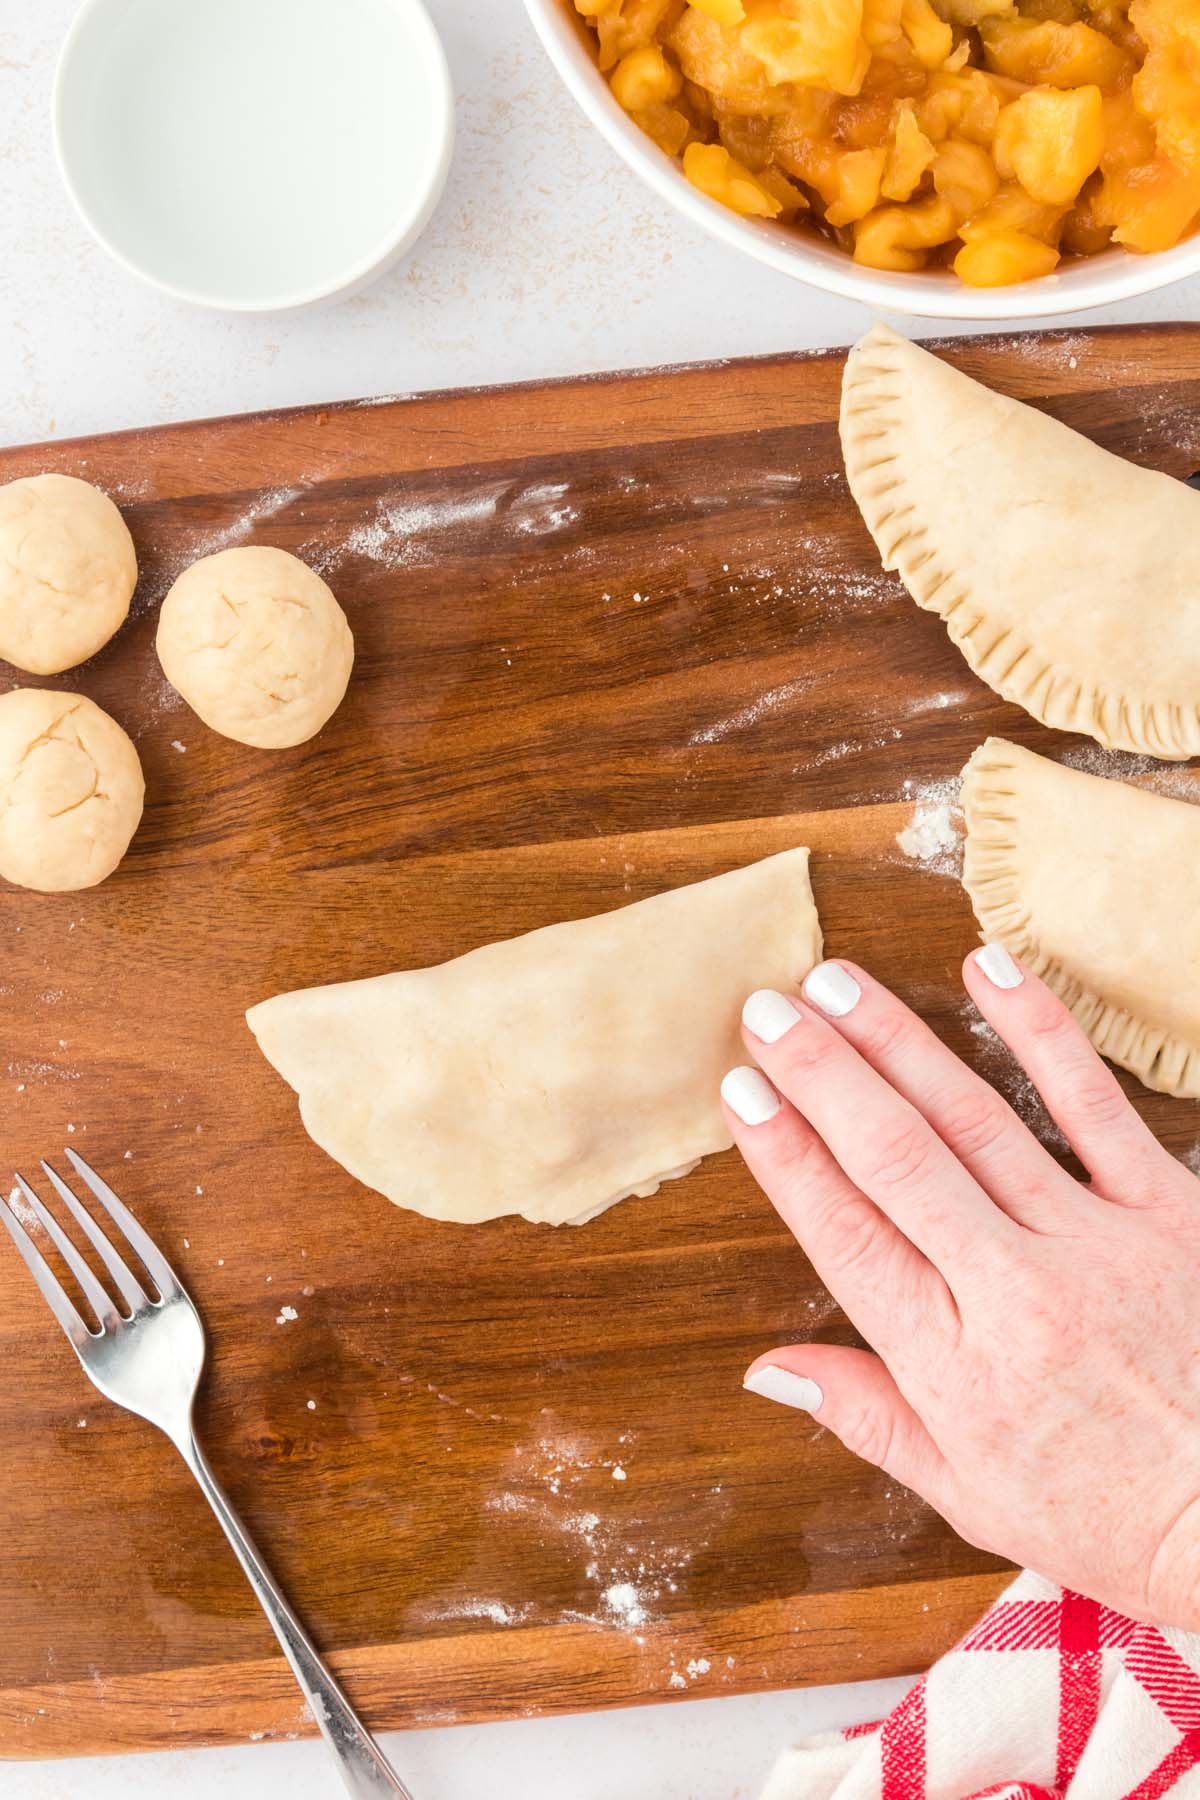
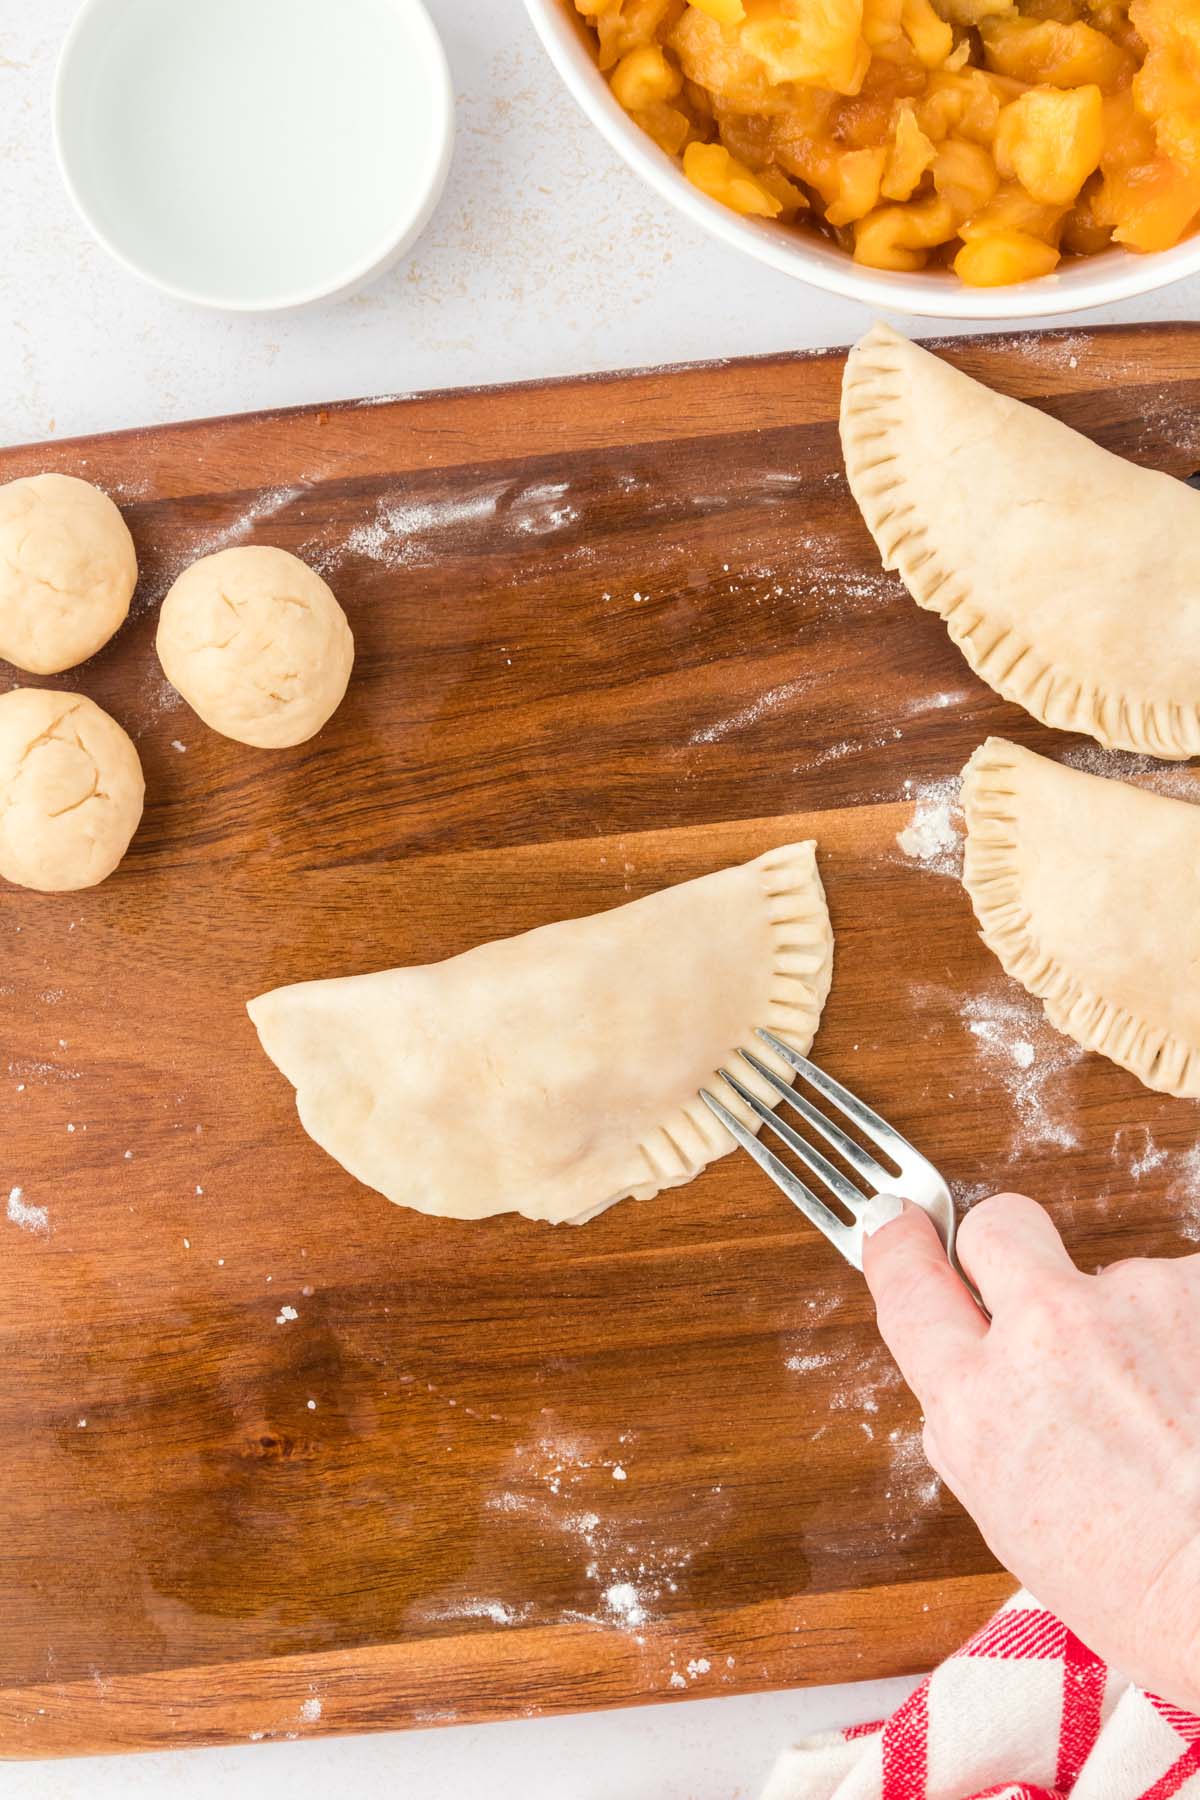
Dip your finger in water, rub the edge around the apples, then carefully fold the dough and press down. The water acts as a sealant and will keep the dough from separating. Then take a fork and crimp the edges together even more.
Recipe Tip: Sealing the pies with a dab of water is essential. If you miss this step, the pies can seep open during frying, leaking out filling and making a real mess in your skillet.
Lay each pie on a large cookie sheet and continue until they are all ready.
Recipe Tip: You want to have this part fully completed before you start frying because they will only take a minute or two per side to fry.
How to fry the pies
Once you have all the fried pie dough rolled out and all the pies made, add about 3/4 cup of shortening and a couple of tablespoons butter (depending on the pan size) to a large skillet and turn to medium-high heat to melt.
Keep the shortening nearby because you will be adding more. The melted shortening should come up to not quite an inch in the pan, so it doesn’t cover the pies but comes about halfway up the sides.
Keep the temperature of the hot oil at medium-high, and when it sizzles, if you drop in water, it’s ready to go.
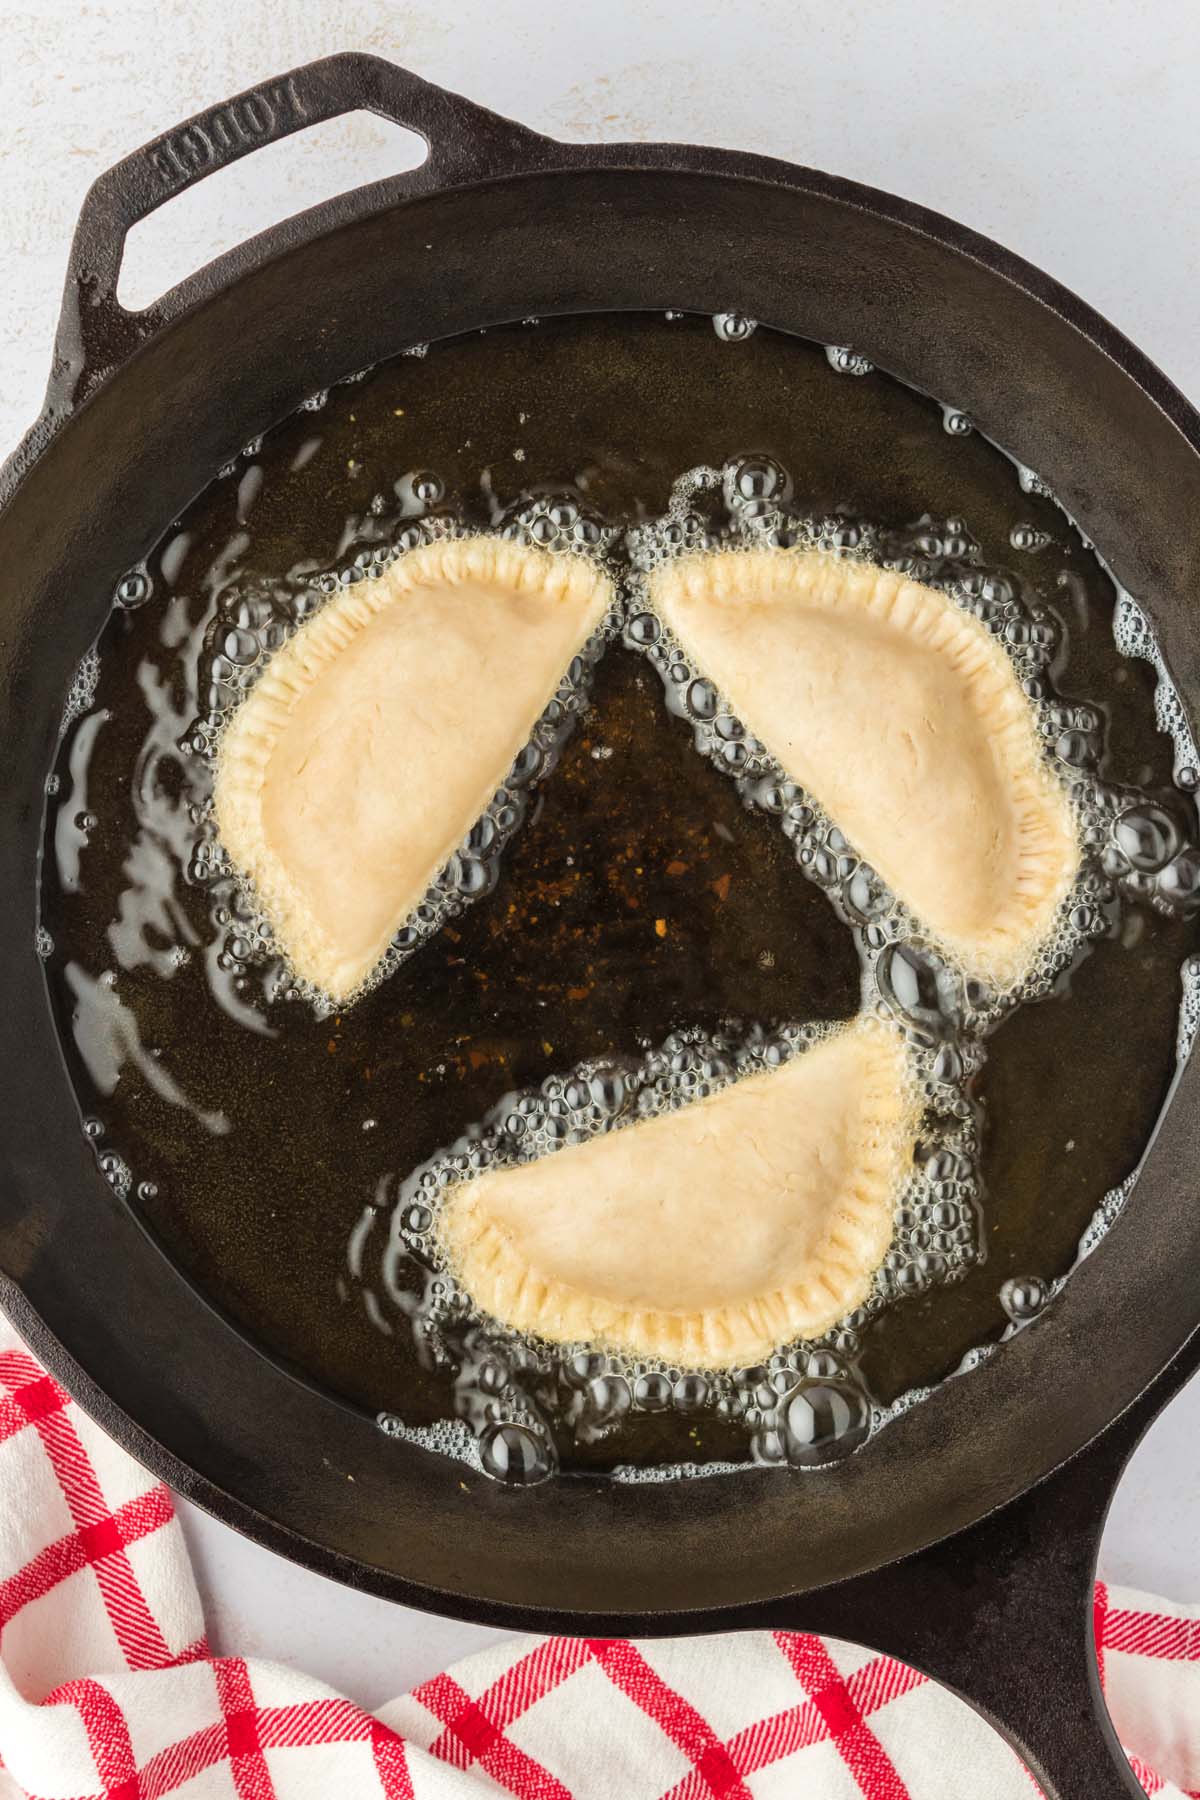
Carefully lay two or three pies in the skillet, only two if your skillet is small, as you don’t want to overcrowd them.
To make this process foolproof, use a thermometer and keep the oil at 375°F. Cook the pies for 01:15 on each side. They will turn out perfectly every time!
After about a minute, peek underneath one of the fried apple pies, and if it’s golden brown, then go ahead and turn it. The dough is thin, and the apples are already cooked, so it only takes about three minutes to cook the pies.
You must watch them the entire time so they don’t burn because it can happen quickly. After a few batches, you’ll probably need to add more shortening and butter to the skillet, so let it heat before you add more pies.
Recipe Tip: You may need to clean out the skillet and start over with fresh oil if the oil starts burning.
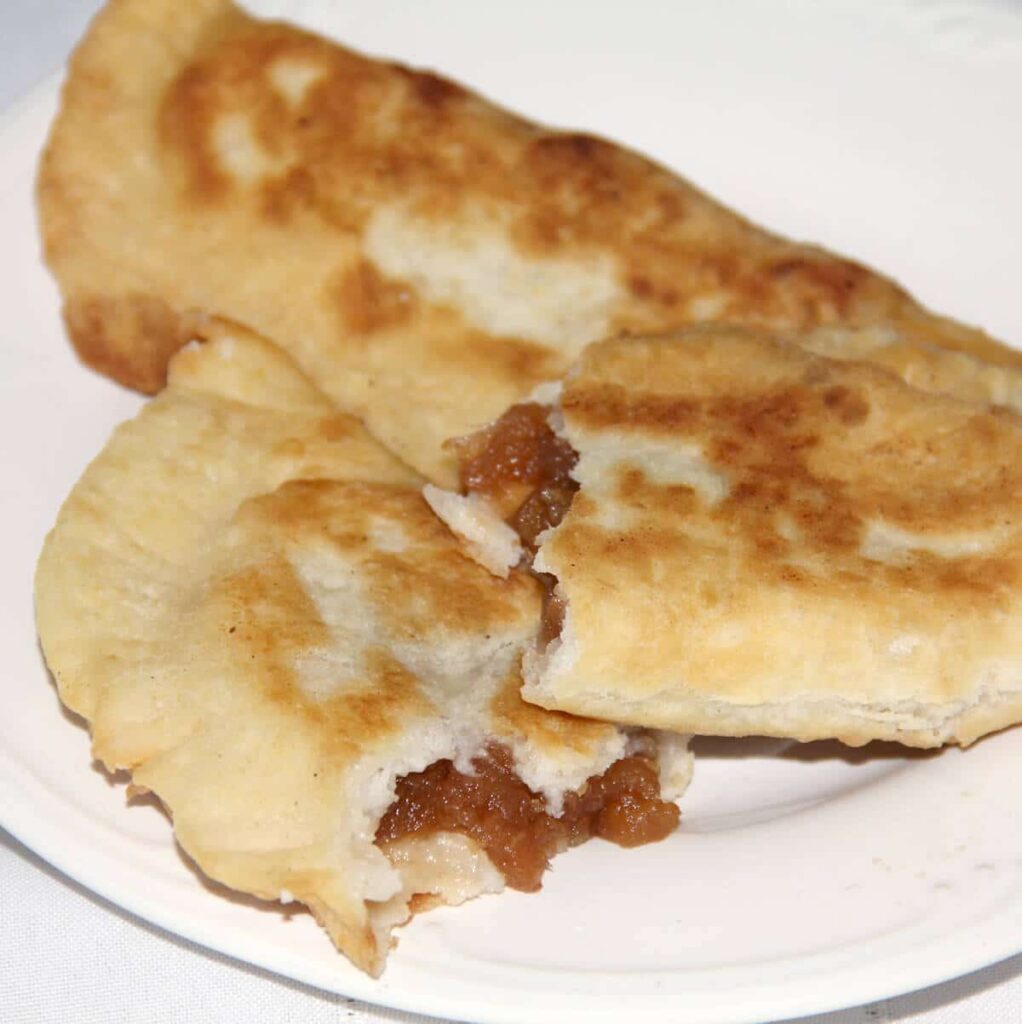
Lay the fried apple pies on a large platter lined with paper towels or parchment paper lined wire rack. Cover the platter with tin foil if not serving immediately until you’re ready to serve.
Or sit the platter out on the counter, and the fried apple pies will mysteriously disappear. Of course, these homemade fried apple pies are best eaten within two days, which is usually not a problem.
If you make this recipe, please leave a comment and ⭐️⭐️⭐️⭐️⭐️ below!
Join Southern Food and Fun Community group
and Southern Potluck group!
And please follow us on social media:
Fried Apple Pies Recipe
Equipment
Ingredients
- 4 (6 oz.) bags dried apples
- 2 cups granulated sugar
- 4 cups self-rising flour, heaping
- ¾ cup Crisco shortening
- ¼ cup unsalted butter
- 1 ½ -2 cups ice water
- Additional flour for mixing dough
- 2 cups Crisco shortening
- 4 tablespoons butter
Instructions
For apples:
- Put apples in a large pot or Dutch oven and add enough water to almost cover. Stir in two cups sugar.
- Turn heat to medium-high and bring to a boil.
- Turn heat down just a little so apples continue to simmer, breaking up apples with spoon as they cook. Cook until apples are tender and juicy, stirring frequently. You may need to add more water as they cook. Do not allow the apples to get dry. Remove apples from heat and allow to cool.
For dough:
- Start with 4 heaping cups of self-rising flour and cut in 3/4 cup Crisco shortening and 1/4 cup butter with a fork or your fingers. Mix well until shortening/butter is incorporated into the flour.
- Add 1 1/2 cups of ice water to flour, and add additional ice water as needed to get all the dry flour mixed in. Mix with a fork until dough is sticky.
- Dip hands in flour and sprinkle additional flour onto dough so that you can knead it. Use additional flour as needed to be able to knead the dough until smooth and non-sticky.
- Pinch off pieces of dough to make balls slightly smaller than ping pong balls. You should get about 30 balls.
- Roll each ball out until thin.
- Add a spoonful or two of apples to one side of rolled dough. After the first couple, you will learn exactly how much apples to place on the dough. If you put too much, the dough will not cover without tearing.
- Dip your finger in water and rub around the edges of the dough where the apples are. This will help seal the pies.
- Carefully fold the dough over and press the edges together lightly to seal. Using a fork, crimp the edges to fully seal.
- Once all the pies are ready, add about 1/2 cup Crisco shortening and 2 tablespoons butter to a large skillet and heat on medium-high or 375°F.
- Once the grease is hot enough to sizzle from a drop of water, carefully lay two or three pies in the skillet.
- Cook about a minute to a minute and half on each side until they are golden brown. (Set a timer for 01:15.)
- Lay pies on a large platter lined with paper towels and serve immediately.
Notes
Tips for the Filling for Fried Pies
- If you can’t find dried apples in your grocery store—and don’t buy the commercial ones in the aisle with all the dried fruit because they take forever to cook down and they are expensive—try these that I found online.
- As the apples are cooking, you’ll need to take a wooden spoon and break them up a bit.
- Watch the apples carefully and add additional water if the water starts cooking down too much.
- Stir frequently so the apples don’t stick to the bottom of the pot and scorch.
- Once the apples have cooked completely, you can place some of the apples in another dish to help them cool faster.
Tips for the Dough
- Sprinkle on additional flour to the ball of dough so the dough doesn’t stick to your hands and knead it well until you have a smooth, non-sticky dough for your fried apple pies.
- You want to make sure all the shortening and butter is incorporated into the flour.
Tips for Frying the Pies
- The oil needs to stay hot. Pies will cook quickly and also burn quickly.
- While frying the pies, you may need to clean out the skillet and start over with fresh oil if the oil starts burning.
- Remove cooked pies to a paper-towel-lined platter.
Tips for Storing Fried Pies
- These fried pies do not need to be refrigerated. They will keep for a few days in an airtight container but are best eaten within two days.
Nutrition
Tips and questions
- You can use refrigerated pie biscuit dough if you’re in a hurry.
- Substitute dried peaches for the dried apples.
- You can use store-bought pie crust in a pinch, but we highly recommend giving the homemade pie crust a chance! You can do it!
Storage
The fried pies don’t have to be refrigerated. Place in an airtight container on the counter.
I would not freeze the cooked pies. You can freeze the dough balls and freeze the apple filling separately, then thaw and follow the steps.
To freeze the dough balls, place on a baking sheet overnight. Once frozen, place the dough balls in a large freezer bag.
No. Our testing shows this recipe works best with dried apples. Fresh apples will have too much liquid and will have a different consistency.
You can use puff pastry or refrigerated biscuit dough, although, if you’re trying to capture the nostalgia, homemade fried pie dough is the only way to go.
You can use peanut oil or another neutral-flavored oil; just be sure it has a high smoke point.
You probably could, although we have never tried it. Not sure you would get the same crispy texture.
I do not recommend a deep fryer. One side at a time in a skillet works best for this recipe.
Since you’re not baking these pies, you do not need an egg wash.
Yes! You can cook the apples several days before making the pies and make the dough a day in advance. Then, wrap the finished dough in plastic wrap and store in the refrigerator. When ready, allow the dough and the apple filling to come to room temperature, and then make the fried pies.





Do you have a recipe for CHOCOLATE fried pies or pecan fried pies? I use to buy them in Paris Tennessee at Yoders Country Store. (now they don’t have them there as the one that made them got tired of making them, I was told) Just got home last night, and had traveled there from Ohio for my sisters Memorial and that store was the 1st place I stopped and was so disappointed that they only had Apple, Blueberry, Cherry and Strawberry. The dough was a little too hard, but we bought some Apple Fried pies and Blueberry) Thank You for the dough recipe and apple recipe. If using fresh apples instead of dried apples how many for that recipe should I use?
Hi Wanda,
I do not have a recipe for chocolate fried pies, but that sounds delicious! And I do not use or recommend fresh apples for the fried apple pies.