This post may contain affiliate links. Please read our disclosure policy.
This Chocolate Shortbread Cookies recipe delivers a rich and delicate melt-in-your-mouth treat. With its crumbly shortbread texture and deep chocolate flavor, this simple recipe yields incredible results with minimal effort. Perfect for afternoon tea or a late-night snack, these cookies are sure to satisfy your sweet tooth.
As a fourth-generation Southern cook, I’ve been baking cookies for around 50 years! I used to stand on a chair and help my great-grandmother make tea cakes and even then, I was changing the recipe and adding ingredients.
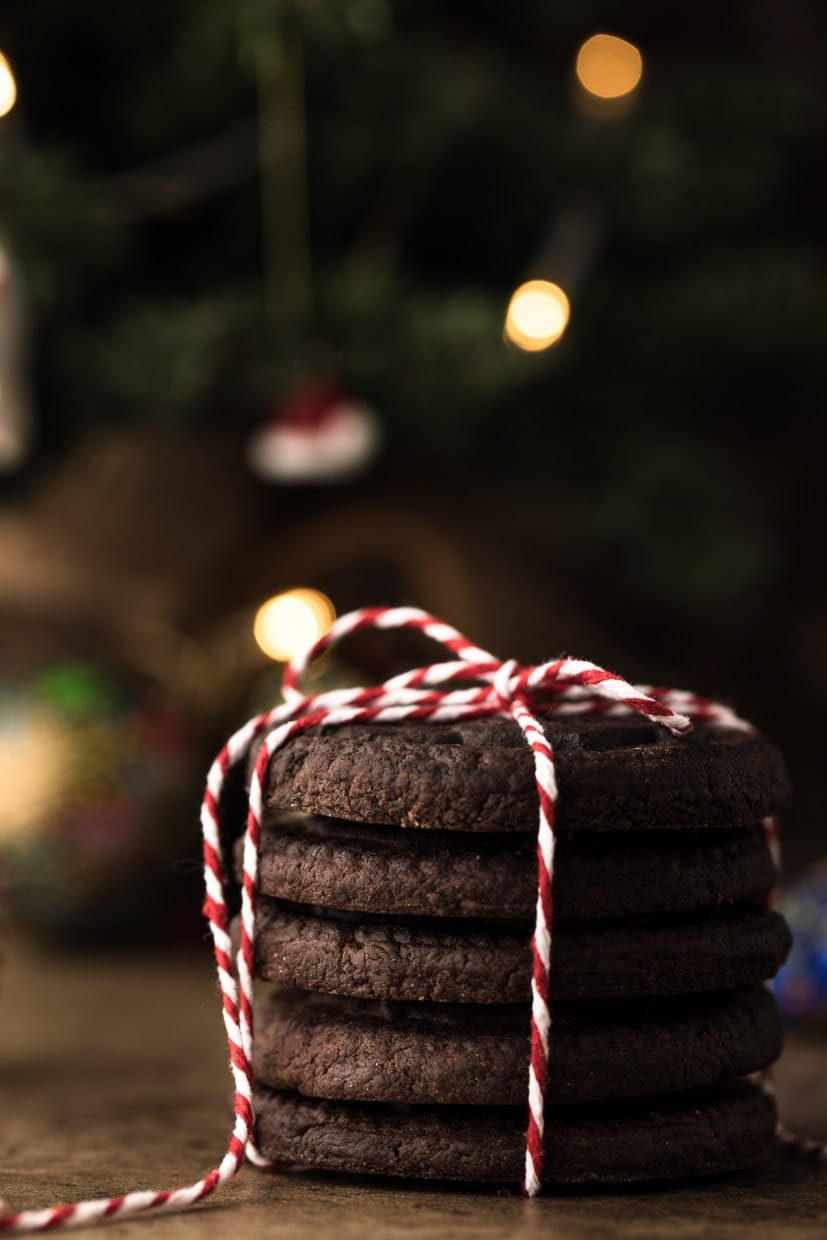
These chocolate shortbread cookies
I love butter; therefore, I love shortbread cookies. Add some chocolate, and I’m in cookie heaven.
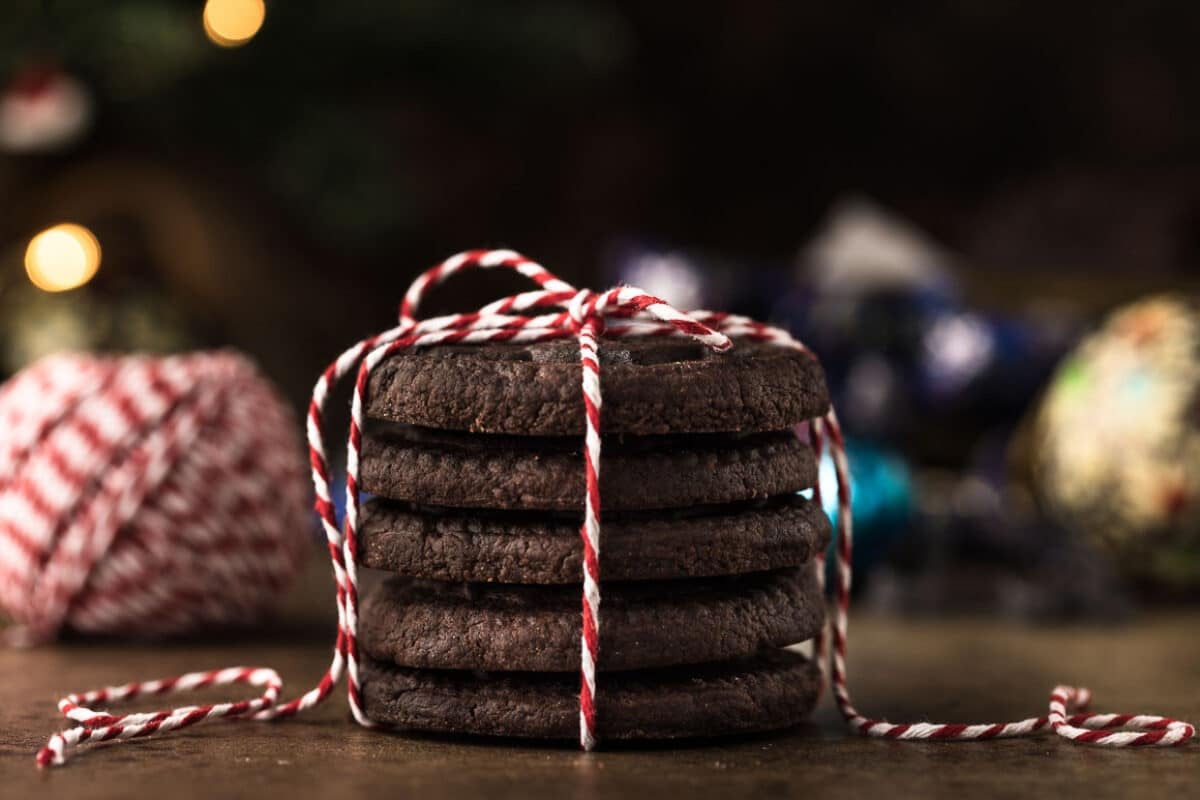
These chocolate shortbread cookies are so much better than anything you can buy in the store, and they are really not hard to make. They are always in my Christmas cookie box for gifts.
Note: This Chocolate Shortbread recipe is quick and simple to pull together. Shortbread is not the same texture as regular cookies. Expect a ‘short’ dough that melts in your mouth.
Why you’ll love this recipe
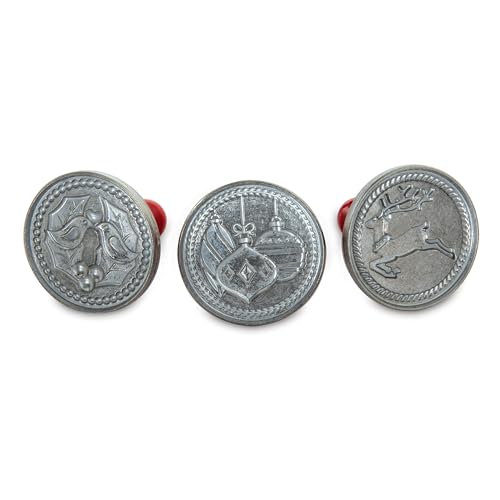
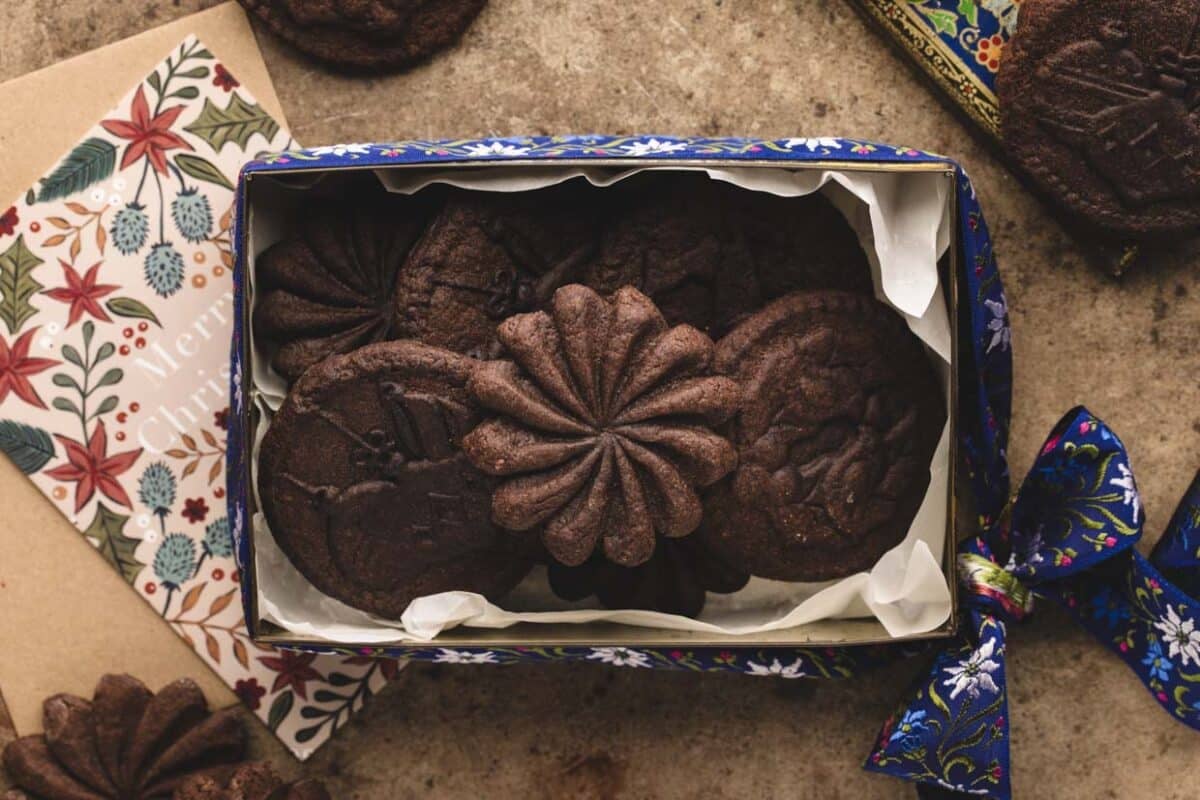
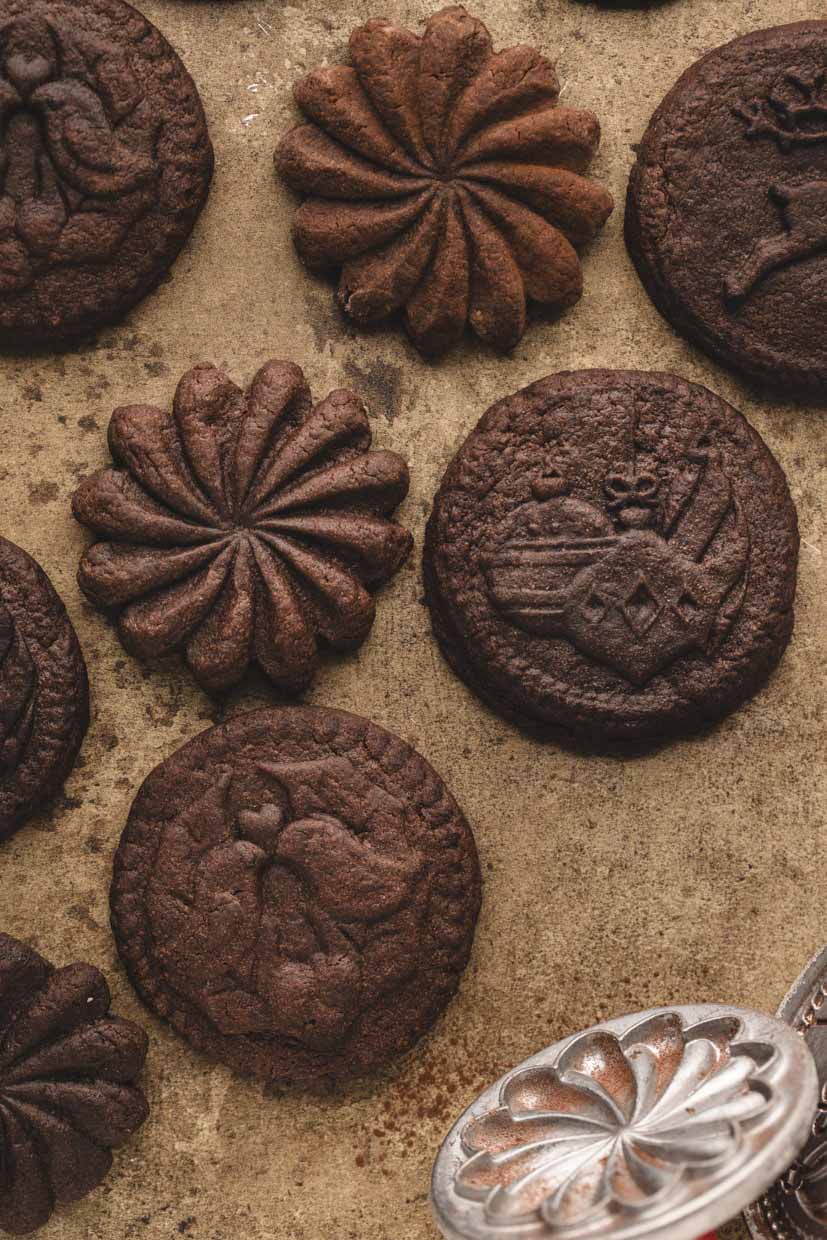
PRETTY: This shortbread cookie recipe makes a gorgeous addition to a cookie platter or as a gift. We’ve added the step of using a cookie stamp, which kind of fancies up these cookies.
METHOD: This recipe has quite a few steps. You’ll chill the dough for 20 minutes. Then, you’ll roll the dough into balls and, if desired, use your cookie stamp for design and chill again for two hours. None of it is difficult, but it does take some time.
MAKE-AHEAD: You can make the dough ahead of time and store it in the refrigerator for up to two days. You can also freeze the baked cookies.
What to serve with chocolate shortbread
We love to include these chocolate shortbread cookies on our Christmas cookie platter. We also make Christmas cookie gift boxes every year, and these cookies are always included, along with our Red Velvet Cake Cookies, Chocolate Crinkle Cookies, Rolled Sugar Cookies, and my favorite, Old-fashioned Ginger Cookies.

I hope you make this recipe. I think you’ll love it!

What you’ll need
➡️➡️➡️ The full ingredient amounts and instructions are listed below on the printable recipe card. Scroll below the recipe card for frequently asked questions and tips for success.
- All-purpose flour
- Powdered sugar
- Cocoa powder
- Salt
- Vanilla extract
- Butter
- Water
How to make chocolate shortbread cookies
- Mix dry ingredients: flour, powdered sugar, cocoa powder, and salt.
- Work in cold butter, then add vanilla extract and cold water.
- Form a smooth ball of dough and refrigerate for 20 minutes.
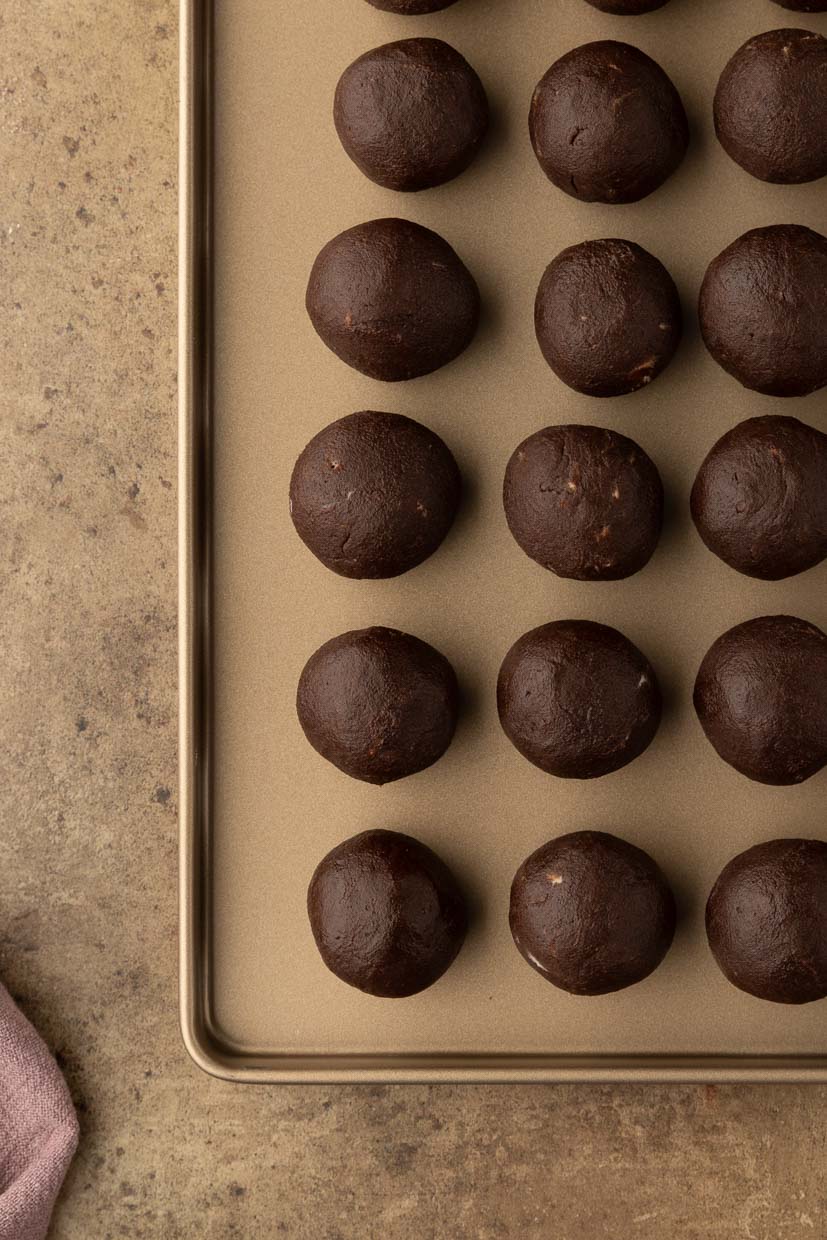
- Divide chilled dough into 20 equal portions and roll those into balls.
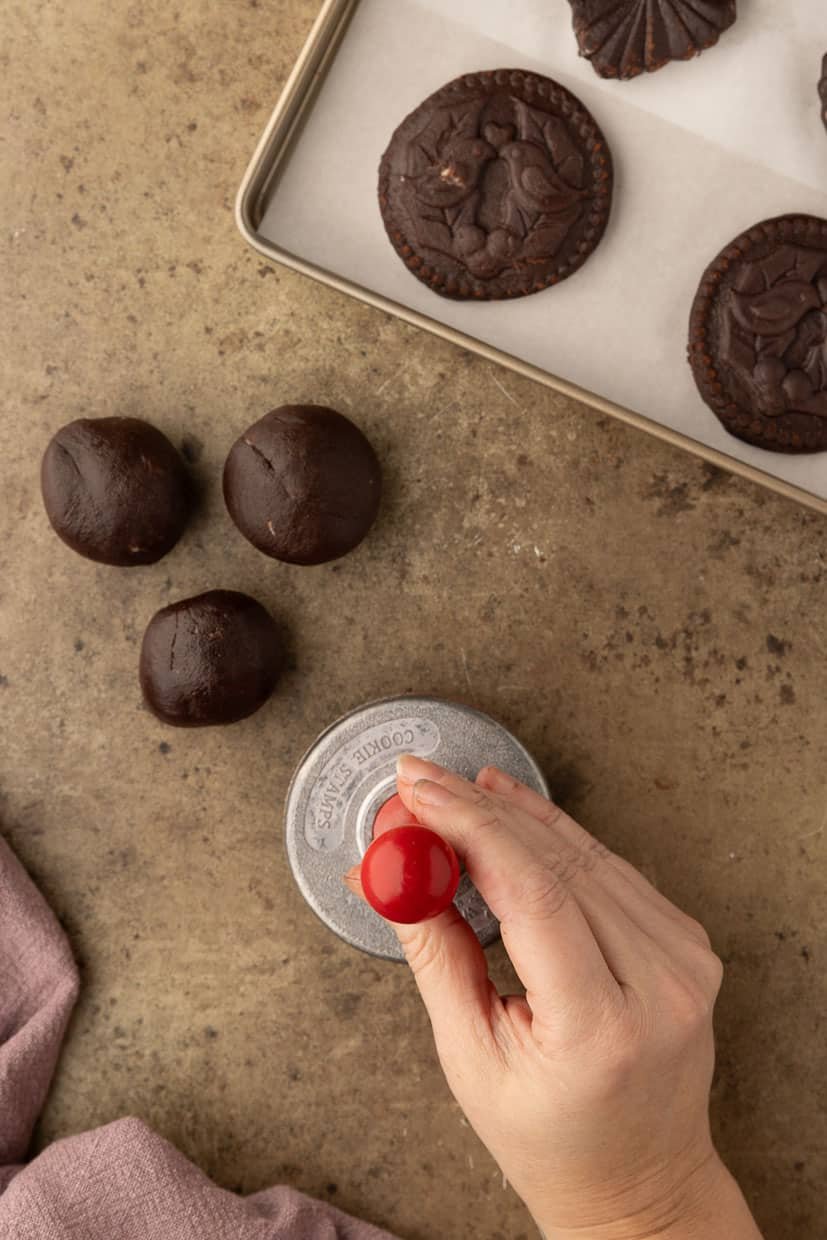
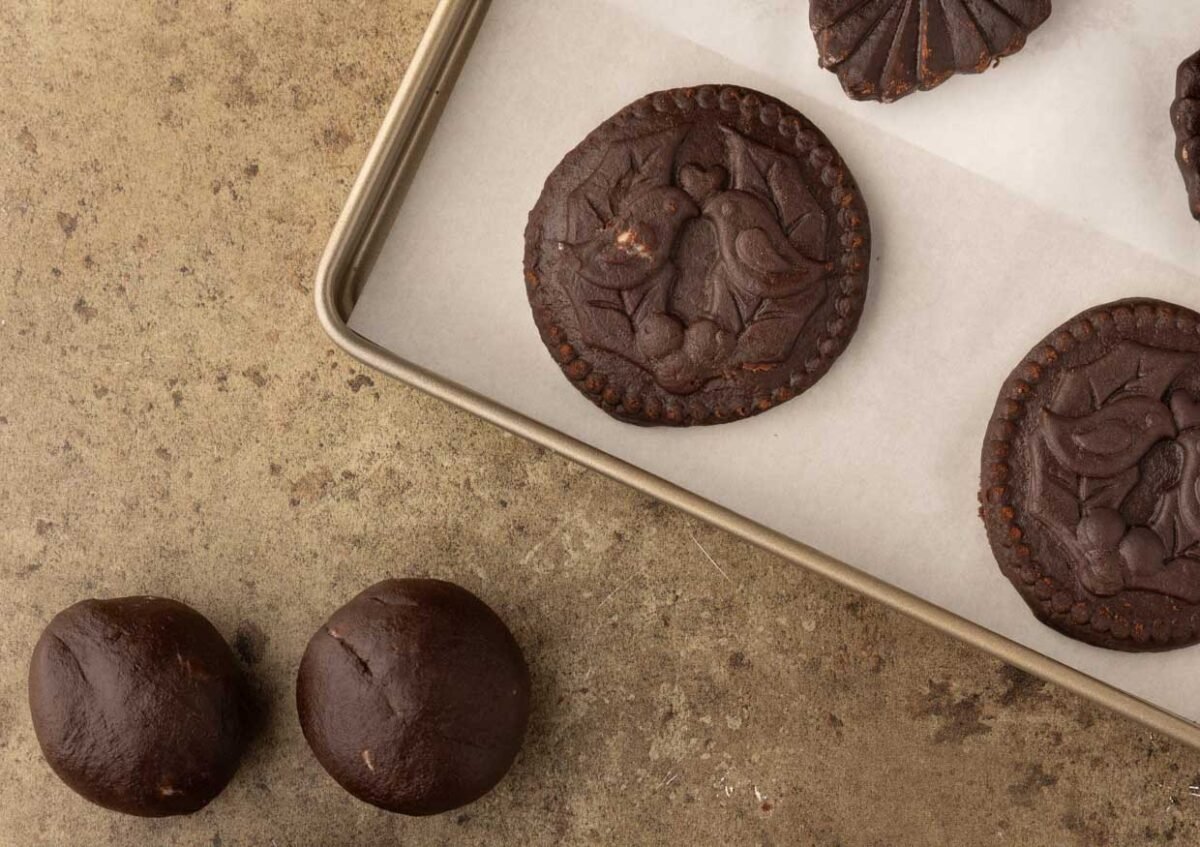
- Use the cookie stamp to emboss the dough and chill for two hours.
- When ready, preheat the oven and bake the chocolate shortbread cookies about 11 minutes.
Chocolate Shortbread Cookies

Equipment
Ingredients
- 2 cups all-purpose flour (spooned and leveled)
- 1 cup powdered sugar
- ½ cup cocoa powder (plus extra for dusting)
- ½ teaspoon salt
- 1 teaspoon vanilla extract
- 1 cup unsalted butter (very cold and cubed)
- 4 tablespoons water (very cold)
Instructions
- In a large mixing bowl, add the flour, powdered sugar, cocoa powder, and salt. Whisk together until fully combined.
- Add the cold, cubed butter and use a pastry cutter or your fingertips to work the butter into the flour mixture until it resembles bread crumbs.
- Add the vanilla extract and 2 tablespoons of cold water. Use a knife to cut the liquid into the dough. It will take a while for the dough to come together. If it looks dry add 1 tablespoon of cold water and keep cutting the dough. You may need to add the final tablespoon to bring the dough together (see notes).
- Lightly flour a work surface and turn the dough out onto it. Use your hands to bring the dough together into a smooth ball of dough. Put the dough back into the mixing bowl and refrigerate for 20 minutes.
- Prepare two cookie sheets with parchment paper. After 20 minutes, remove the dough from the refrigerator and divide it into 20 equal portions of dough. Roll each portion into a ball.
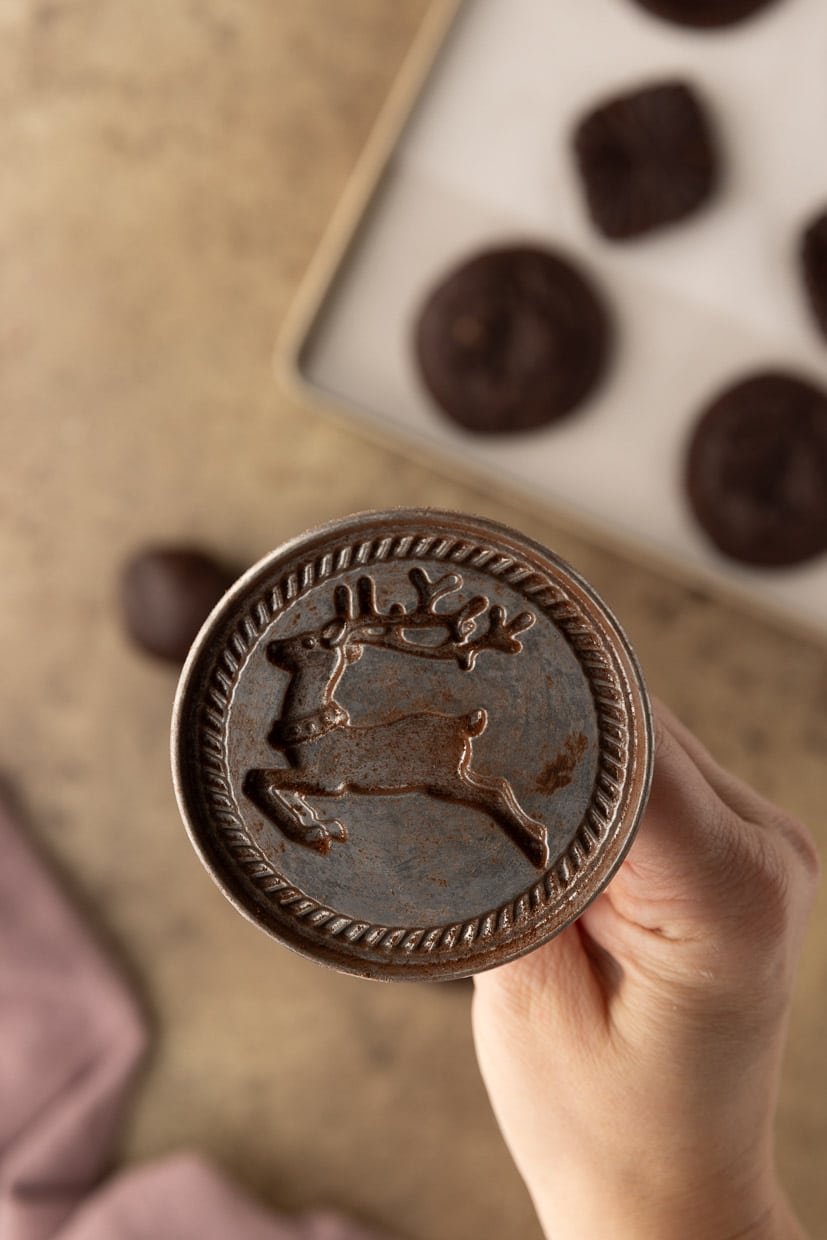
- Brush your cookie stamp with cocoa powder and press it onto the small ball of dough. As you press, rotate the cookie stamp in a circular motion. This will help the dough to spread out to the edges of the stamp.
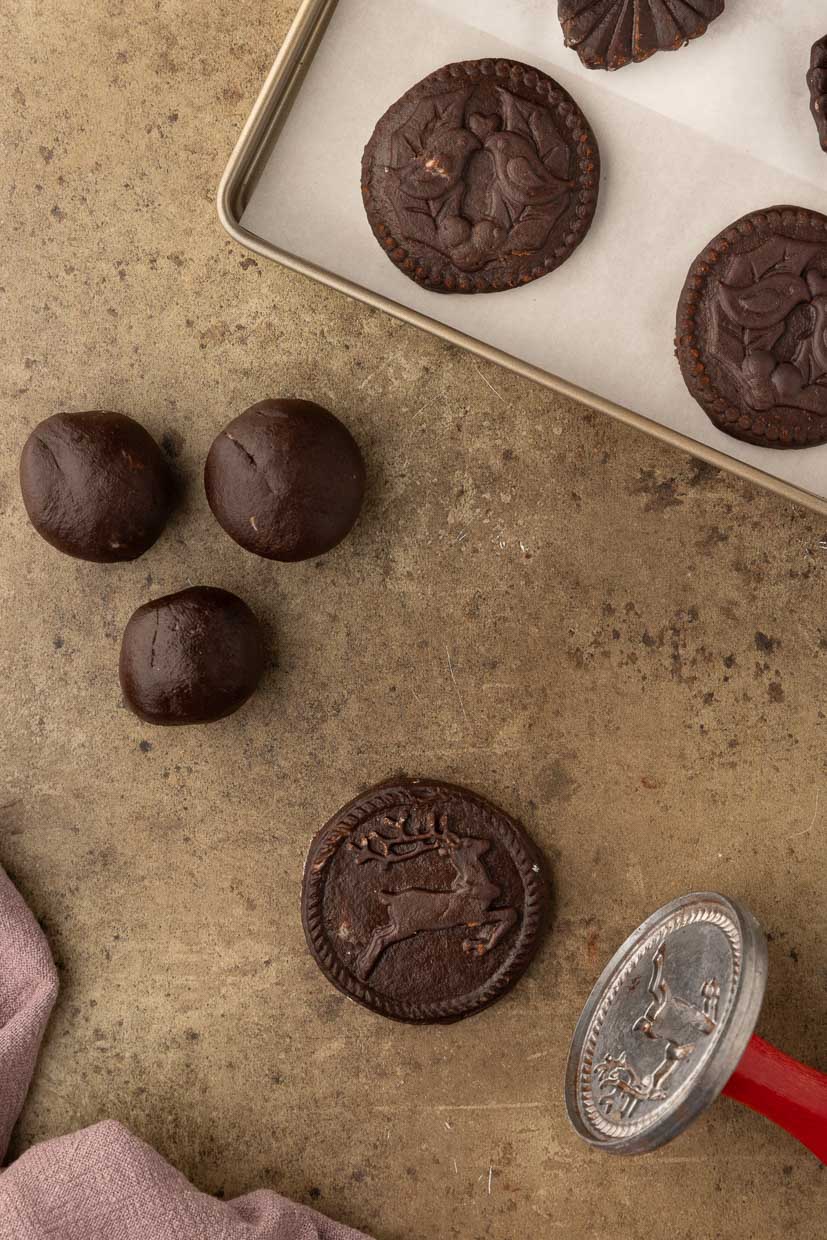
- Lift the cookie stamp away from the dough revealing the embossed pattern. Use a palette knife to lift the cookie from your work surface and onto the cookie sheet. Repeat for the remaining dough balls.
- Put the cookie sheets in to the refrigerator to chill for 2 hours. This step is crucial.
- Preheat the oven to 350 degrees F.
- Once the shortbread chills for two hours it will feel hard to the touch. Place the cookie sheets into the oven and bake for 11 minutes.
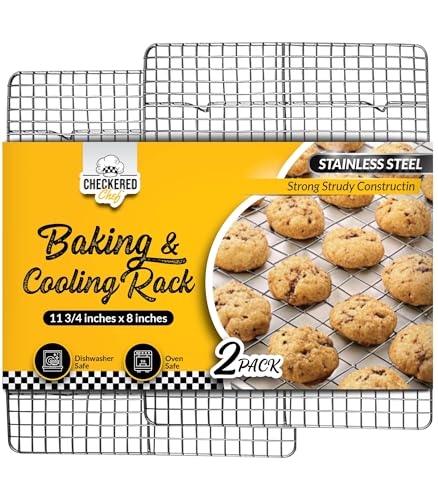
- Remove the shortbread from the oven and allow the cookies to cool on the cookie sheet before serving.
Notes
- Storage and Make-ahead: The dough can be kept in an airtight container in the fridge for two days. Once baked, store the cookies in an airtight container at room temperature for up to two weeks.
- Chocolate Shortbread can be frozen for up to one month.
- If you are not using a cookie stamp, the dough can be rolled out after the first 20 minutes of chilling and cut with regular cookie cutters. However, you must still chill the cut-out dough for at least one hour before baking.
- The chocolate flavoring comes from the cocoa powder. We recommend a Dutch-processed cocoa powder for its smoother taste and dark coloring.
- Be sure to spoon and level your flour. If you scoop the measuring cup into flour, you risk compacting it. If this recipe has too much flour, the resulting shortbread will be too dense and too crumbly. If you want to weigh your flour, it should weigh 250 grams.
- When making shortbread, it’s important to use high-quality, very cold butter. Measure the butter properly because adding too much risks the dough spreading in the oven. If you want to weigh it out, it should be 227 grams.
- Using a pastry cutter to work the butter into the dough is great because it means you won’t transfer heat from your hands. If you don’t have a pastry cutter, use only your fingertips and avoid rubbing the mixture with your palms. Keeping shortbread dough as cold as possible will yield better results.
- When it’s time to add the water and bring the flour together into a dough, add the water gradually so you can judge how much you will need. You might not need all four tablespoons. This will depend on the brand of flour you choose, how it reacts to absorbing flour, and how it is measured. It will take several minutes to cut the liquid into the dry flour mixture, so be patient. It will come together!
- When you bring the dough together into a ball with your hands, we recommend running your hands under a cold tap first. Try to handle the dough as little as possible. You shouldn’t have to knead it but merely shape it into a smooth-looking ball.
- Chilling the dough briefly before portioning it will make it easier to handle and help when embossing the shortbread.
- The second chill once the shortbread has been stamped is very important. Do not skip this step, or your shortbread will spread in the oven and lose its pattern.
- Toward the end of baking, the shortbread will puff up a bit, but as the shortbread cools, it should settle back down, and your pattern will look beautiful again!
- You might consider adding a glaze to the shortbread for a different look. We also have dry-brushed the stamped Chocolate Shortbread with edible glitter, which looks really pretty.
Nutrition
Questions and tips
How do you store the cookies?
Store your chocolate shortbread cookies in an airtight container at room temperature for up to a week. The cookies will become more crumbly the older they get, so for best results, either eat them within a few days or freeze them and take out a cookie or two as needed.
Can you freeze these shortbread cookies with chocolate?
You can freeze these cookies after baking or freeze the unbaked dough.
To freeze the baked cookies: Place the cookies on a baking sheet in the freezer for a few hours. Place the frozen cookies in a freezer-safe container or bag and store them for up to three months.
To freeze the unbaked cookie dough: Roll the dough into balls and place them on a baking sheet in the freezer for a few hours. Place the frozen balls in a freezer-safe container or bag and store them for up to three months. When you’re ready to use the cookies, thaw them in the refrigerator overnight and then follow the recipe for baking.
How do you use the cookie stamp?
Brush your cookie stamp with cocoa powder and press it onto the small dough ball. As you
press, rotate the cookie stamp in a circular motion — this will help the dough spread out to
the stamp’s edges. Lift the cookie stamp away from the dough to reveal the embossed pattern.
What cookie stamp do you use?
For this recipe, we used the Nordic Ware Yuletide Cookie Stamps and Nordic Ware Pretty Pleated Cookie Stamps. We have tested a large selection of embossed cookie stamps over the years and
Nordic Ware has never let us down in terms of quality — they are made from a sturdy cast
aluminum and the results are a deeply embossed pattern on cookies.
Tips for chocolate shortbread cookies
- If you are not using a cookie stamp, the dough can be rolled out after the first 20 minutes of chilling and cut with regular cookie cutters. However, you will still need to chill the cut-out dough for at least one hour before baking.
- The chocolate flavoring comes from the cocoa powder. We recommend a Dutch-processed cocoa powder (like Hershey’s Special Dark) for its smoother taste and dark coloring. The resulting shortbread is fairly heavy on the cocoa flavor so if this doesn’t appeal to you, you can make my regular Butter Shortbread.
- Be sure to spoon and level your flour. If you scoop the measuring cup into flour, you risk
compacting it. If this recipe has too much flour, the resulting shortbread will be too dense and crumbly. If you would like to weigh your flour, it should be 250 grams. - When making shortbread, it’s important to use high-quality, very cold butter. We use Land O’ Lakes Unsalted Butter in almost all of our recipes. Measure the butter properly because if you add too much, you risk the dough spreading in the oven. If you want to weigh it out, it should be 227 grams.
- Using a pastry cutter to work the butter into the dough is great because it means you won’t
transfer heat from your hands. If you don’t have a pastry cutter, use only your fingertips and avoid rubbing the mixture with your palms. Keeping shortbread dough as cold as possible will always yield better results. - When it’s time to add the water and bring the flour together into a dough, add the water
gradually so you can judge how much you will need. You might not need all four tablespoons. This will depend on the brand of flour you choose, how it reacts to absorbing flour and how it was measured. It will take several minutes to cut the liquid into the dry flour mixture, so be patient. It will come together! - When you bring the dough together into a ball with your hands, we recommend running your hands under a cold tap first. Try to handle the dough as little as possible. You shouldn’t have to knead it but merely shape it into a smooth-looking ball.
- Chilling the dough briefly before you portion it will make it easier to handle and help when it
comes to embossing the shortbread. - The second chill once the shortbread has been stamped is very important. Do not skip this step, or your shortbread will spread in the oven and lose the pattern.
- Toward the end of the baking time, the shortbread will puff up a bit, but as the shortbread cools, it should settle back down, and your pattern will look beautiful again!
- You might consider adding a glaze to the shortbread for a different look. We have also dry-brushed the stamped Chocolate Shortbread with edible glitter, which looks really pretty.
If you make this recipe, please leave a comment and ⭐️⭐️⭐️⭐️⭐️ below!
Join Southern Food and Fun Community group
and Southern Potluck group!
And please follow us on social media:

