This post may contain affiliate links. Please read our disclosure policy.

Find out why millions of readers over the last 15 years have made and loved this fudge pie. It’s so easy to make with no fancy ingredients. We’ve kept it simple with cocoa powder, butter, eggs, sugar, a touch of flour, and vanilla, all poured into a pie crust. Takes about 45 minutes from start to finish for a company-worthy dessert.
Wish I could give this 10 stars, it’s so deserving!
pat
Best fudge pie hands down! I used a no roll pie crust and it was beyond amazing❣️ A family favorite in my recipe book! Wish I could add a pic, I topped with whipped cream and shaved a dark chocolate bar on top. Was beautiful and SO easy! Thanks for sharing this wonderful. easy dessert!
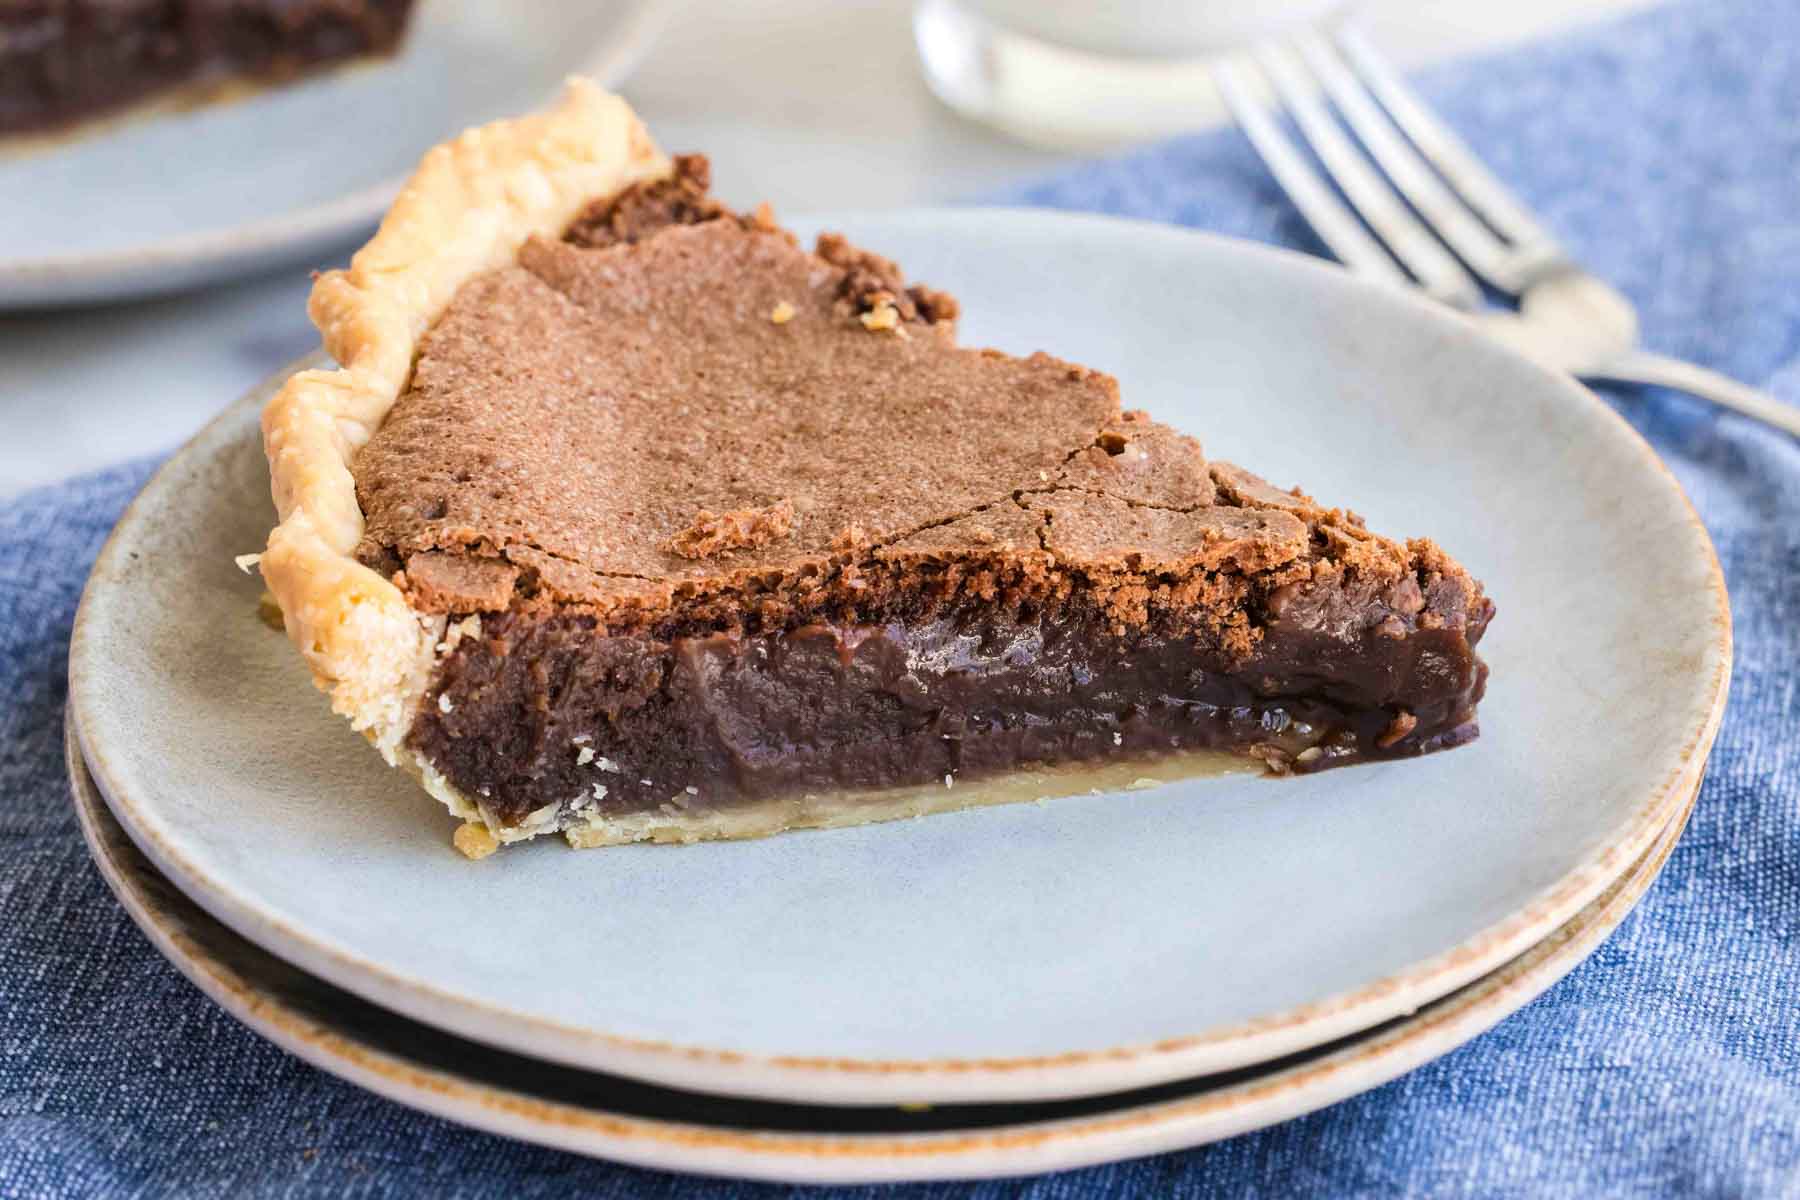
Table of Contents
If you ask my family what they want for dessert, hands down, every single one of us will say something like chocolate. Chocolate Chess pie, chocolate cake, chocolate something — which doesn’t mean we don’t like other desserts. Give me a good Creme Brulee any day!
But overall, we crave chocolate. Which probably helps explain the preponderance of chocolate recipes on this site and why we love this fudge pie so much!
Testing results for fudge pie
- We tested this pie with baker’s chocolate and with Hershey’s cocoa powder, and our tasters preferred both the taste and the texture of the version with cocoa powder.
- We tested this recipe using a frozen deep-dish crust, a homemade pie crust, and a refrigerated pie crust. Each iteration bakes up slightly differently. I’ve provided more details below that will help you regardless of which crust you use, along with my recommendations.
Why this recipe is amazing
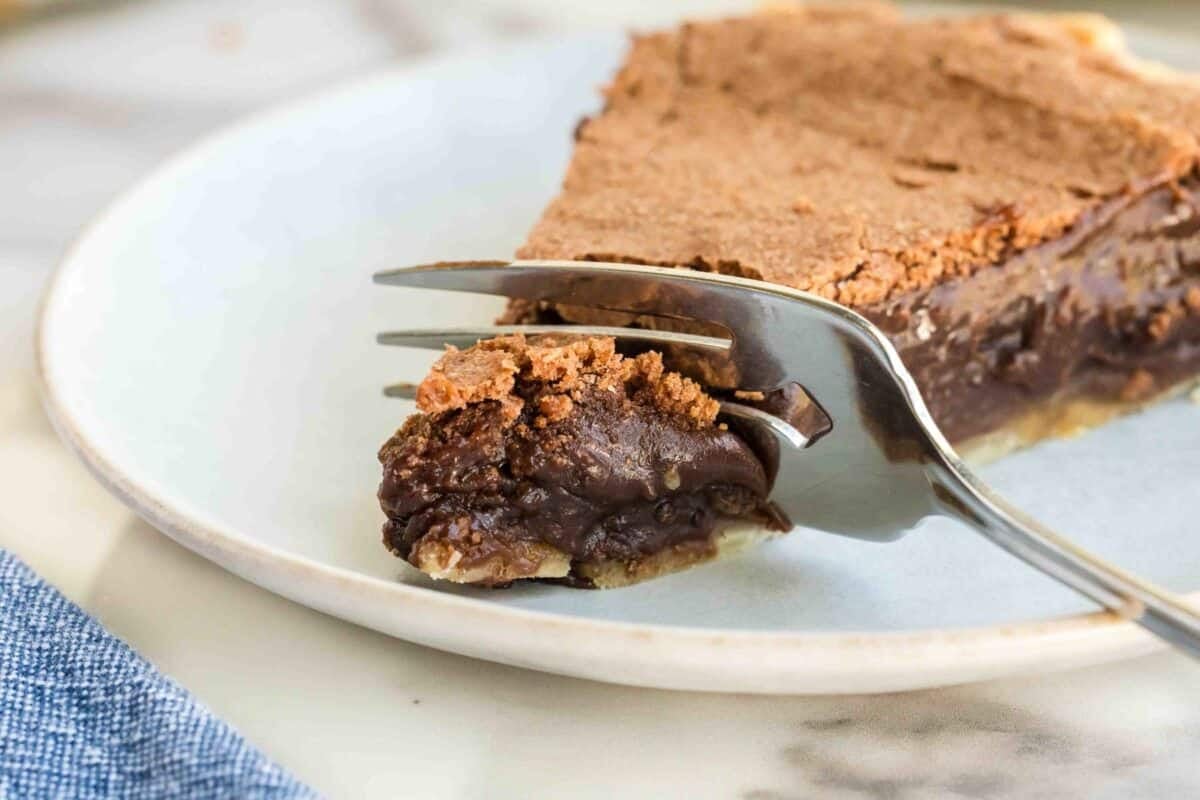
TASTE: This fudge pie is gooey and full of chocolate flavor from the Hershey’s cocoa. It is absolutely divine, and our readers have raved about it for years.
EASY: Pie-making doesn’t get any easier than this! You don’t have to pull out the mixer, although you certainly can. This fudge pie is mixed up in one bowl, and the batter is poured into the crust. That’s it. No fuss, no muss.
I love that this is a chocolate pie with cocoa, so you don’t have to bother with melting chocolate or even remembering to buy chocolate. I may not always have baking chocolate in my pantry, but I ALWAYS have cocoa!
MAKE-AHEAD DESSERT: This pie keeps for days and tastes just as good on day three as it does on day one. If I have to take a dessert somewhere, this pie is in my top five list of things to make because it’s a great make-ahead option and transports easily.

I hope you make this recipe. I think you’ll love it!

Ingredient notes
The ingredients for this chocolate fudge pie are basic and stuff you likely have in your pantry and fridge right now. After you make this fudge pie once, you’ll probably make sure that you always have these ingredients handy so you can make it again on the spur of the moment! Here are some things to be aware of:
➡️➡️➡️ The full ingredient amounts and instructions are listed below on the printable recipe card. Scroll below the recipe card for frequently asked questions and tips for success.
Pie crust: I have more information in the testing notes below regarding the pie crust, but TL:DR is that we prefer homemade pie crust or refrigerated pie crust in a 9-inch pie plate
Cocoa powder: We use regular Hershey’s cocoa powder almost exclusively in our kitchen, and it works best in this recipe.
How we tested the pie crust
We tested this recipe using a deep-dish frozen pie crust, a regular 9-inch frozen pie crust, a refrigerated pie crust, and a homemade pie crust.
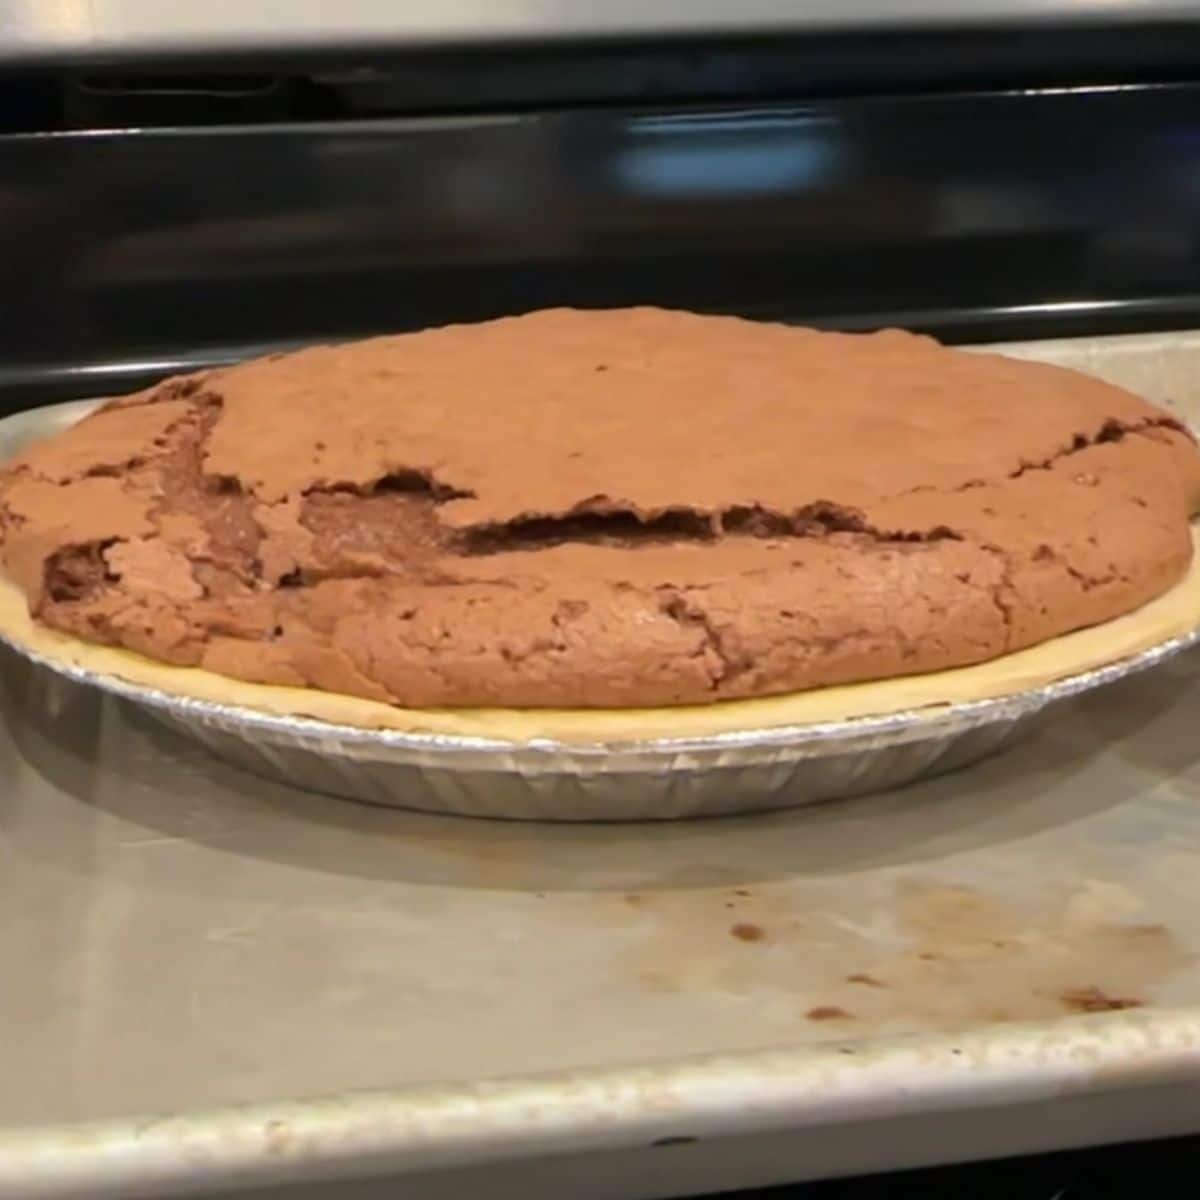
Results of test with frozen deep-dish pie crust:
The fudge pie made in the frozen deep-dish pie crust took longer to bake and didn’t turn out well.
- The filling fits perfectly in the deep-dish pie crust.
- The pie puffs up dramatically and then deflates, leaving cracks in the top, which may cause the top crust to fall off.
- The pie takes longer to bake, so the edges get overbaked.
Conclusion: NOT RECOMMENDED.
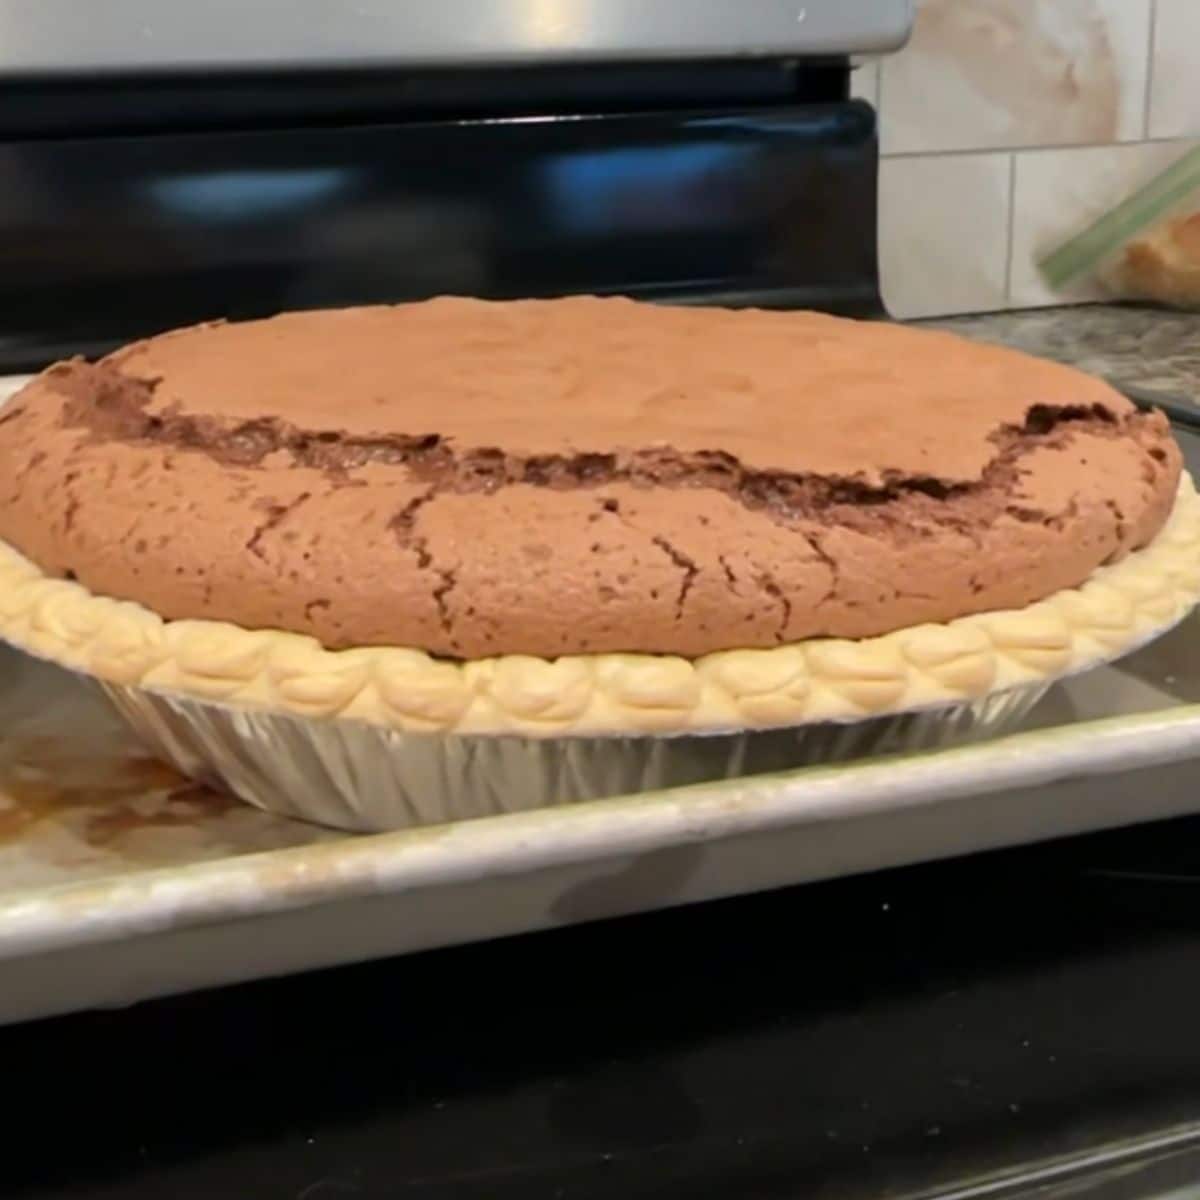
Results of regular 9-inch frozen pie crust:
The fudge pie made in the 9-inch frozen pie crust turns out okay, but must be adjusted for size.
- A frozen 9-inch pie crust is actually smaller than a 9-inch pie plate. Since this recipe was designed for a standard 9-inch pie plate, there is too much filling for the frozen pie crust. You can adjust this by removing 1 1/4 cups of fudge pie filling.
- This pie puffed up quite a bit and then deflated, although not as badly as the deep-dish pie.
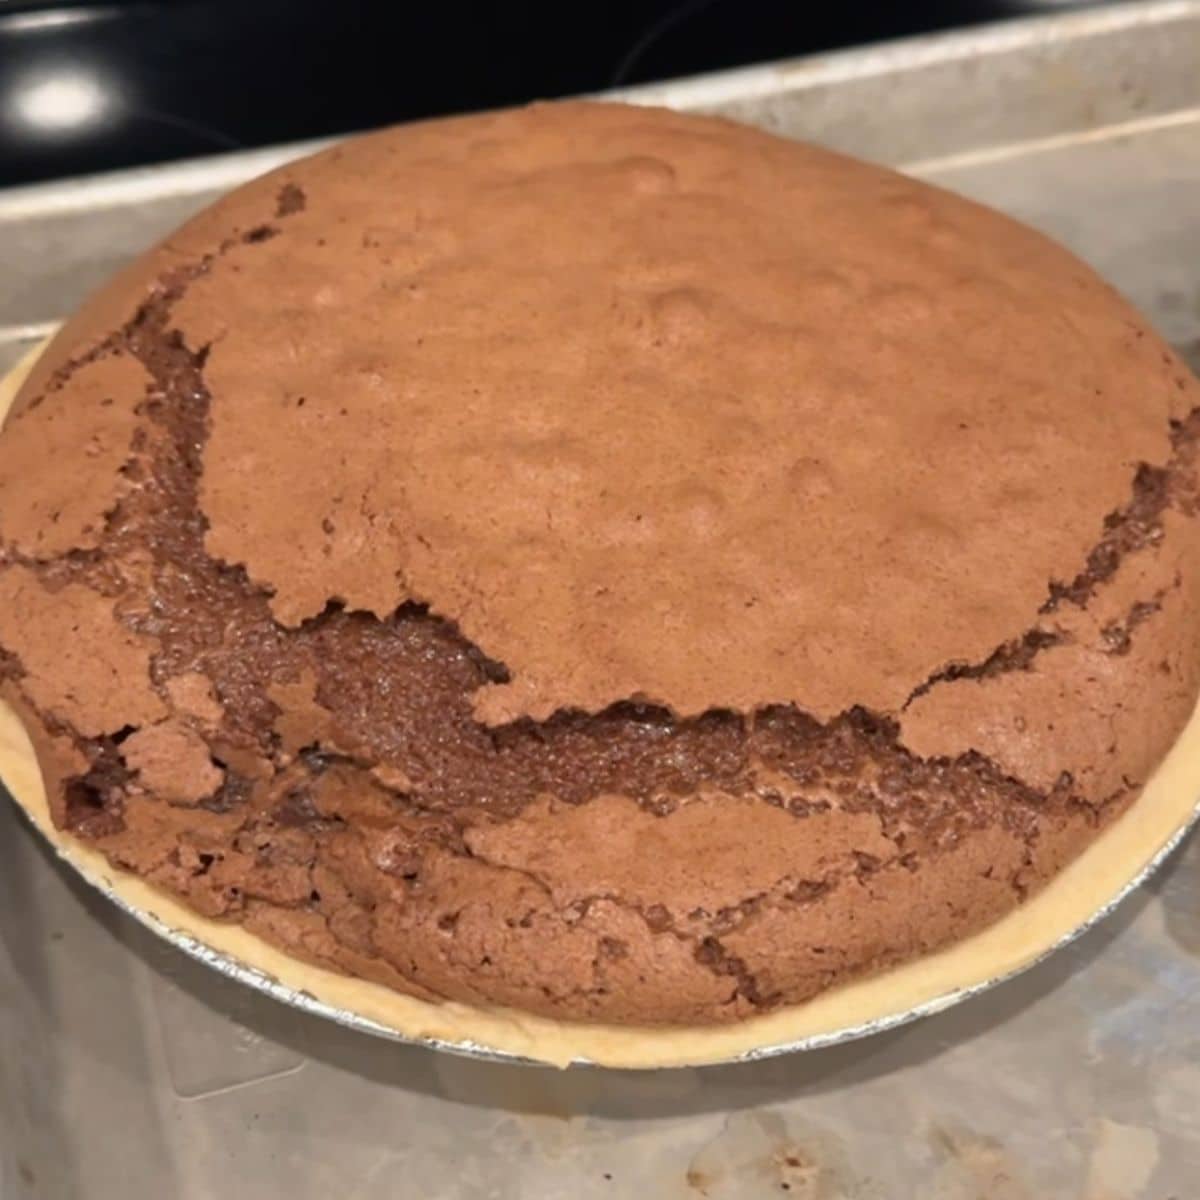
Conclusion: RECOMMENDED WITH RESERVATIONS DUE TO EXTRA FILLING AND PUFFING.
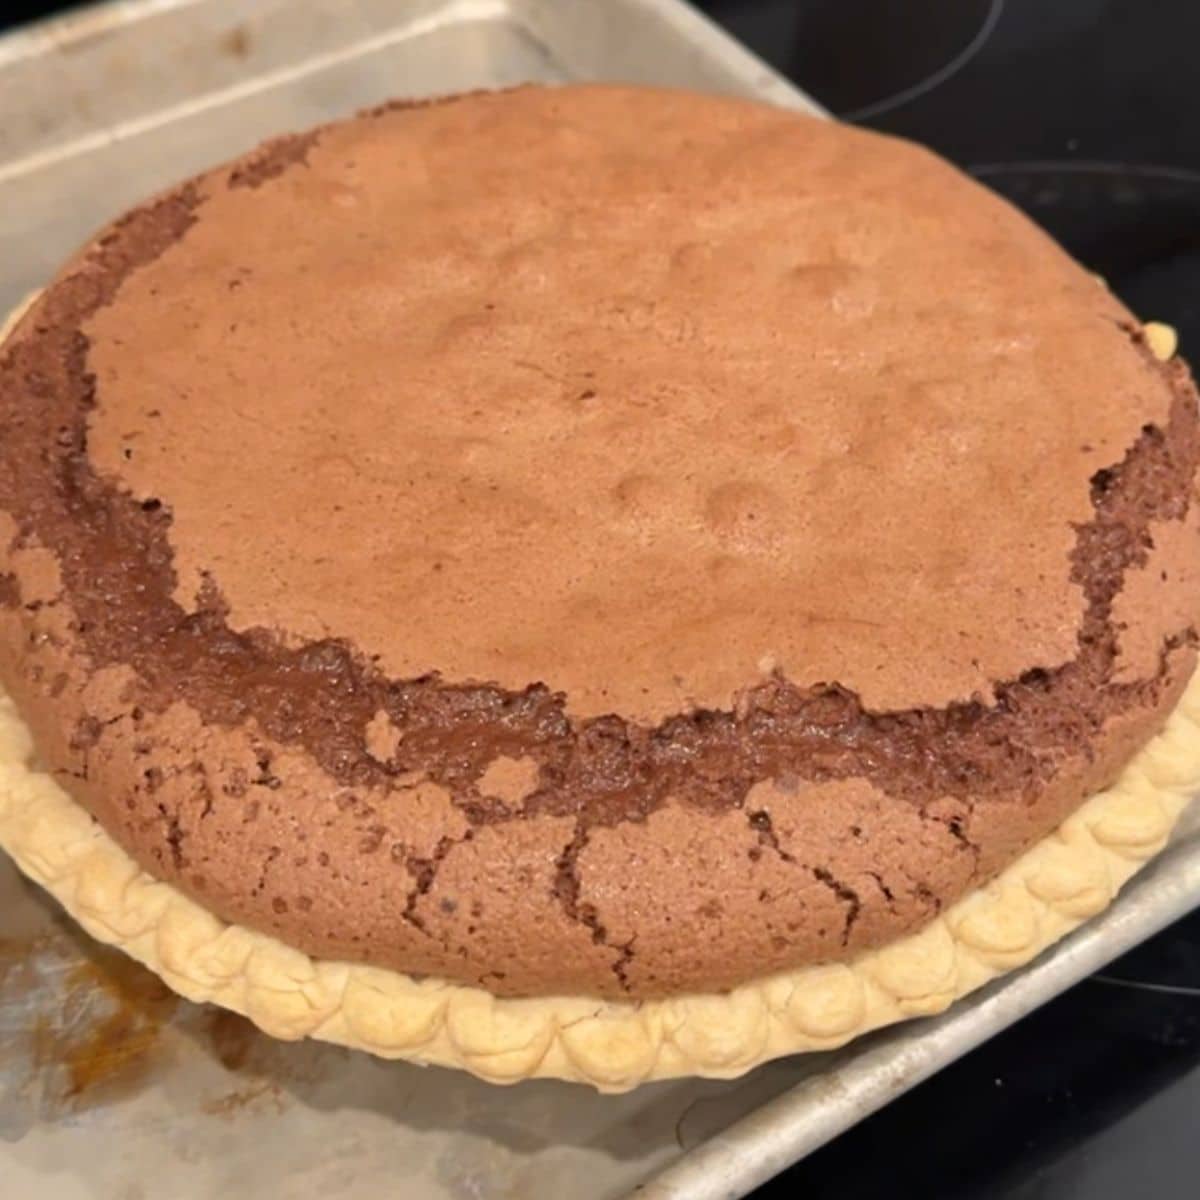
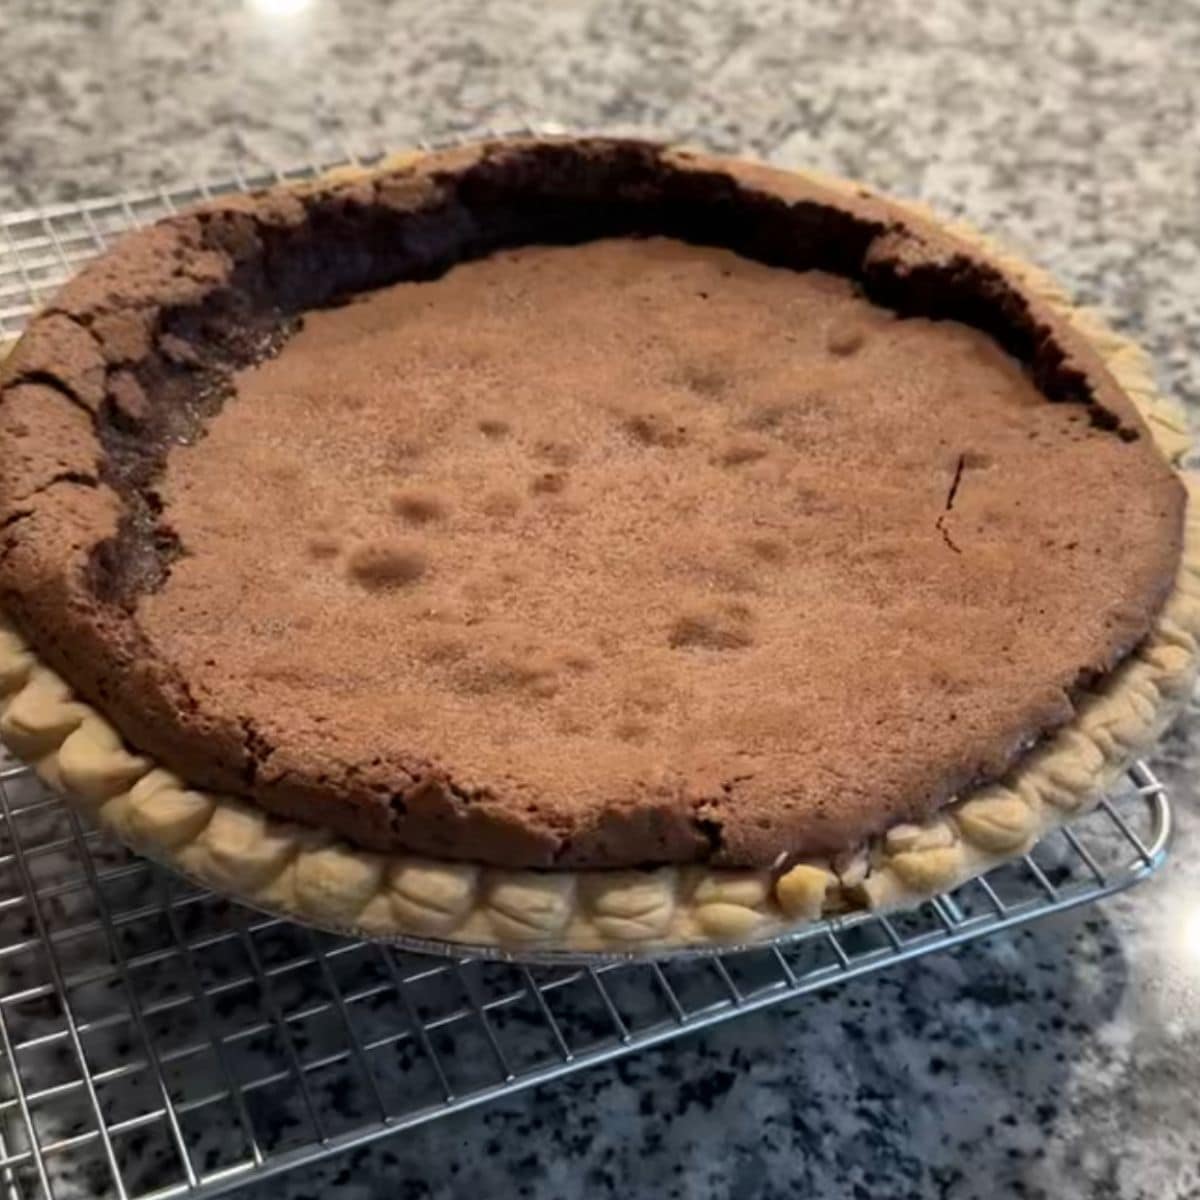
Results of refrigerated pie crust and homemade pie crust in a 9-inch pie plate:
The testing results for the refrigerated pie crust and the homemade pie crust were the same.
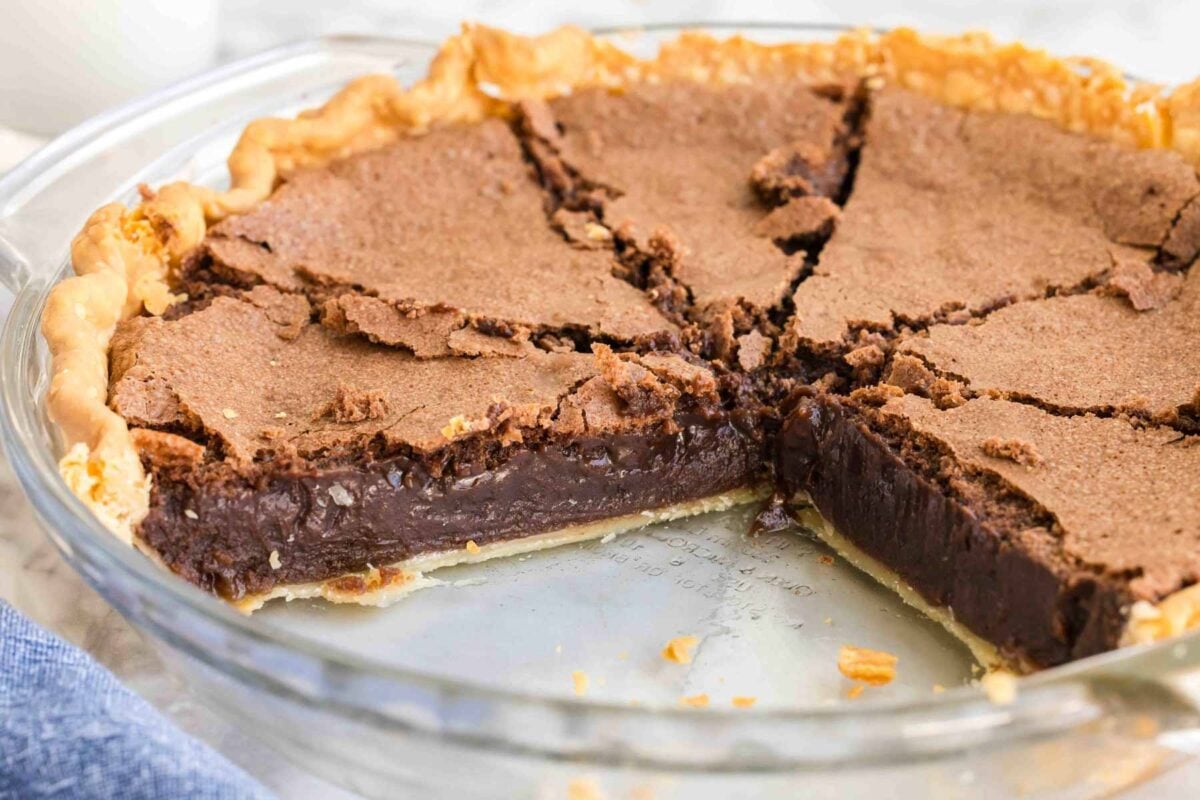
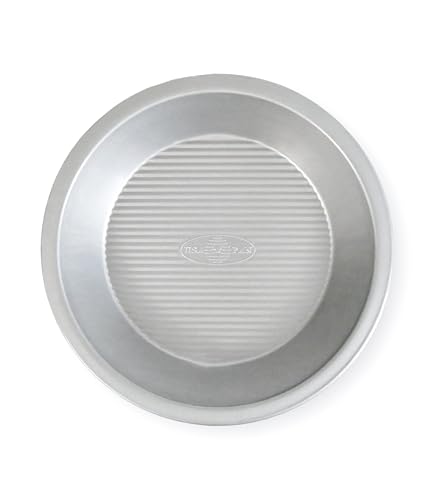
- This fudge pie works best when made with the 9-inch pie crust placed in a 9-inch pie plate. We like a standard glass pie plate like this one.
- The amount of pie filling is perfect for a standard 9-inch pie crust.
- The refrigerated and homemade crusts don’t release as much moisture as the frozen crusts, and the pie does not puff up as much.
Conclusion: HIGHLY RECOMMENDED.
How to make fudge pie
This pie is so easy that even kids can make it almost all by themselves. My grandkids have been making this pie for years.
Melt butter.
Start by melting 3/4 cup of unsalted butter in a large bowl in the microwave. Let that cool for a few minutes, then stir in 1 1/2 cups of granulated sugar.
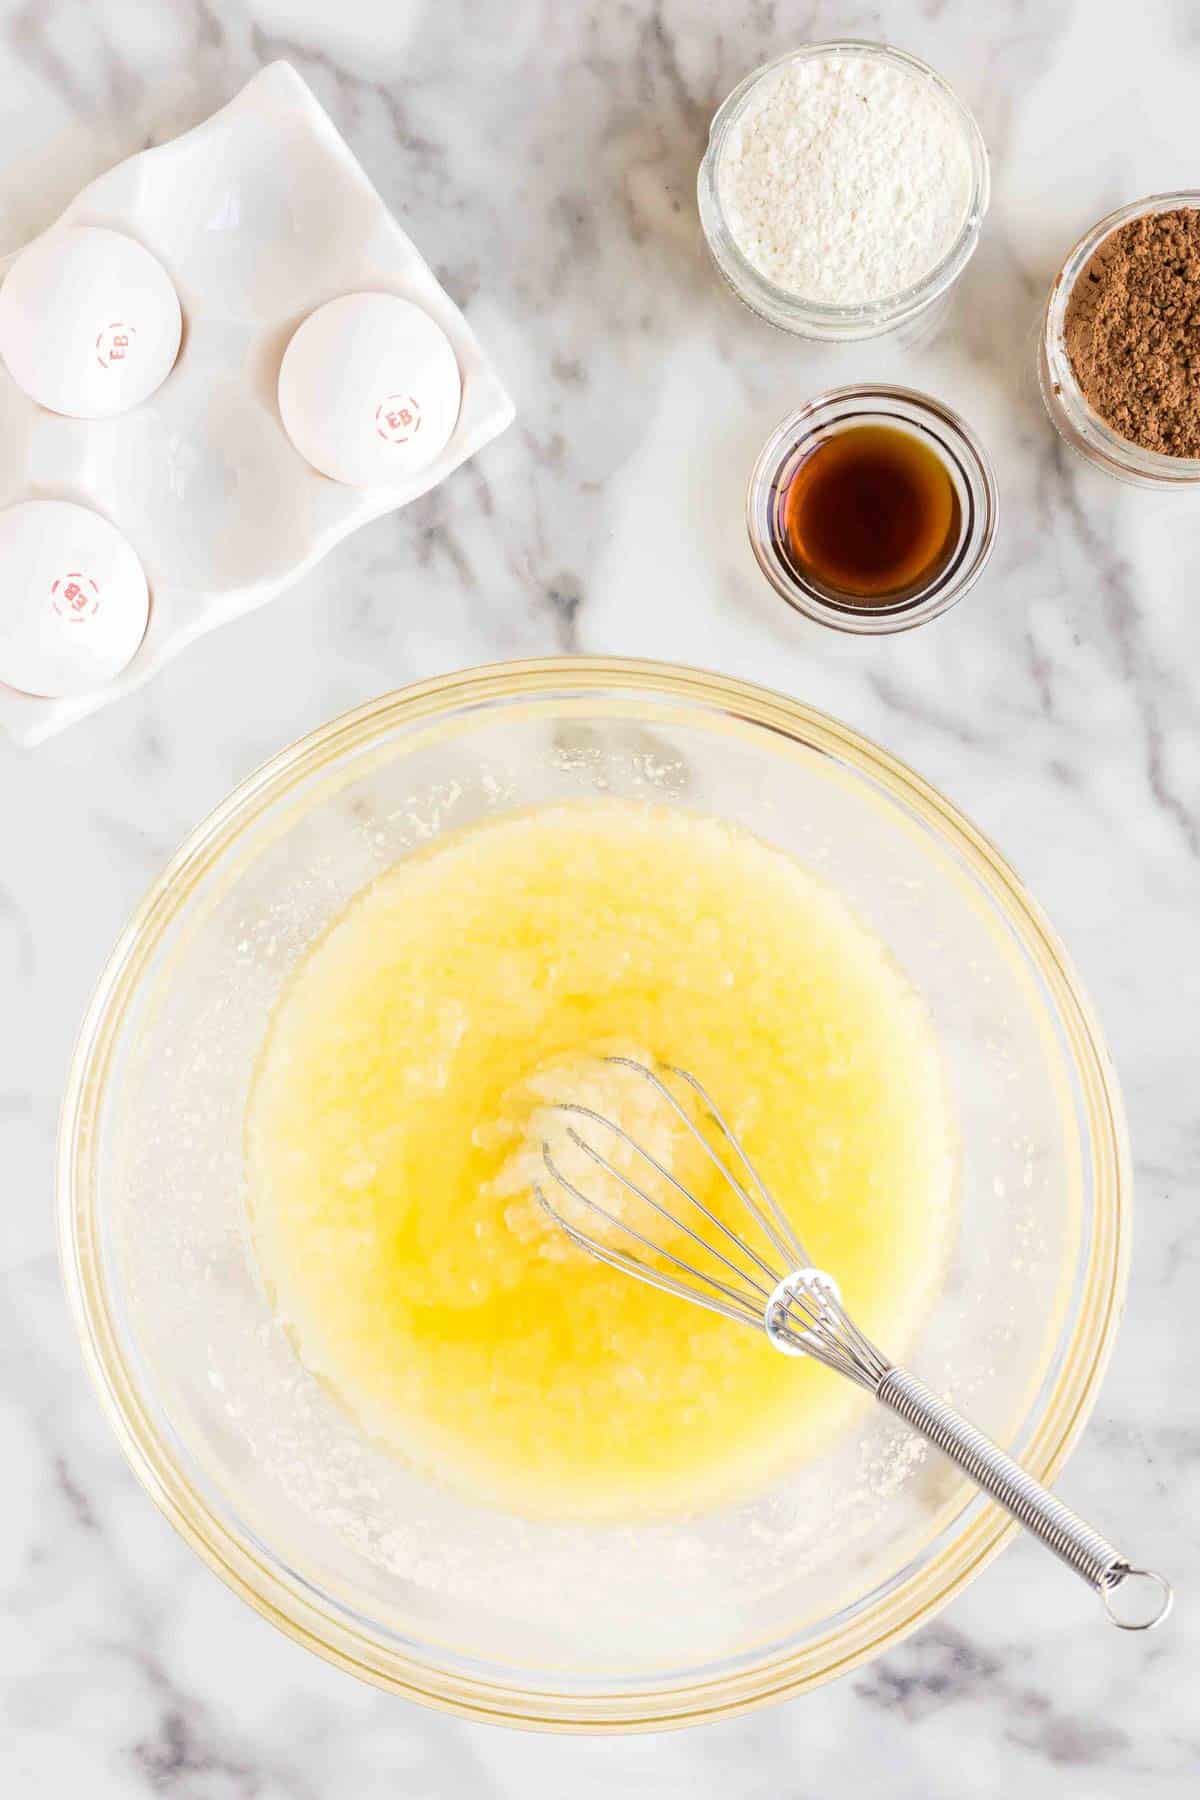
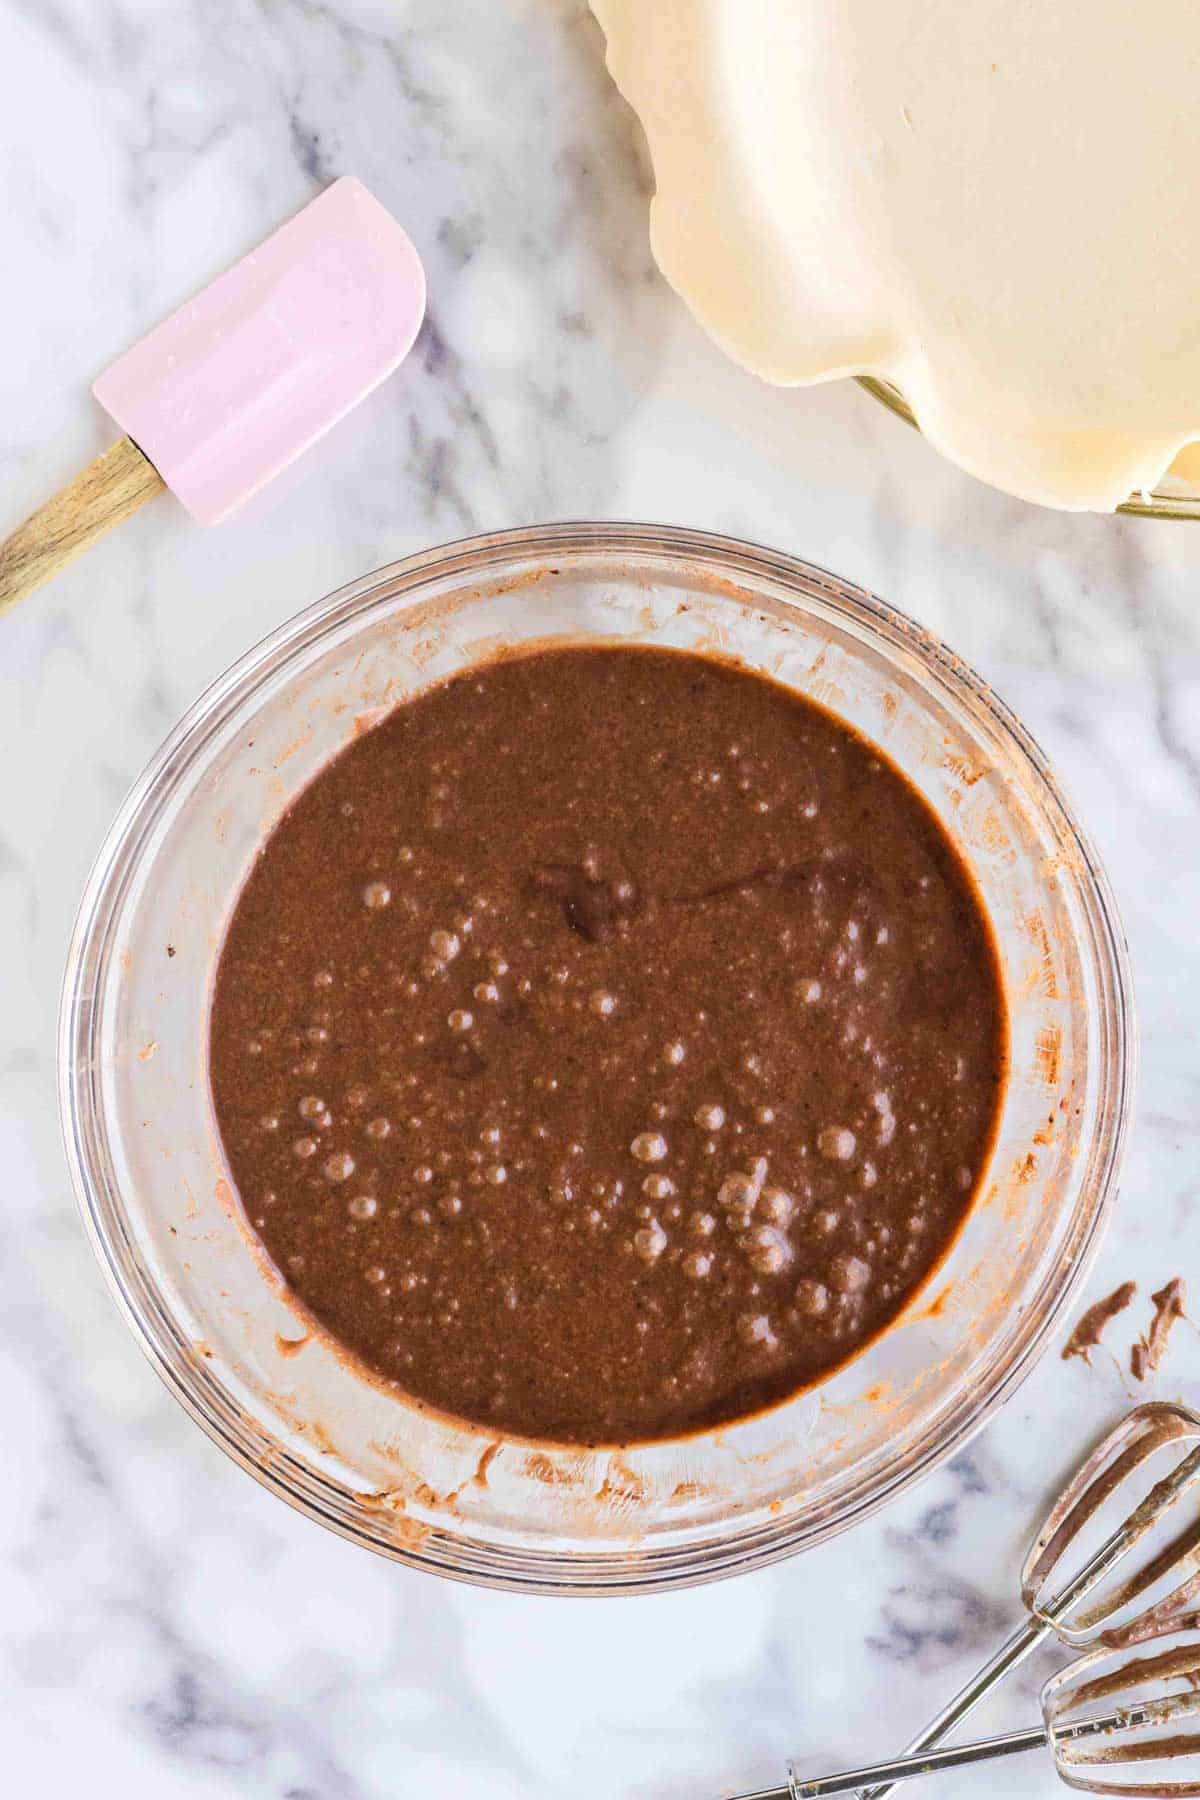
Whisk sugar into butter.
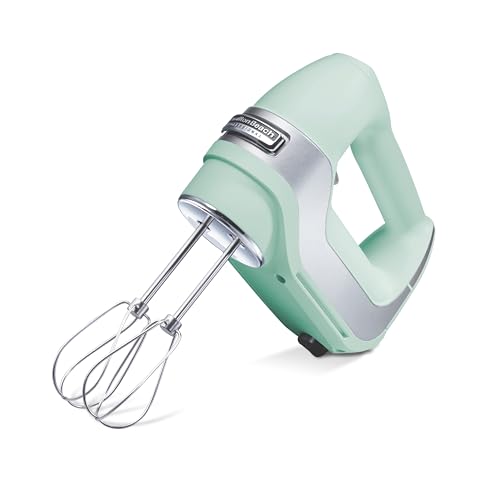
Use a hand mixer or whisk to dissolve the sugar, and keep in mind the sugar won’t dissolve completely until baking. The mixture will feel slightly grainy, which is perfectly fine.
Add the rest of the ingredients.
Step 3. Add 1/3 cup all-purpose flour, 1/8 teaspoon salt, 1/3 cup cocoa, 1 1/2 teaspoons vanilla extract, and three eggs to the sugar. Beat or whisk all together until batter is smooth.
I prefer to use a hand mixer, but I have used a whisk at times as well. This old-fashioned fudge pie recipe is a KISS pie — you know what that means!
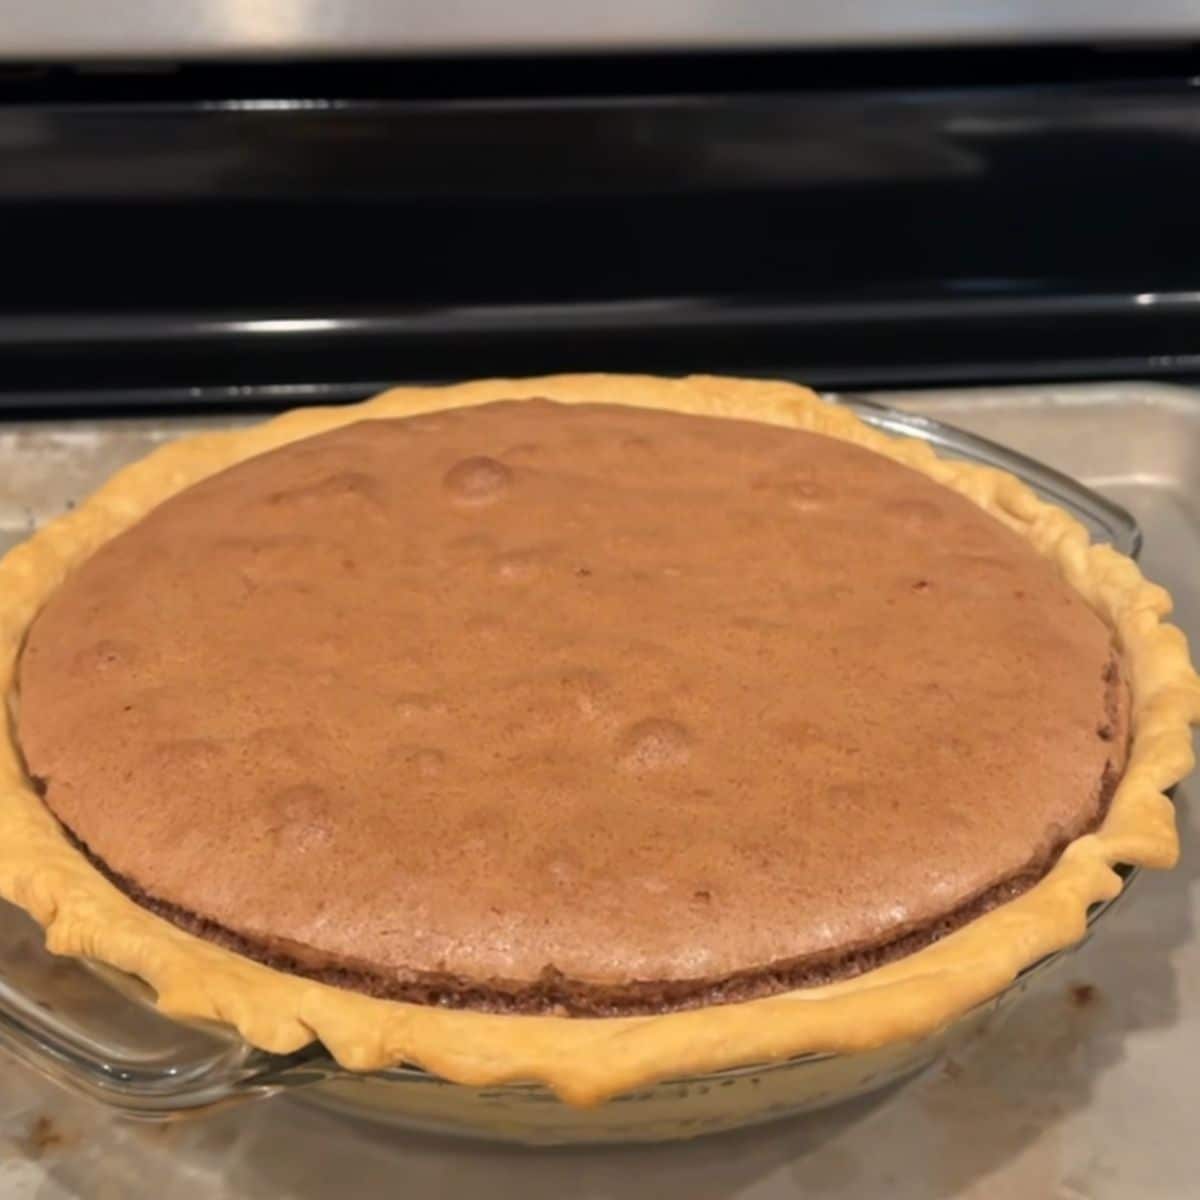
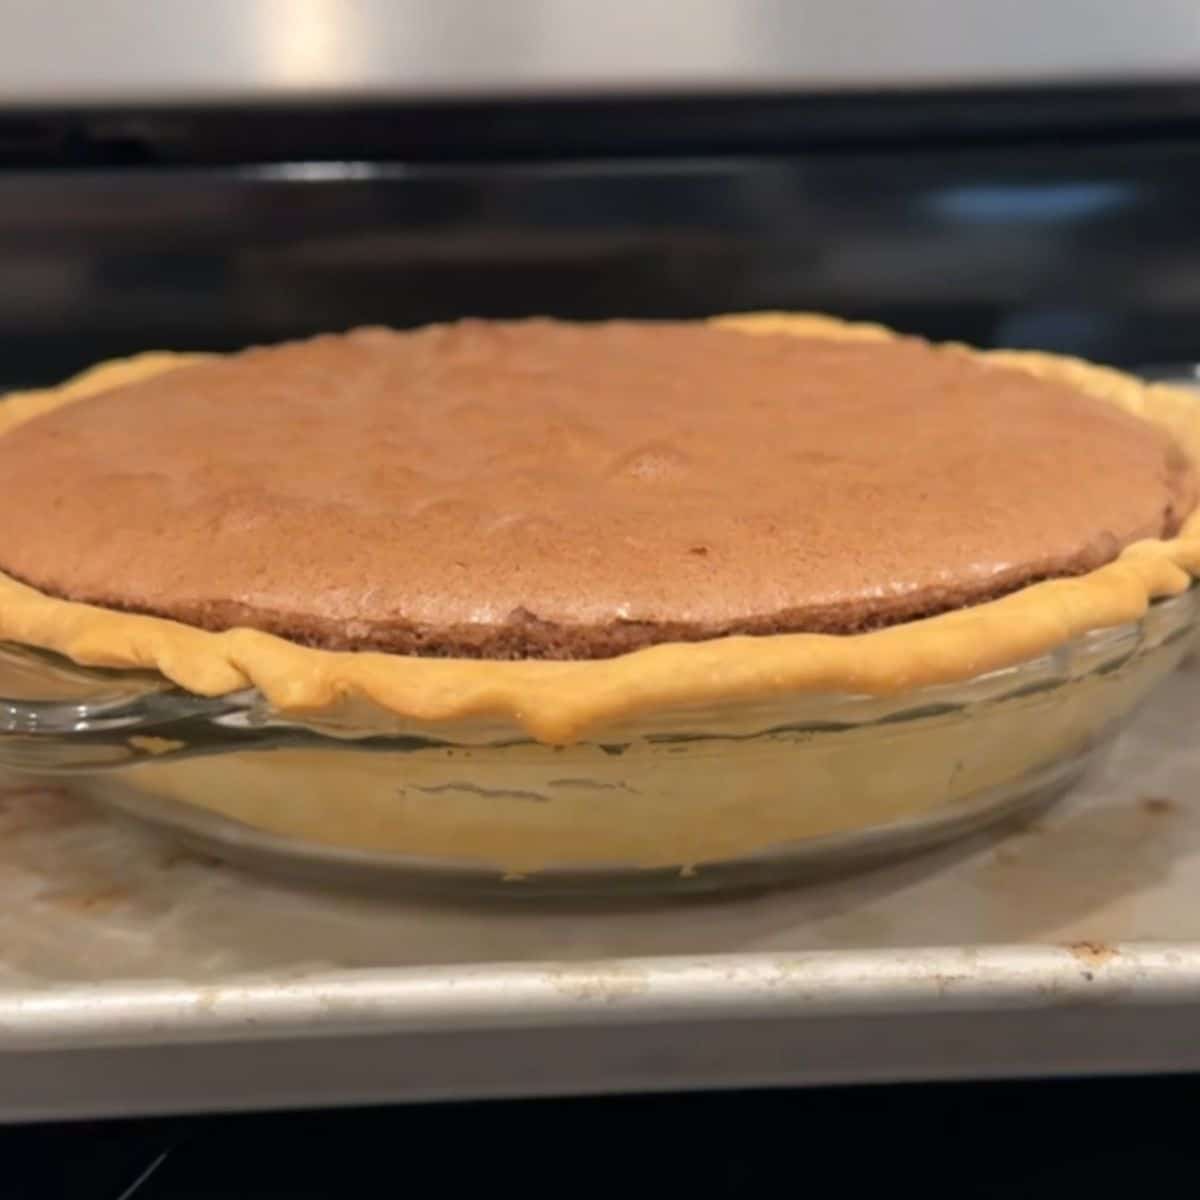
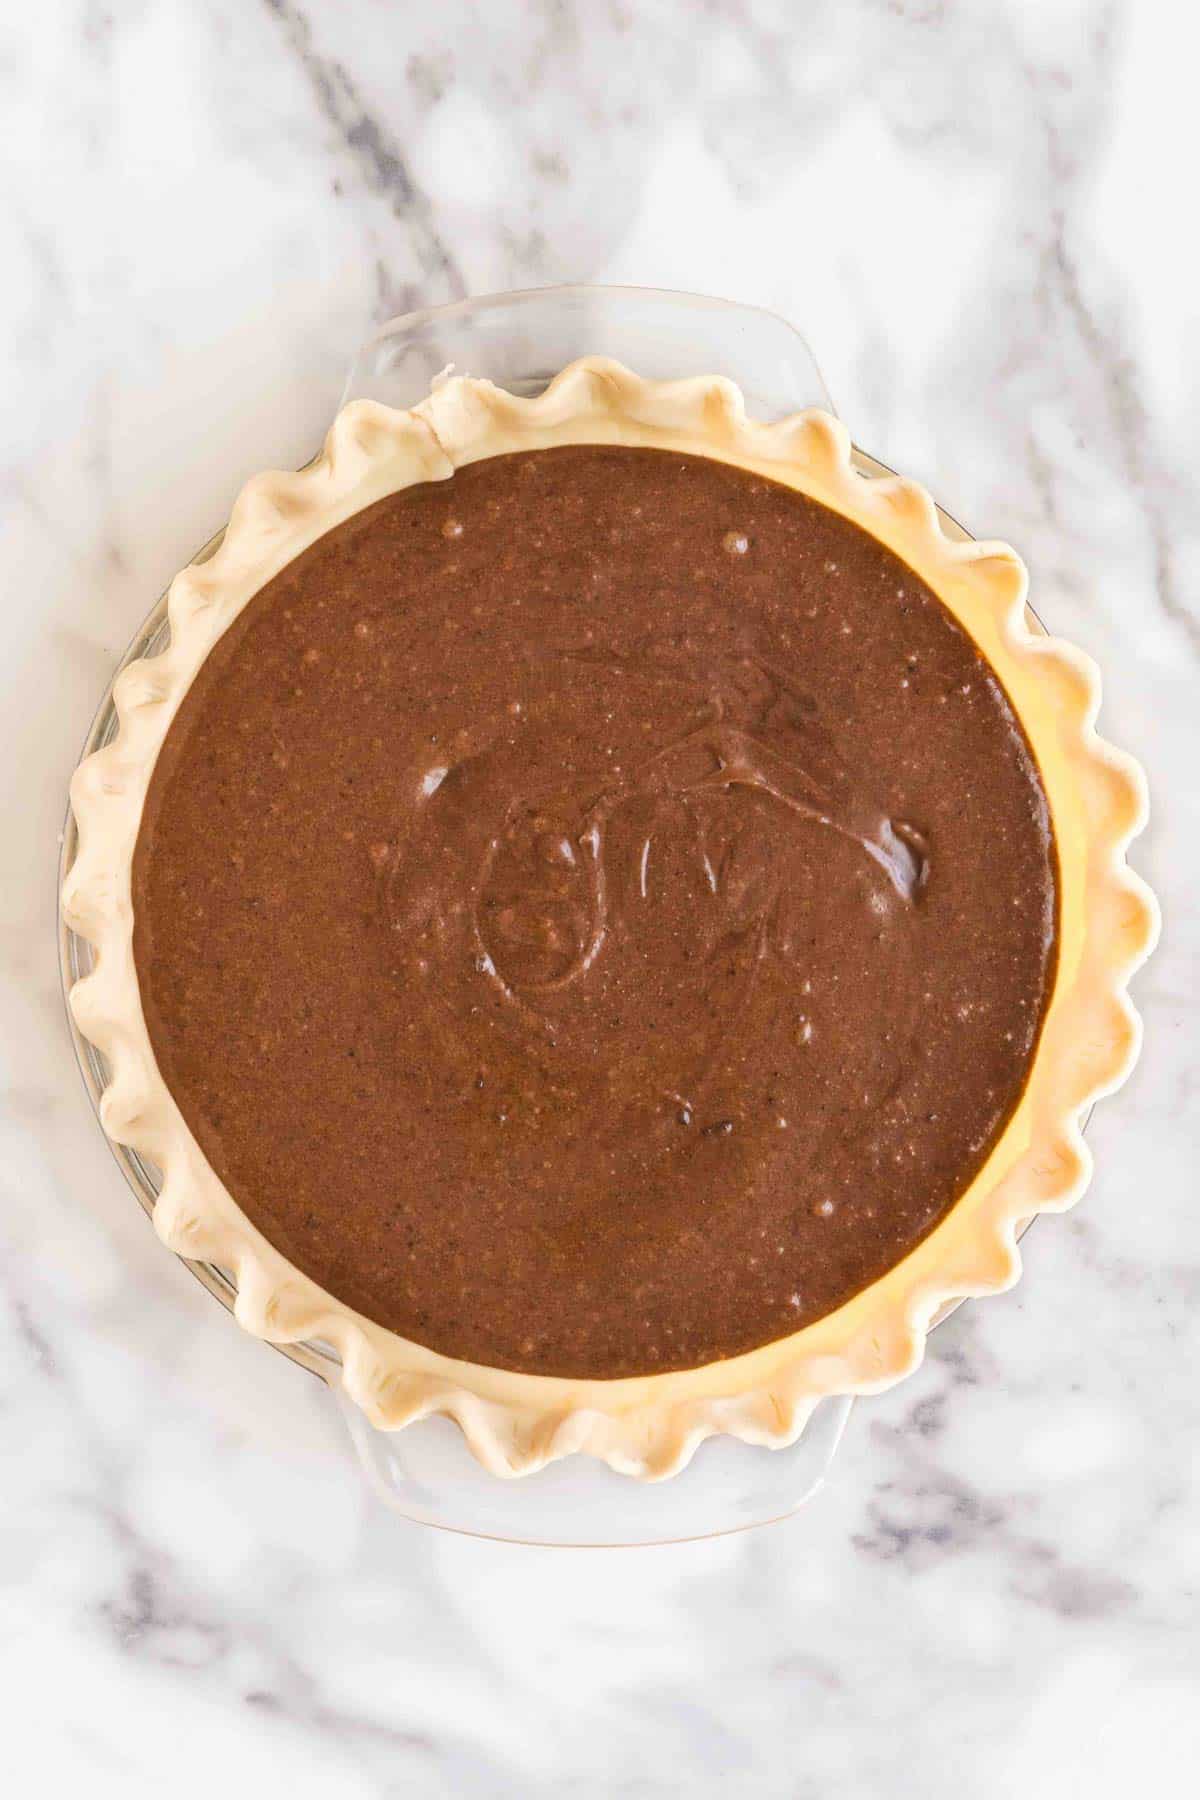
Bake the pie.
Pour the batter into an unbaked 9-inch pie crust and bake at 350° for about 40 minutes or until the center is almost set. Your tester should show wet crumbs but not wet batter coating it.
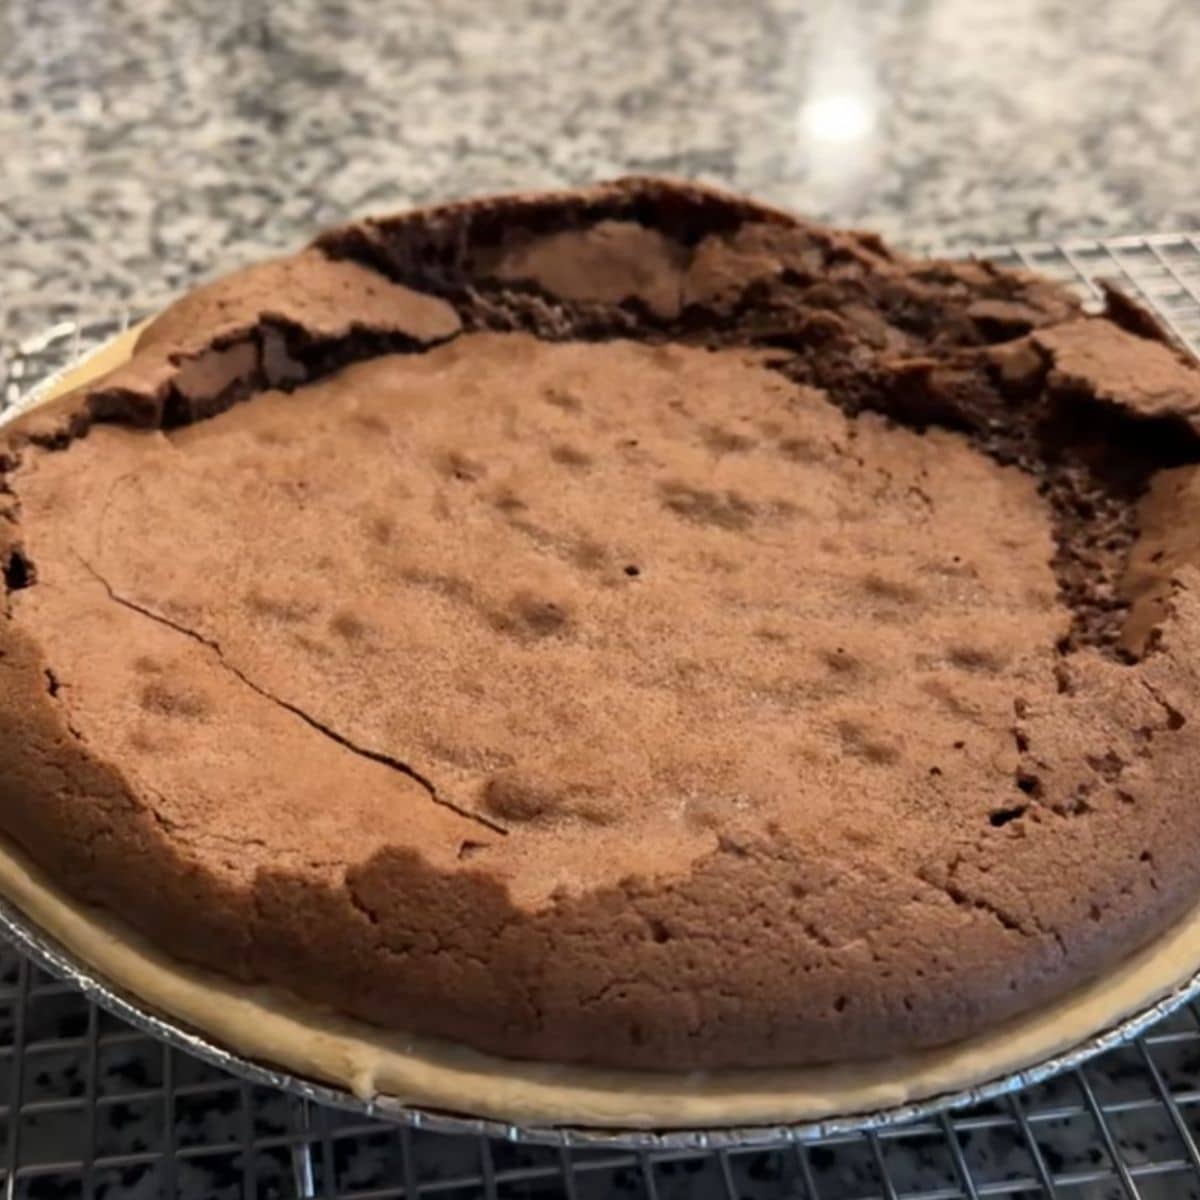
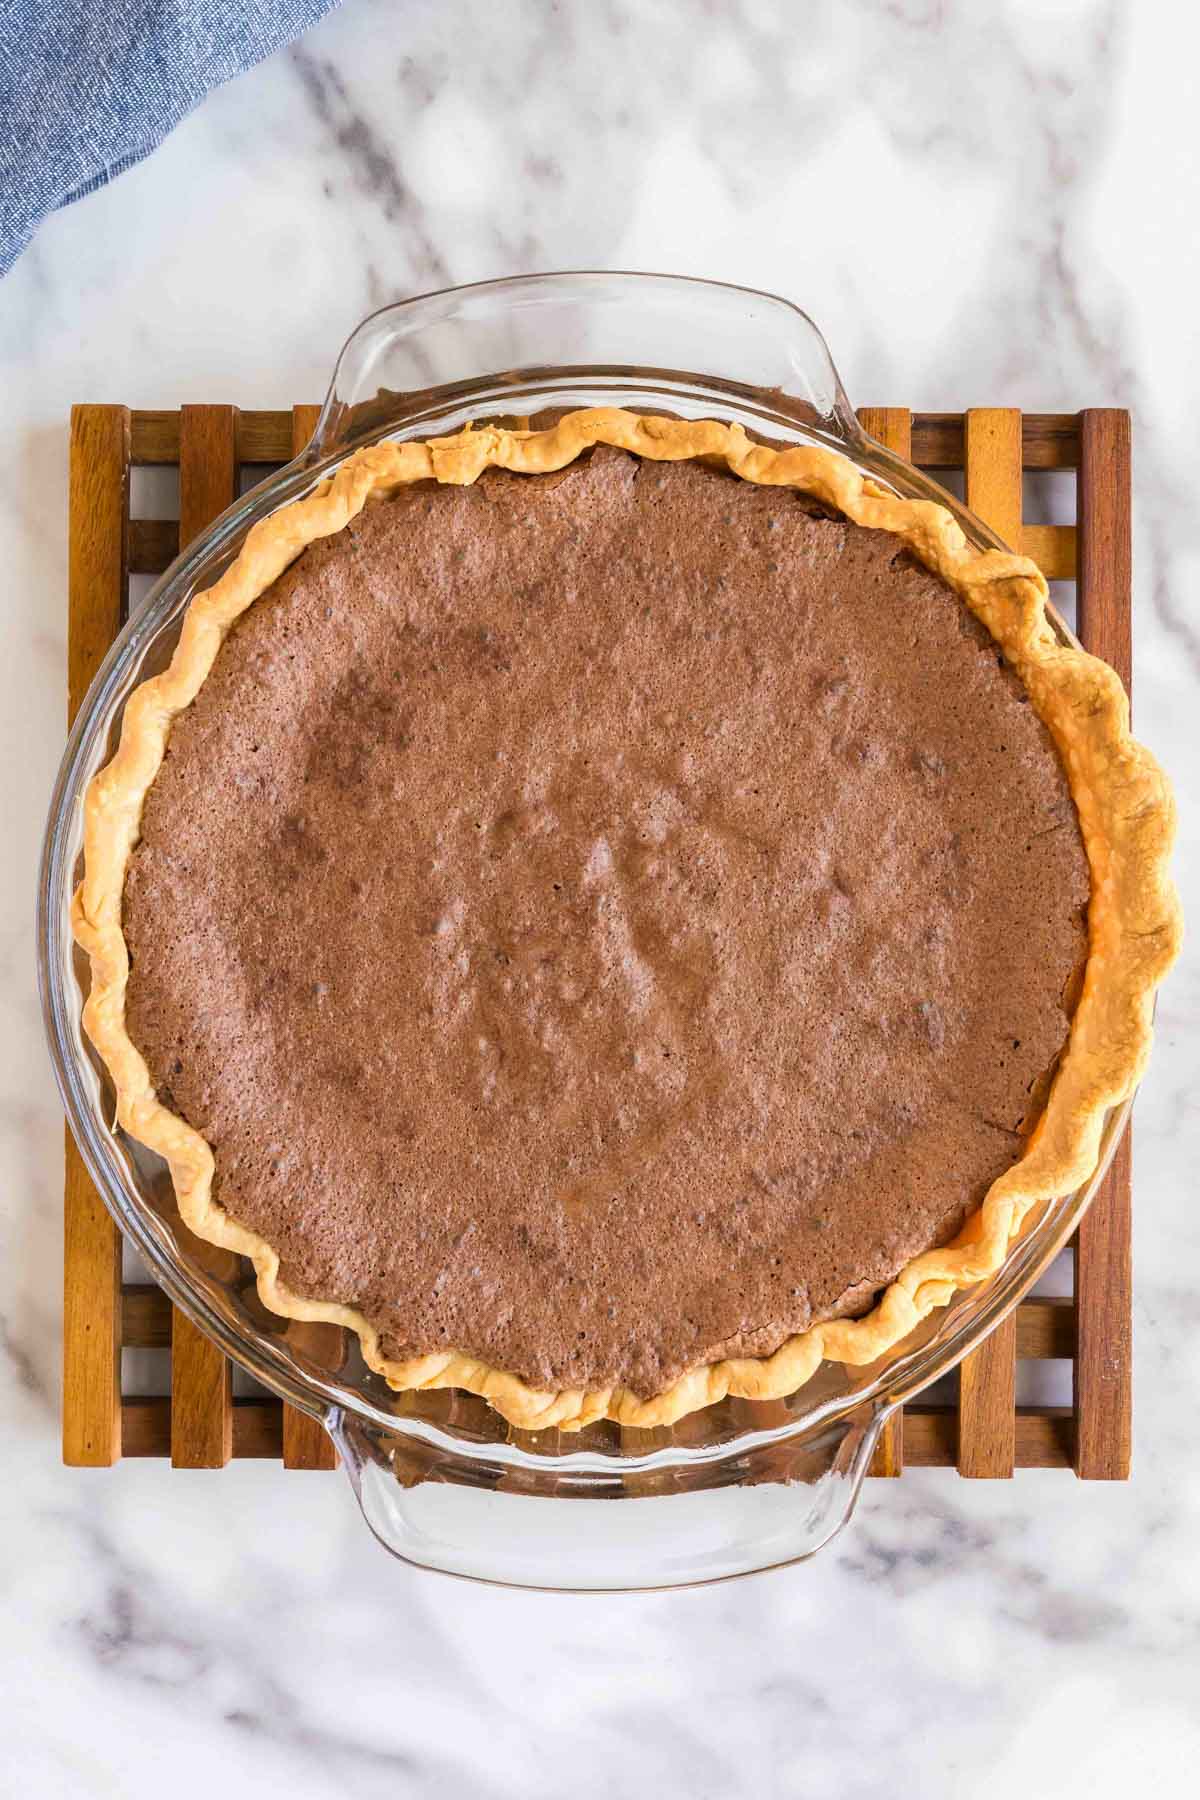
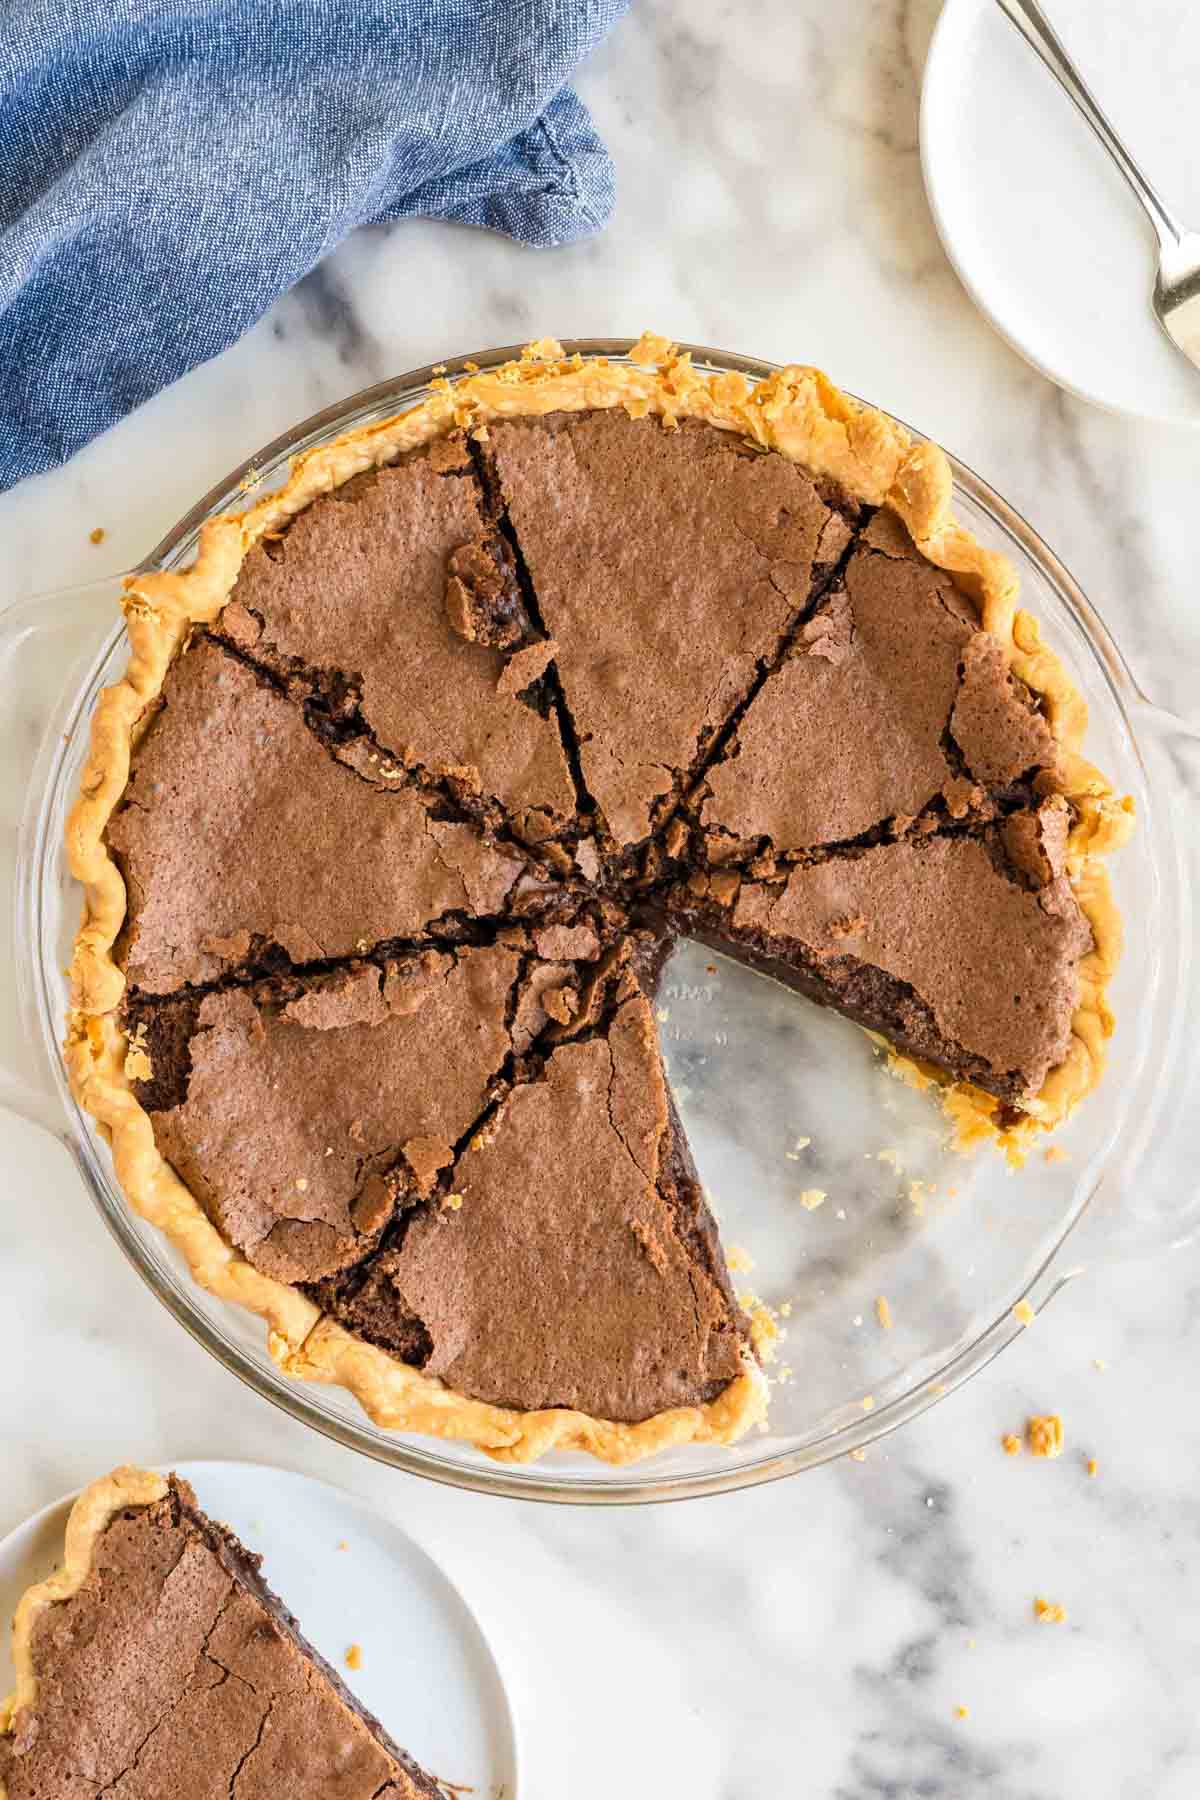
Remove and cool completely before slicing.
Remove the pie from the oven and place it on a cooling rack. The top should have a slight crust, and there may be a few cracks here and there.
Note: While we do not have the willpower to wait a whole day before digging into this pie, our testing has shown that 24 hours can make a big difference in how well the pie sets up for cleaner slices.
If you make this recipe, please leave a comment and ⭐️⭐️⭐️⭐️⭐️ below!
Join Southern Food and Fun Community group
and Southern Potluck group!
And please follow us on social media:
Fudge Pie Recipe


Ingredients
- ¾ cup unsalted butter, melted
- 1 ½ cups granulated sugar
- ⅓ cup all-purpose flour
- ⅛ teaspoon salt
- ⅓ cup cocoa
- 1 ½ teaspoons vanilla extract
- 3 large eggs
- 1 9- inch unbaked pie shell
Instructions
- Preheat oven to 350.
- Melt butter in large, microwave safe bowl. Add sugar to melted butter and use a hand mixer or whisk to combine until sugar is mostly dissolved. Add additional ingredients and beat or whisk until well blended.
- Pour into pie crust and bake about 40 minutes, or until center is set and toothpick has gooey wet crumbs. Make sure you don't overbake.
Video
Notes
- Use a hand mixer for best results.
- Use a refrigerated pie crust or homemade.
- If using a frozen pie shell, only pour the filling to the inside top edge or the pie will overflow. Or use a deep-dish pie shell and adjust baking time accordingly. Note: We only recommend a homemade or refrigerated pie crust in a standard 9-inch pie plate, not a frozen one. See our testing notes for details.
Nutrition
Tips and questions
If using a frozen crust, allow it to thaw before baking.
You don’t need to par-bake or blind bake the crust for this pie.
Yes, you can make the fudge pie filling a day in advance and store it in the refrigerator.


Delicious! Very easy. The only thing is the top completely came off when cutting.
I made this last year and it was great! My DIL wants me to make it for her birthday tomorrow, but wants chopped pecans in it. Will this work or should I just make a chocolate pecan pie?
I think you could definitely put some chopped pecans! I have never tried that so I’m not sure how it will turn out but I think it will be fine. I would use about 1/2 cup.
This is super-easy and very delicious. I made my own pie crust and followed the recipe exactly. Love it!
Top of my pie did not get crusty
What did I do wrong?
It tasted fine, but top was not crusty like yours
It was getting dark on top and crust was getting really brown so I didn’t want to burn it
I would need a little more information — was your pie gooey in the middle? You can always put a pie shield or just some tin foil on the sides to keep the crust from getting too brown.
Easy and delicious. It is a keeper. Take note:it is very rich.
Do you need to bake the homemade pie crust first?
you can but it’s not necessary. I don’t.
This pie was easy and tasted amazing! This recipe is a keeper!
Thank you!
Have you ever split this pie up into mini 3” or 4” pies?
No I haven’t but I think it would be fine. You will need to adjust the baking time but just watch it and check with a toothpick. Let me know how it goes please!
Hey it went so well. I did 4” mini tins. I baked at 300 degrees for 40 mins and it was perfect!!
I did try to bake it at 350 but it puffed up way to much and cracked horribly. So 300 degrees was magical:)
This is so great to know! I’m going to add this to the post 🙂 thank you for updating me!
I have been making a version of this recipe for years and always struggled to get the right amount of filling for the crust. This recipe was perfect for a deep dish frozen pie shell. I served it covered with whipped cream and chocolate curls and my guests loved it!
-Love the chocolate curls idea!
Of making ahead, does ot need to stay refrigerated or room temperature fine for overnight?
I do not refrigerate the pie. Leaving it out overnight or several days is just fine.
Made this tonight, and it was fantastic! I’ve made the one that uses the unsweetened chocolate squares in the past, and this is hands down SO much better! Thank you!!!
Great recipe! This is the 4th Christmas that have made it for neighborhood gifts, and I have made it numerous times for parties and gatherings. My version includes a small amount of walnut liqueur. Thanks for posting!
This is delicious and everyone loves it. I’ve also found you can double the recipe pretty easily and make 2 at a time! It’s that good.
Yes, we make two all the time!
This looks SO good!!!
Thank you my friend!
This was so easy and so delicious! My whole family enjoyed it and we made another 2 days later!
This was so easy and so delicious! My whole family enjoyed it and we made another 2 days later!
Maybe use a wisk instead of a hand mixer so the eggs don’t fluff too much? I used a deep dish pie crust too..
Should I bake the frozen crust first?
I would not bake the frozen crust first. Please see the notes about using a frozen crust–it probably won’t hold quite all the batter, so be sure you don’t overfill and be sure to cook the pie on a foil-covered baking sheet. Merry Christmas and hope you enjoy!
Hi,
How long does the Fudge Pie need to set after it’s done baking?
Thanks!
Usually someone in my family, possible me, cuts into this pie the second it comes out of the oven! That’s a little too soon but it’s so yummy when it’s warm. I would try to let it set at least 15-20 minutes before serving.
My three boys (15, 12, and 7) request this pie every birthday, special occasion, and holiday! I love how quickly and easily it comes together. Oh, and even though it is DELISH on its own, I made it for company and added some coursrly chopoed pecans. WOW!!!!
Erin, thanks so much for your sweet comments. I’m happy to see another family enjoying this pie as much as we do! Love the idea of the pecans! Hope you have a wonderful Thanksgiving! xoxo Lucy