This post may contain affiliate links. Please read our disclosure policy.
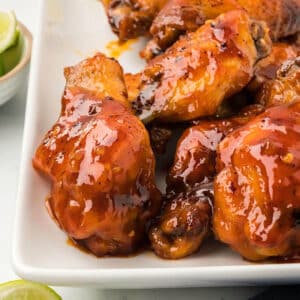
Honey Garlic Chicken Wings are crispy, sticky, and coated in a sweet and savory sauce with a hint of heat from Sriracha. The garlic brings a rich depth of flavor, while the honey caramelizes into a glossy coating. These wings work well for dinner or as an appetizer for a crowd. Serve them warm with plenty of napkins and a side of ranch.
I’ve made these wings more times than I can count! My family loves them, especially the sticky, spicy sauce. They are perfect with almost any side dish. Thanks for sharing this recipe!
mary ellen
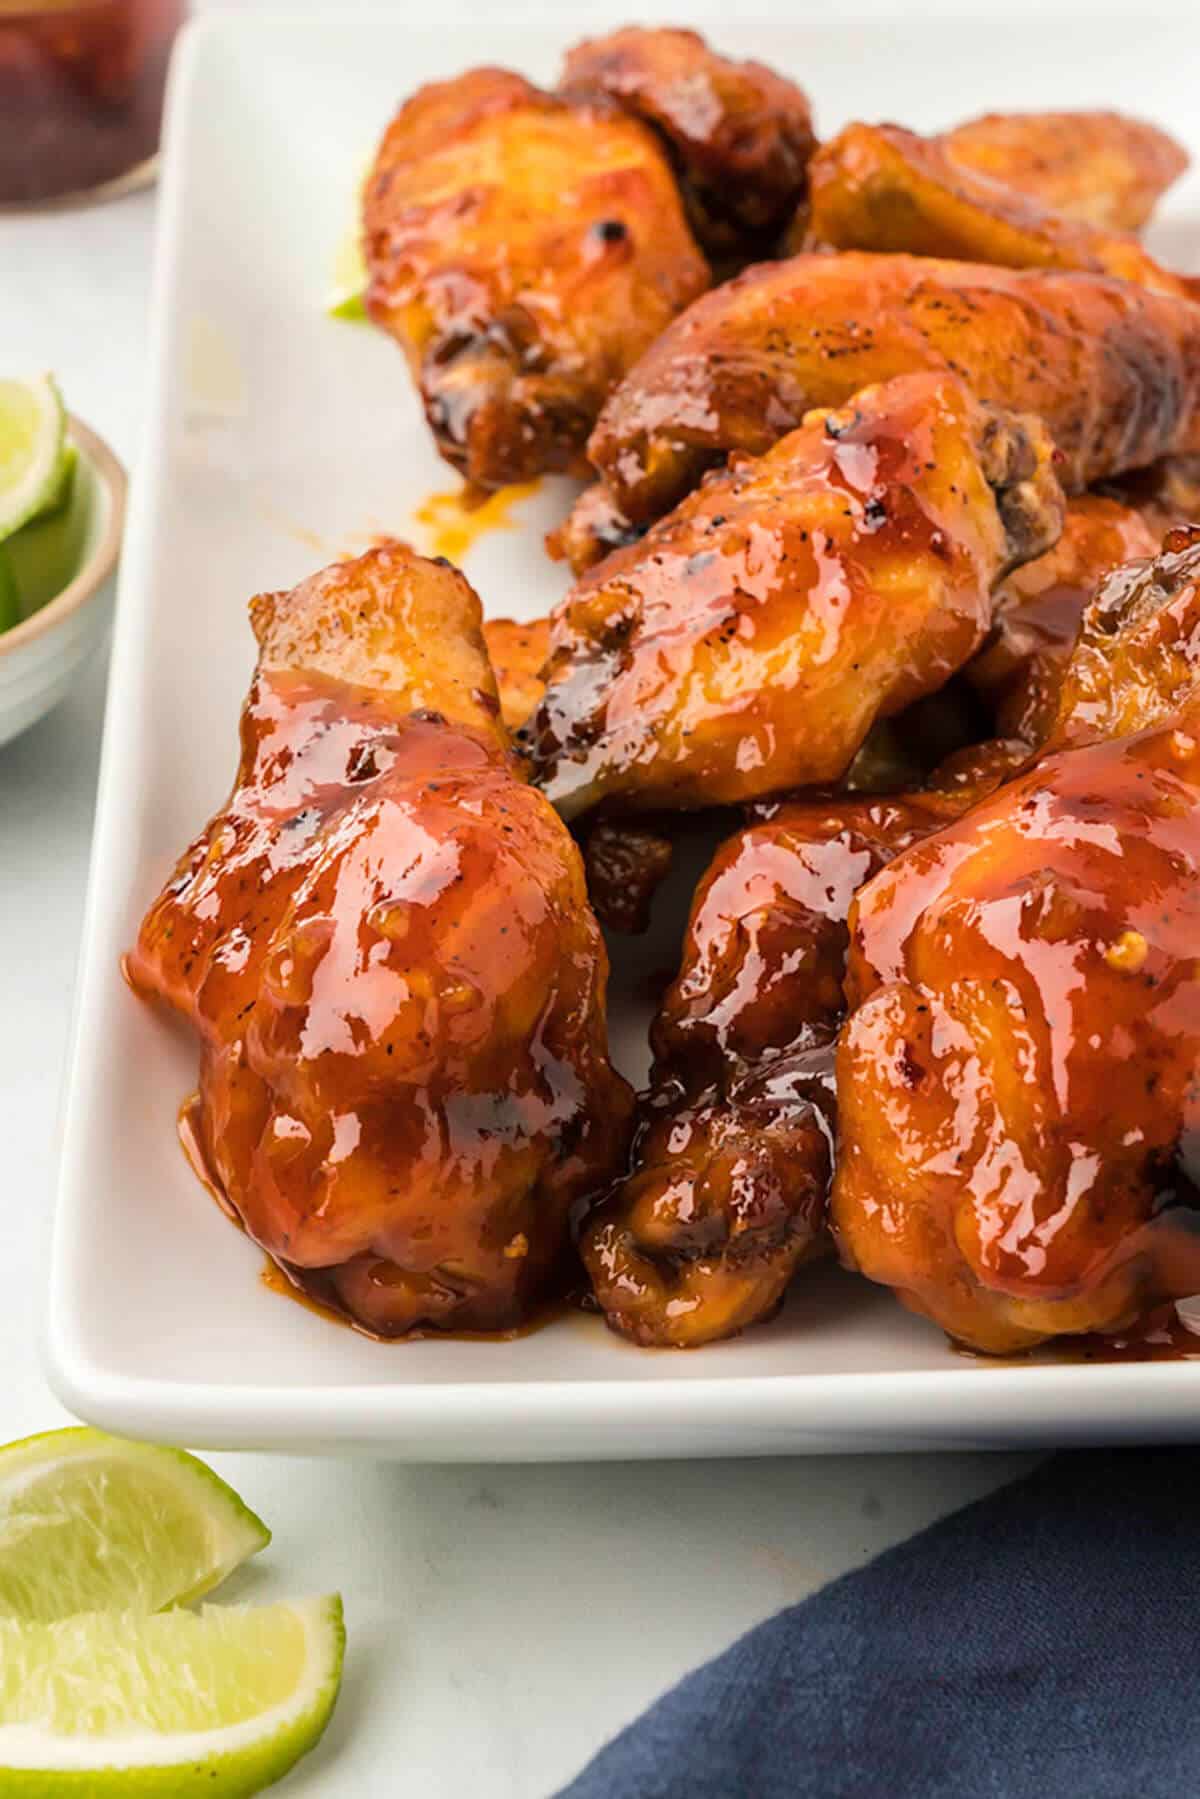
Whether it’s a big game in late fall, a big game in early February, or a regular college game on a Saturday, my husband requests these honey garlic wings anytime he knows we will be home watching the event. He is obsessed with them!
Why this recipe is amazing
The recipe is simple, and the sauce ingredients are mostly pantry ingredients you probably already have. However, the star of the show is the homemade honey garlic sauce. This amazing concoction consists of butter, sesame oil, minced garlic, ginger, honey, Sriracha, soy sauce, red pepper flakes, and a touch of lime, creating a finger-licking good sauce that will leave you wanting more.
Since these are oven-baked wings with no breading, they feel lighter than many chicken wing recipes. Of course, the cooking time is a little longer when baking vs. deep frying, but it’s worth not having all the mess.
Testing results for honey garlic wings
My family likes spicy, so I thought Sriracha sauce would be a good touch to blend with honey and garlic. We tested the honey garlic sauce without Sriracha and then again after adding some. Hands down, our tasters preferred the addition of Sriracha.
Serving suggestions
Usually, if we’re having these Honey Garlic Wings, it’s for a game day party or a holiday gathering. If that’s the case, I’ll add some Pimento Cheese, a few other dips, and maybe my Lemon Basil Pesto Pasta Salad.
You can also pick up some cole slaw from the deli and call it good! Finally, don’t forget dessert for your party — add some of these Easy Lemon Bars with Brown Sugar Shortbread Crust, and your friends will think you’re the best!

I hope you make this recipe. I think you’ll love it!

Ingredient notes
The ingredients for the honey garlic sauce are simple, but there are a few things you should know:
➡️➡️➡️ The full ingredient amounts and instructions are listed below on the printable recipe card. Scroll below the recipe card for frequently asked questions and tips for success.
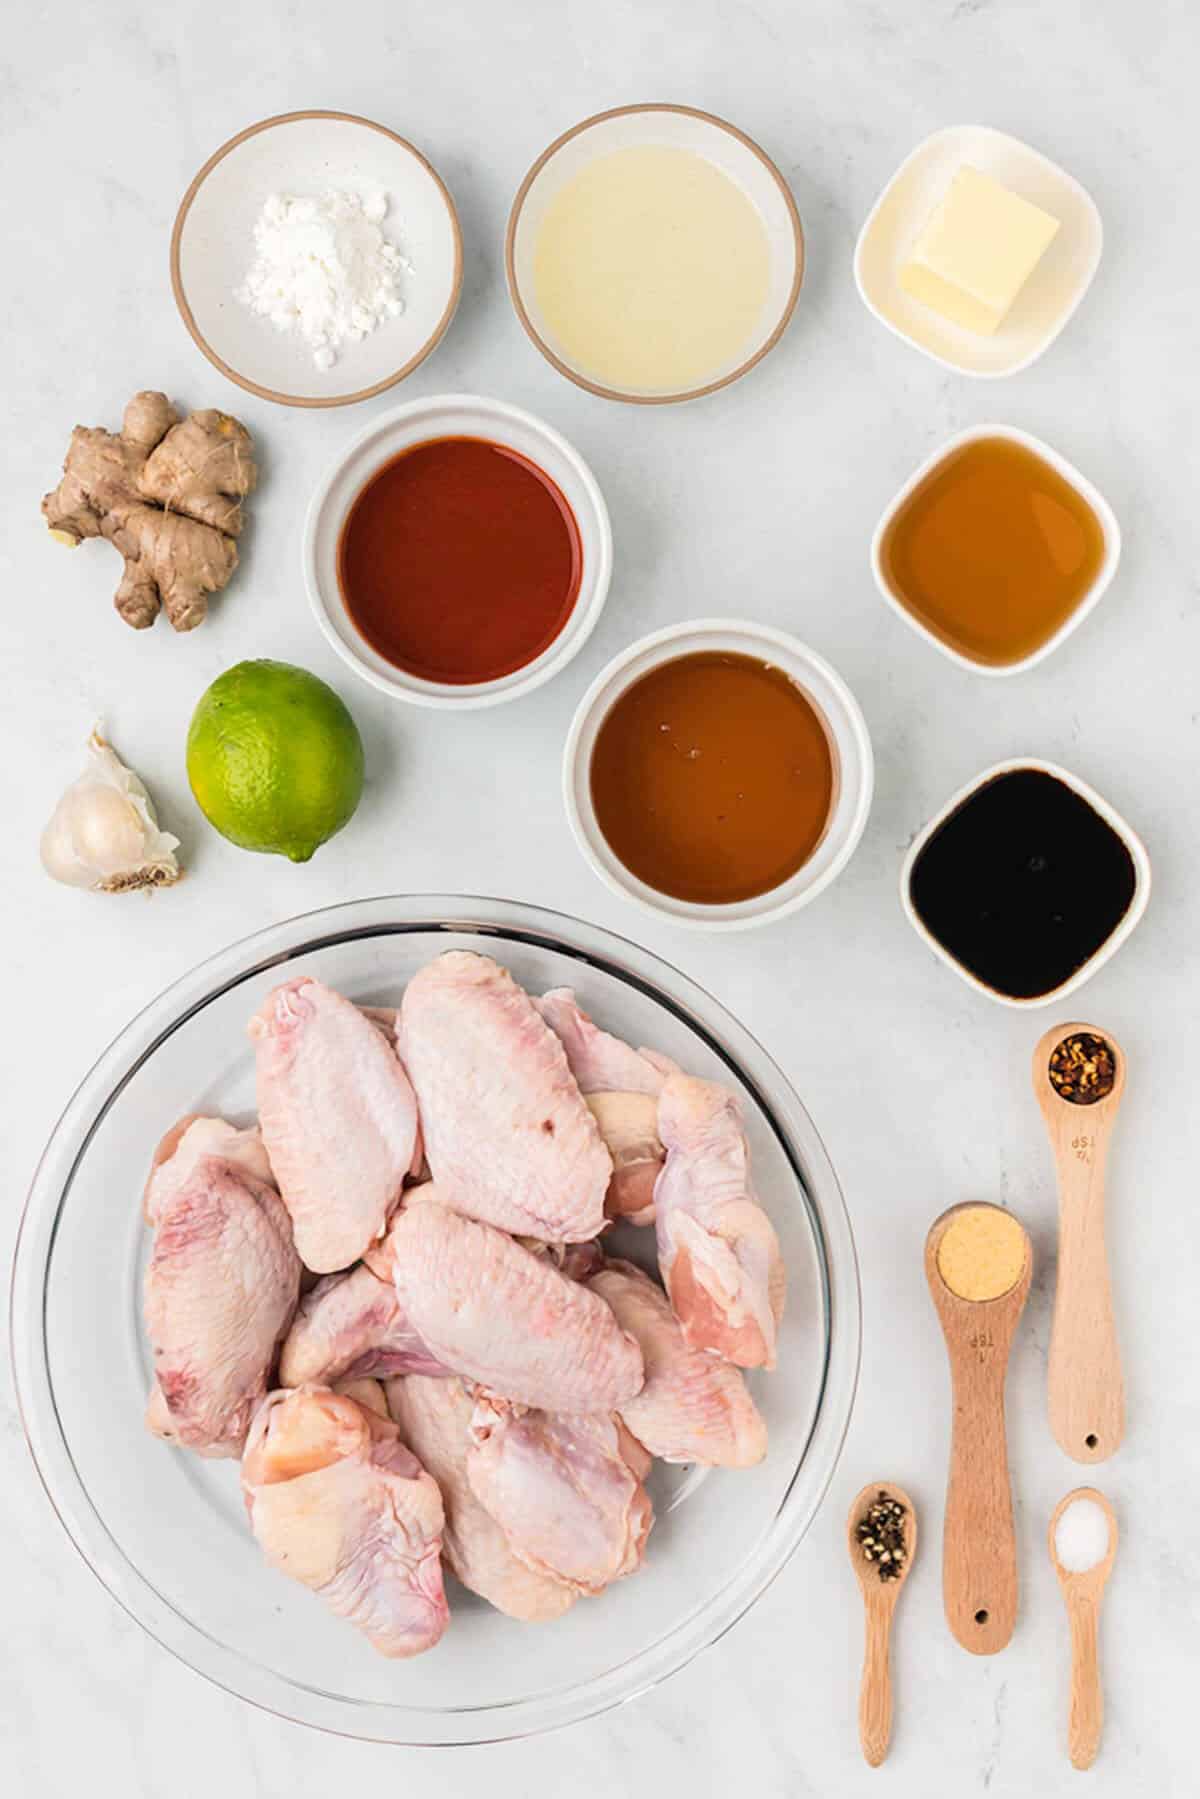
Sesame oil: We love the unique flavor you get from just a little sesame oil.
Fresh garlic and ginger: It’s essential to use fresh garlic and ginger in this recipe. These flavors stand out in the sauce, and they would be flat if you tried to use bottled garlic or ginger.
Sriracha sauce: This sauce has just the right amount of spice with the Sriracha and red pepper flakes. It’s not so hot that it will leave you sweating, but it’s just spicy enough for a tingle.
Juice of one lime: As with the garlic and ginger, fresh is essential here.
Cornstarch: You’ll use a cornstarch slurry to help thicken the sauce.
Pin this now to save it for laterHow to make honey garlic wings
You’ll love how easy this recipe is, especially if you make the sauce ahead of time.
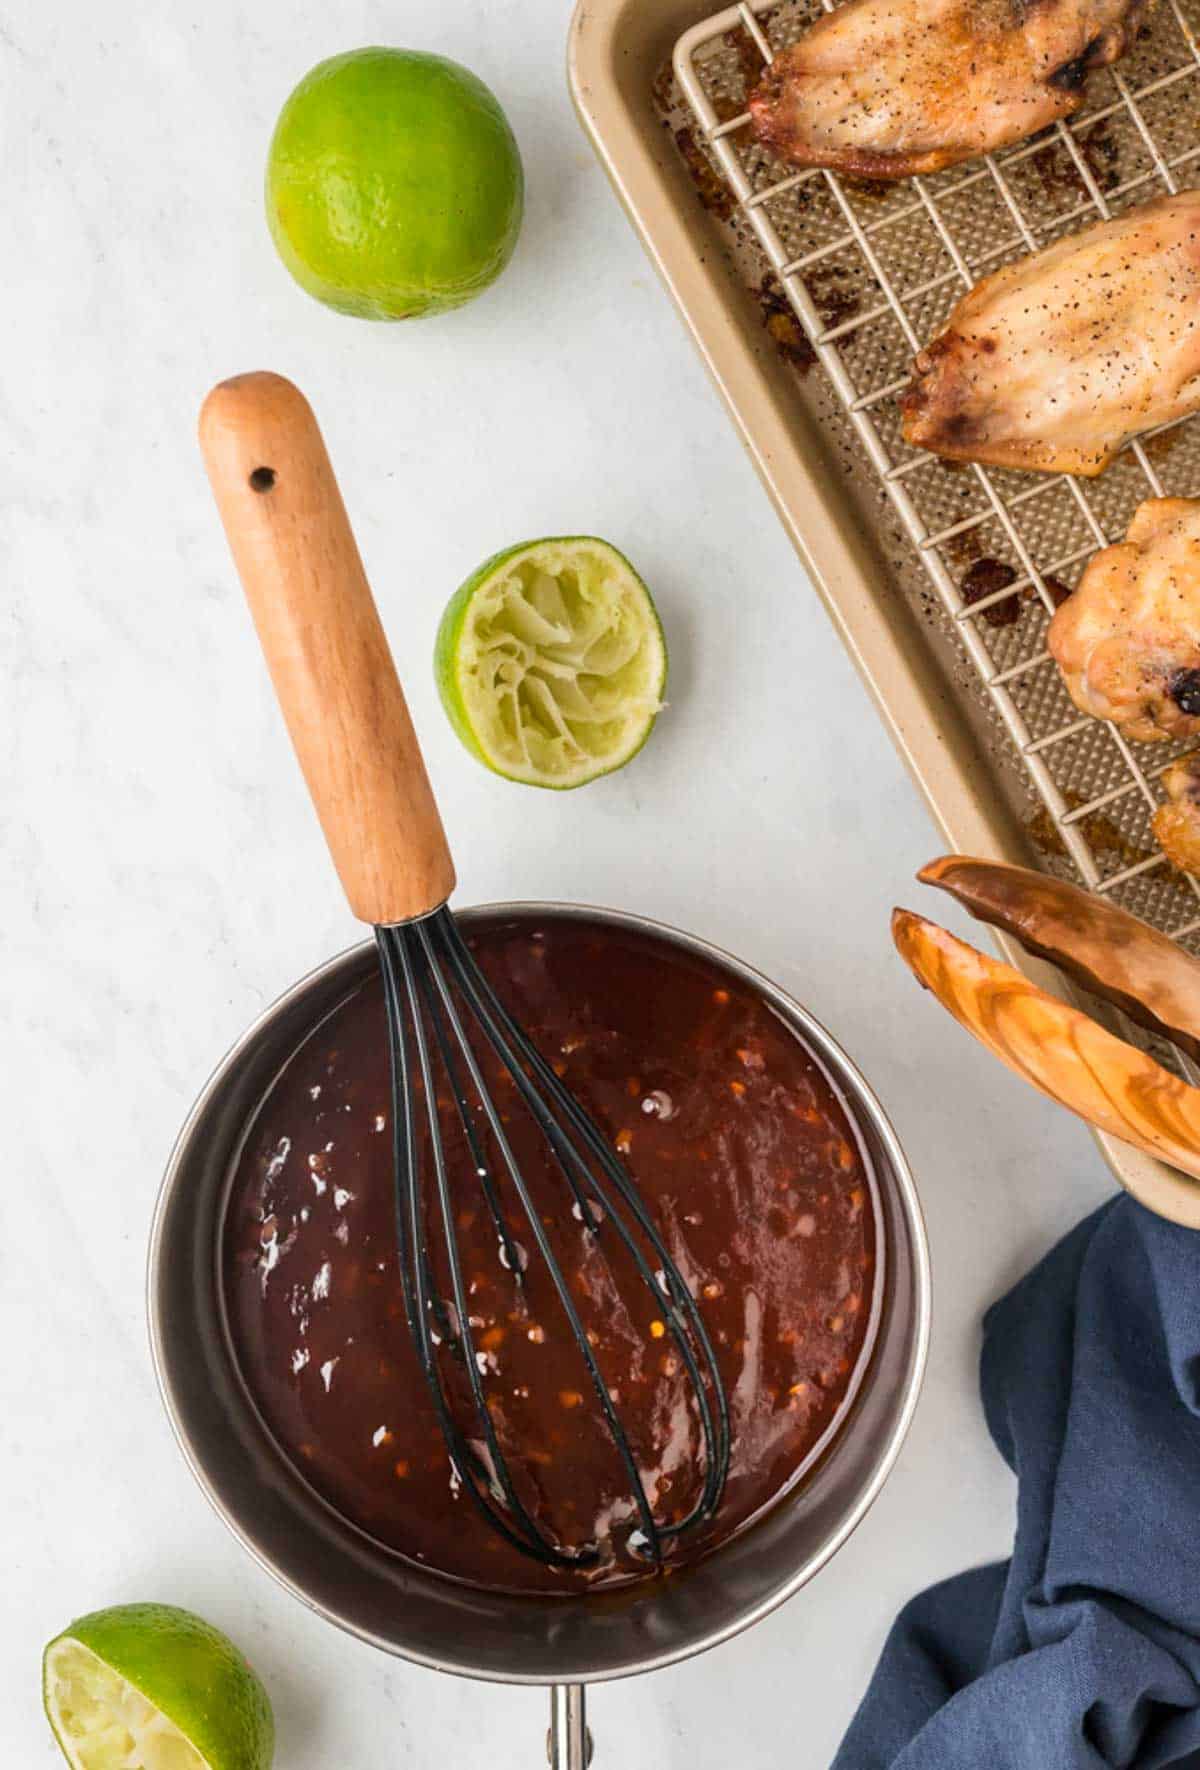
Step 1. Make the honey garlic sauce.
Melt butter with sesame oil in a small saucepan over medium heat. Add garlic and ginger and stir for 20-30 seconds. Add honey, Sriracha, soy sauce, red pepper flakes, and lime juice. Stir one tablespoon of water with the two teaspoons of cornstarch to make a slurry.
Whisk the cornstarch slurry into the sauce and bring it to a boil. Reduce to a simmer and cook for 3-4 minutes, just until slightly thickened. Remove from heat and set aside.
Pro tip: The great thing about this wing sauce is that it can be made up to two days in advance and refrigerated until needed. Warm the sauce slightly before using.
Step 2. Prepare and bake the wings.
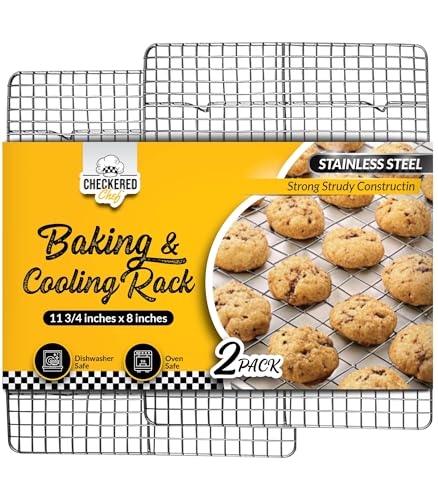
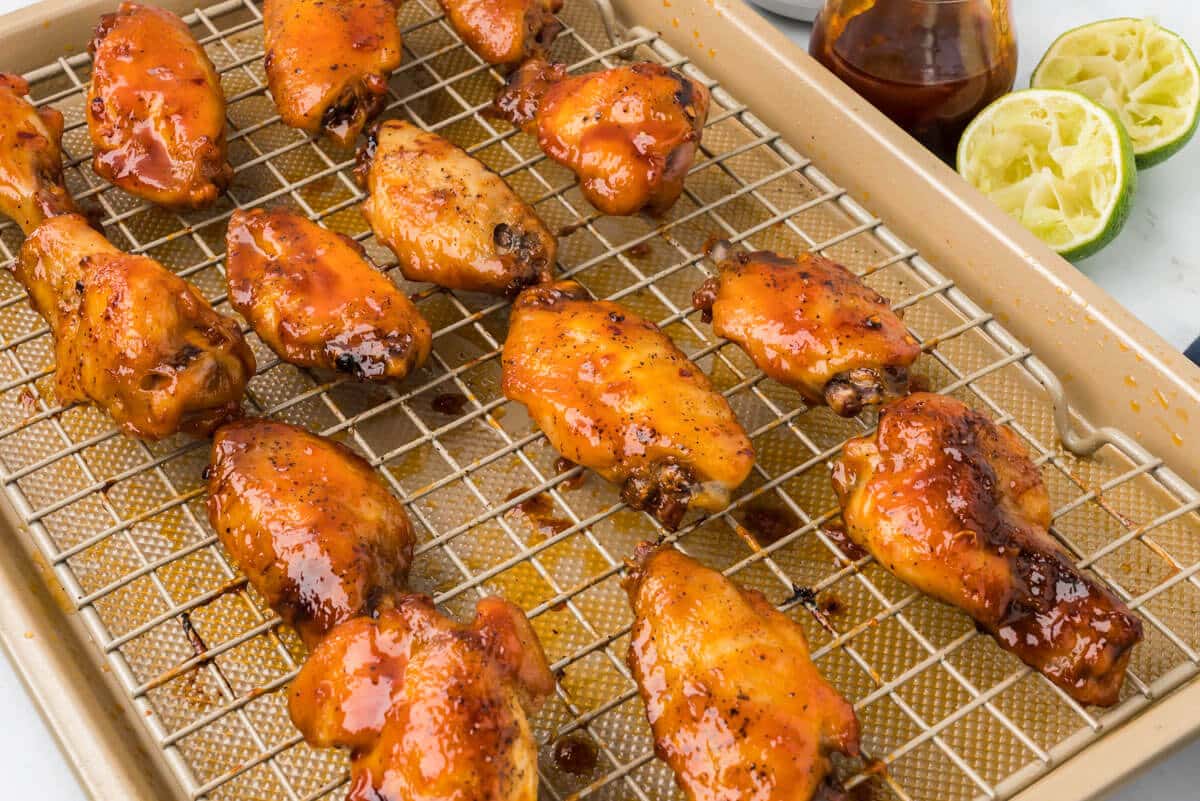
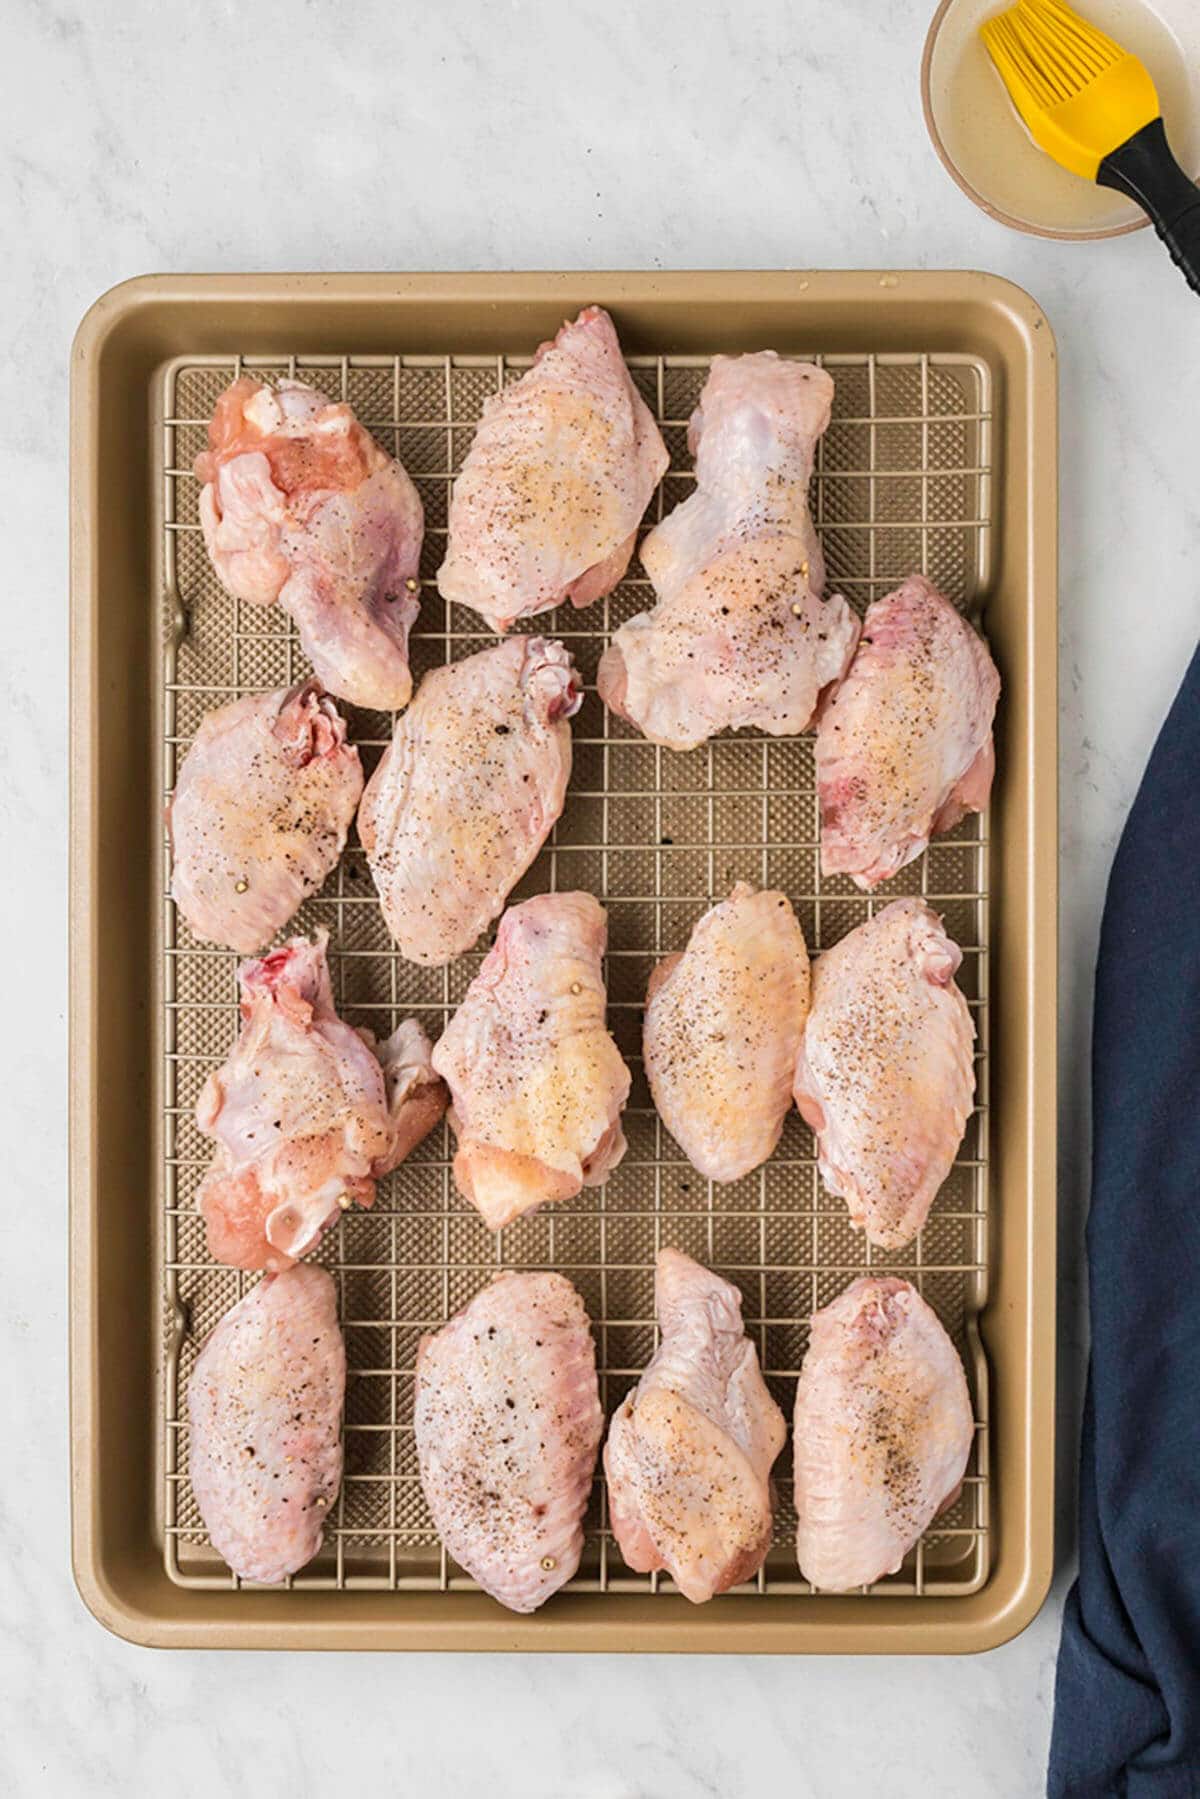
Preheat oven to 400 degrees F. Place a wire rack on a large baking sheet and lightly spray with cooking oil. Using paper towels, dry the chicken well (this will help them get crispy!) Place wings on the rack in a single layer and brush with vegetable or olive oil. I like to use a neutral oil that doesn’t impart flavor. Sprinkle one side of the wings with garlic powder, salt, and pepper.
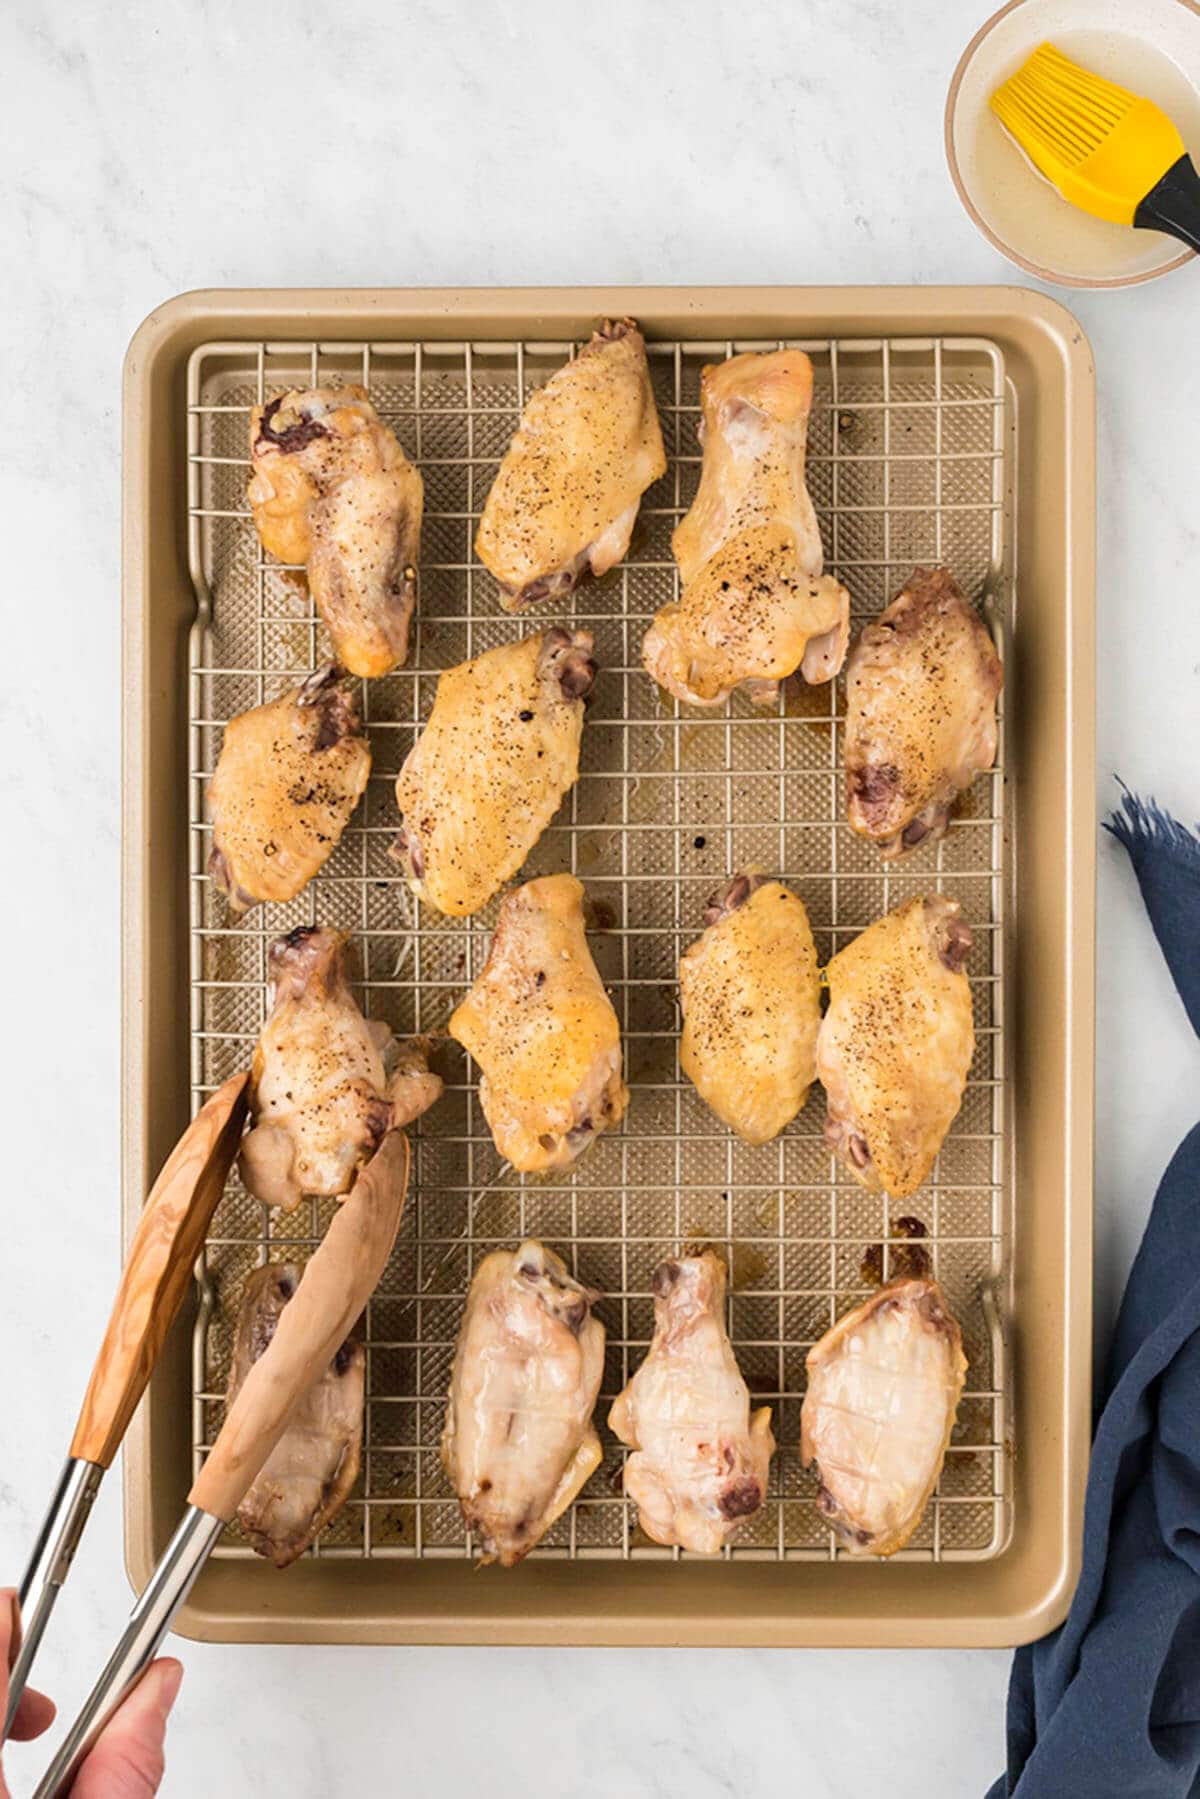
Bake for 20 minutes, flip and brush that side with oil, then sprinkle garlic powder, salt, and pepper. Bake an additional 20-25 minutes. You can use an instant-read thermometer to check the temperature. Chicken wings should be cooked to a minimum temperature of 165°; however, if you push past that to about 180°-185°, the wings will taste better and be a little crispier.
Step 3. Dip the wings.
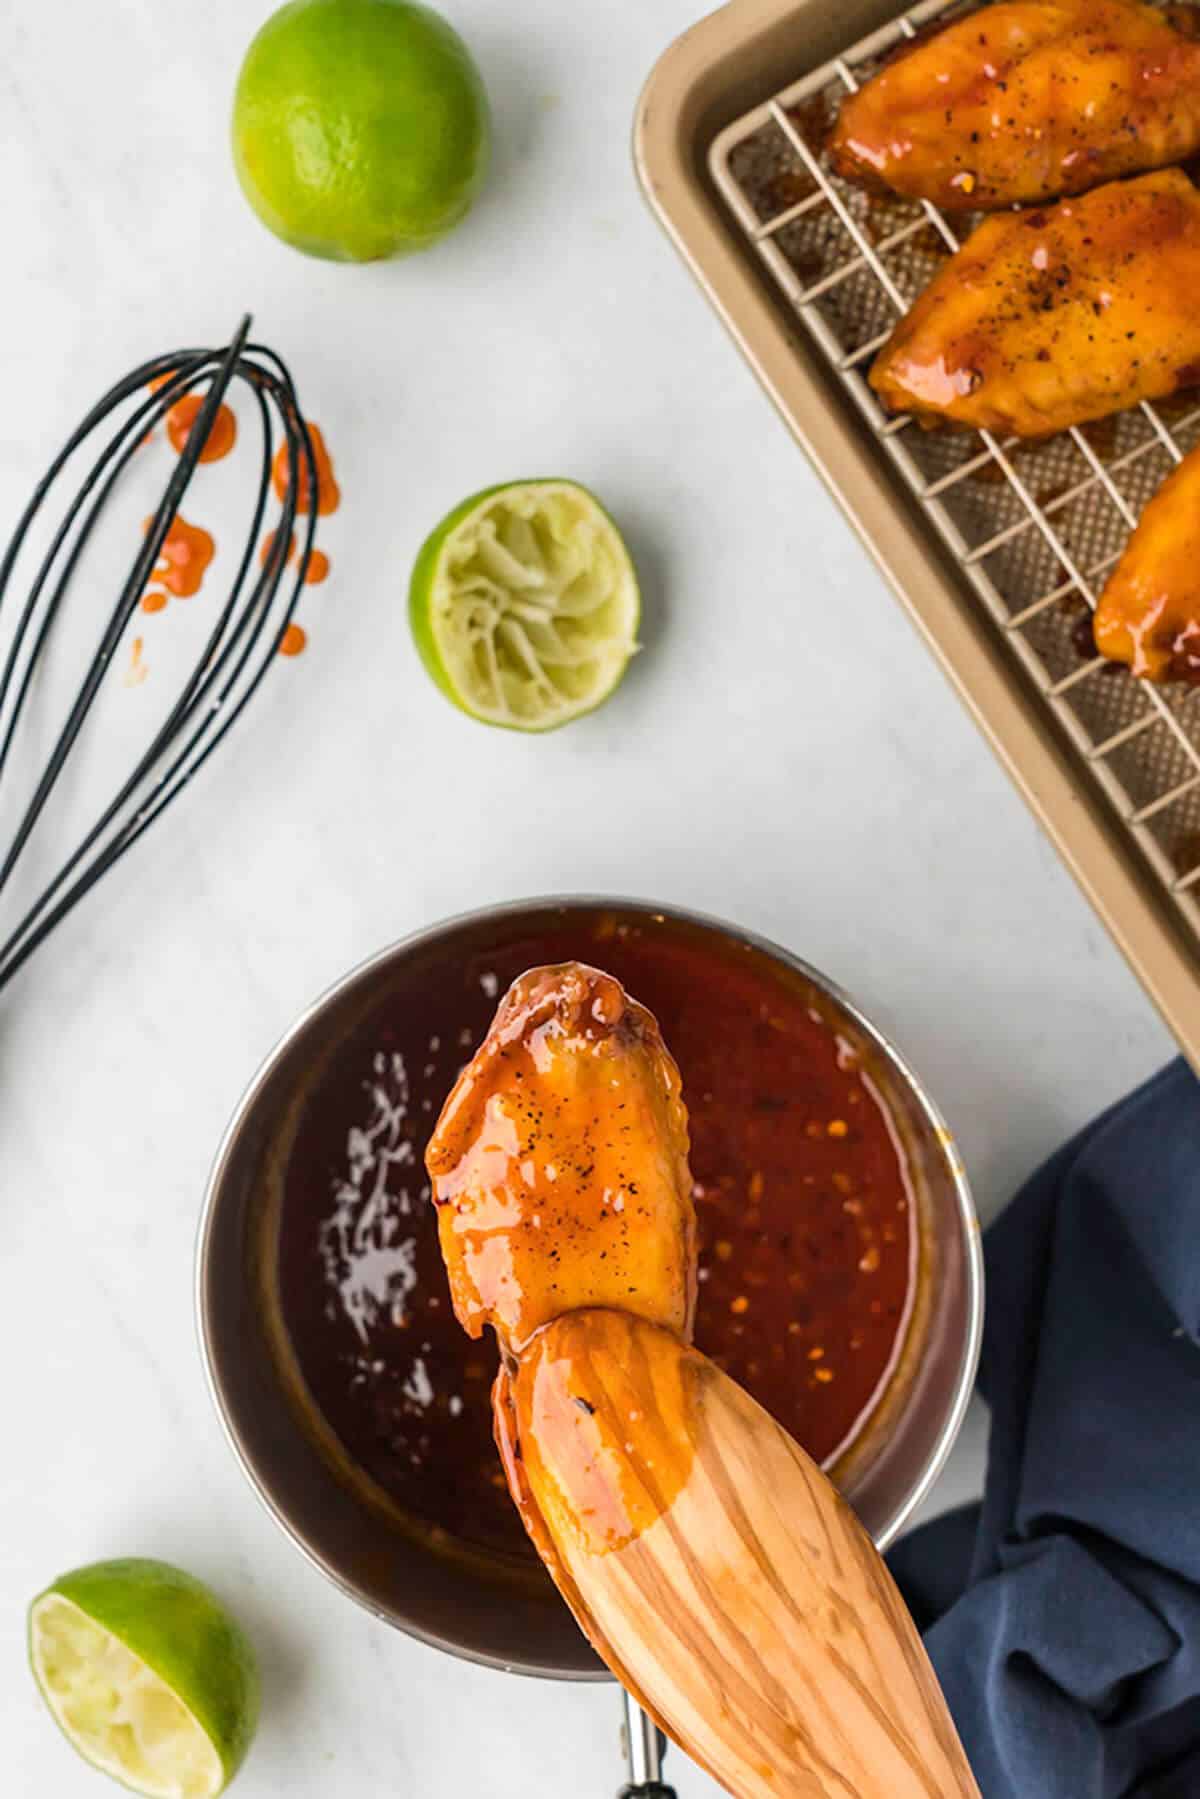
Remove baking sheets from the oven after 25 minutes and dip wings in the sticky honey garlic sauce. Place the wings back on the rack and bake for 10 minutes to set the sauce.

If you make this recipe, please leave a comment and ⭐️⭐️⭐️⭐️⭐️ below!
Join Southern Food and Fun Community group
and Southern Potluck group!
And please follow us on social media:
Honey Garlic Wings
Ingredients
For the Wings:
- 2 lbs. chicken wings, split at the joints, tips removed
- Vegetable oil
- 1-2 teaspoons garlic powder
- Kosher salt and freshly ground black pepper
For the Sauce:
- 2 tablespoons unsalted butter
- 2 tablespoons sesame oil
- 2 tablespoons minced garlic
- ½ tablespoon fresh minced ginger
- ½ cup honey
- ⅓ cup Sriracha
- 2 tablespoons soy sauce
- ½ teaspoon red pepper flakes
- Juice of one lime
Cornstarch Slurry
- 2 teaspoons cornstarch
- 1 tablespoon water
Instructions
For the Wings:
- Preheat oven to 400. Place rack in baking sheet and lightly spray with cooking oil. Place wings on rack and brush with vegetable oil.
- Sprinkle wings with garlic powder, salt, and pepper. Bake wings for 20 minutes, remove pan and turn wings over.
- Brush the other side with oil and sprinkle with garlic powder, salt, and pepper. Place back in oven for 25 minutes. If using two baking sheets, alternate oven racks when you put the pans back in the oven.
- Remove pans after 25 minutes and dip wings in sauce. Place pans back in oven for 10 minutes.
For sauce:
- Melt the butter with sesame oil in a small pot over medium heat. Add garlic and ginger and stir for 20-30 seconds. Add honey, Sriracha, soy sauce, red pepper flakes, and lime juice. Stir 1 tablespoon water with the 2 teaspoons cornstarch to make a slurry.
- Whisk the cornstarch slurry into the sauce and bring to a boil. Reduce to simmer and cook 3-4 minutes, just until slightly thickened.
Notes
- At the end of the baking time, you can broil the wings for a couple of minutes to get them crispy.
- Sauce can be made up to two days in advance and refrigerated until ready to use. Warm slightly before using.
Nutrition
Tips and questions
🐔 You can broil the wings for a few minutes to make them crispier.
🐔 Cook the wings to an internal temperature of about 180°F. They will be crispier and tastier!
🐔 The wing sauce can be made ahead.
- The delicious honey garlic sauce is so good you can put it on almost any protein: grilled chicken, fish, or pork chops. It would also be excellent with this Spicy Cauliflower or some roasted vegetables.
- You can grill the chicken wings instead of baking them.
- To get the wings even crispier, try cooking them in an air fryer: heat to 360, cook for 12 minutes, flip and cook for 12 more minutes. Next, bump the heat to 390, cook for 5-6 more minutes, then dip in the sauce. (Don’t put the sauce in the air fryer.)
- Sprinkle some sesame seeds or chopped green onions on the wings for a little extra touch.
Store the wings in an airtight container in the refrigerator for up to 3 days.
For best results when reheating, use the air fryer to make sure your wings stay crispy! If you don’t have an air fryer, you can reheat it in the oven or microwave.
Chicken wings should always be cooked to an internal temperature of 165°, but for the tastiest results, keep cooking to around 180°-185°.


