This post may contain affiliate links. Please read our disclosure policy.

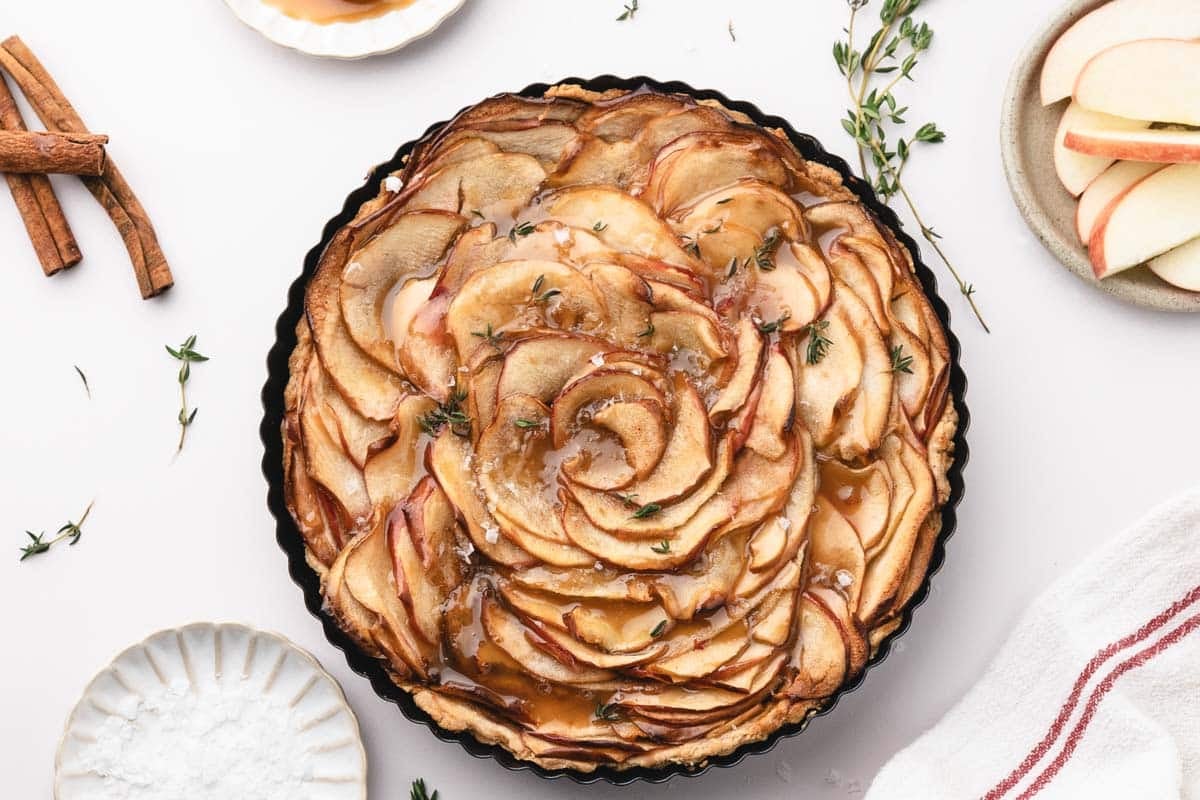
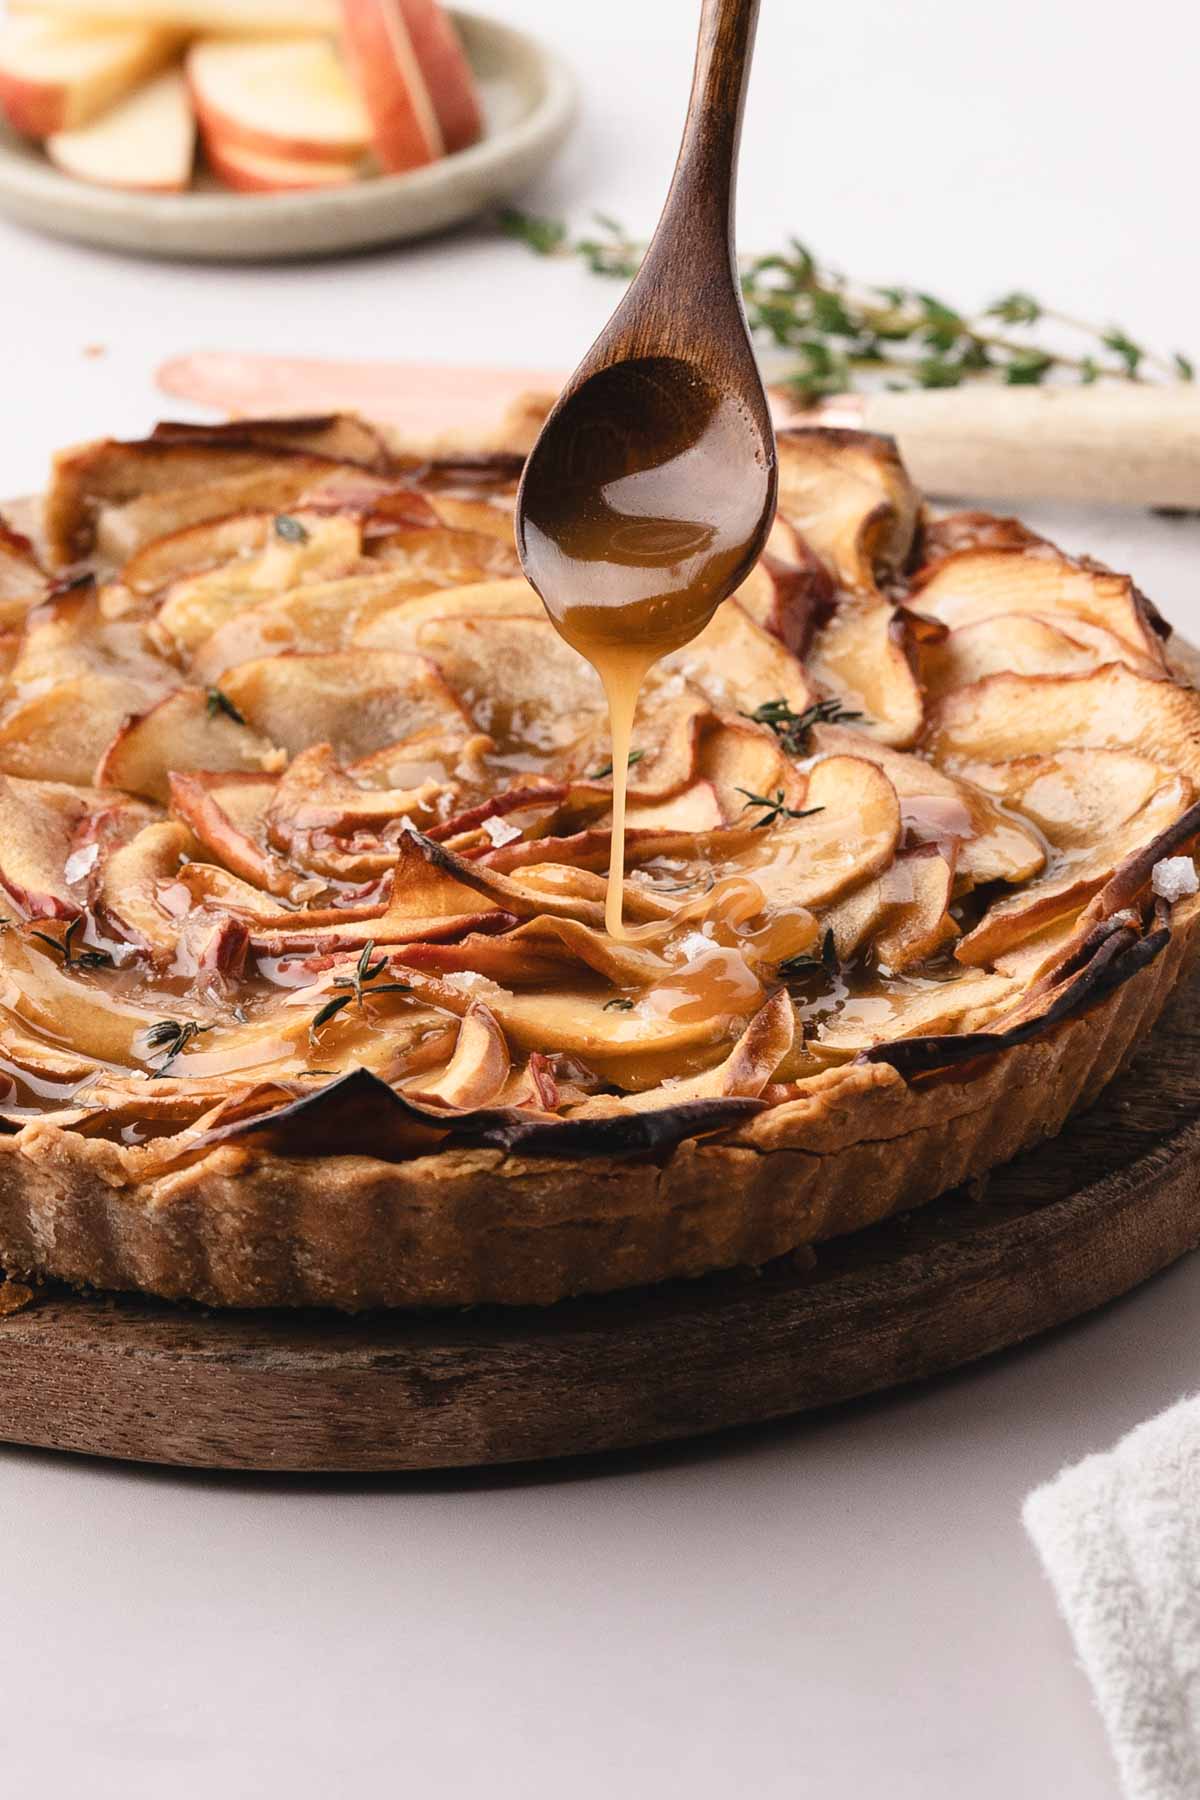
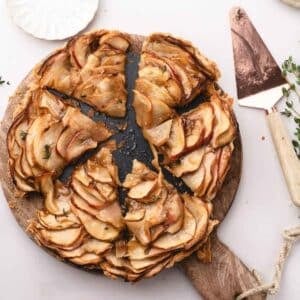
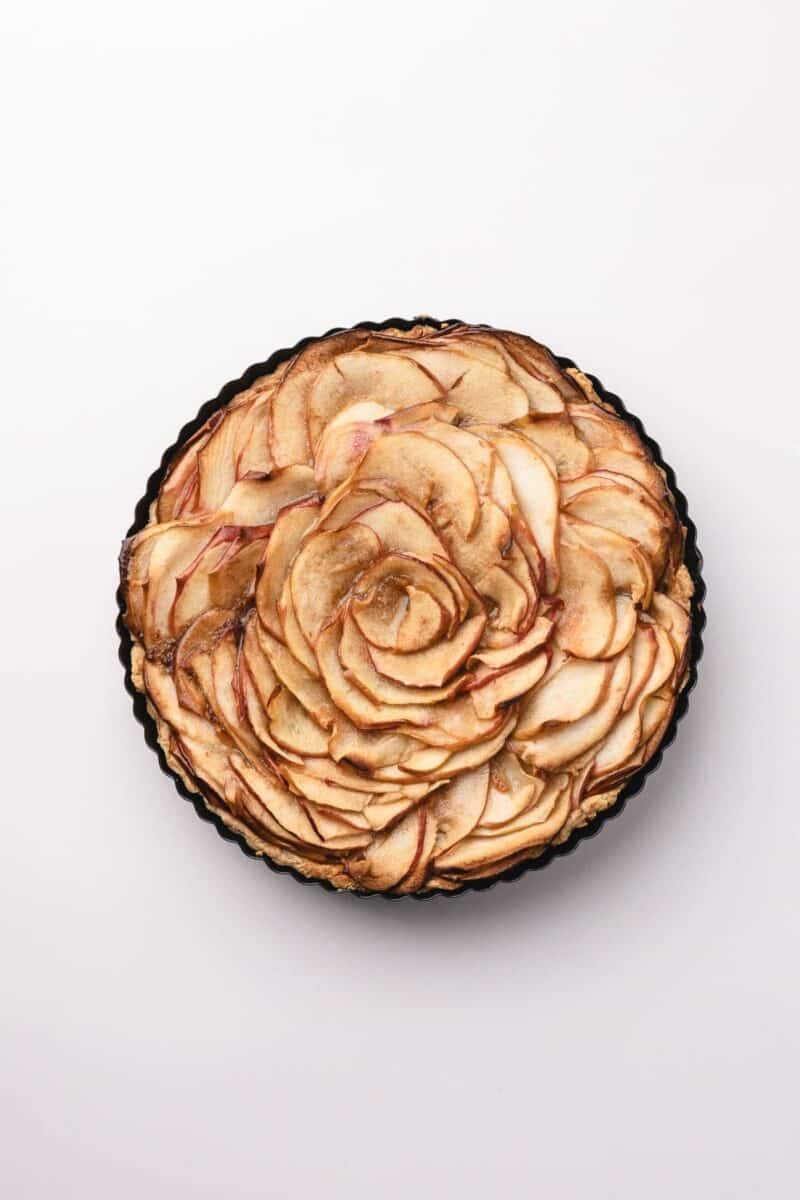
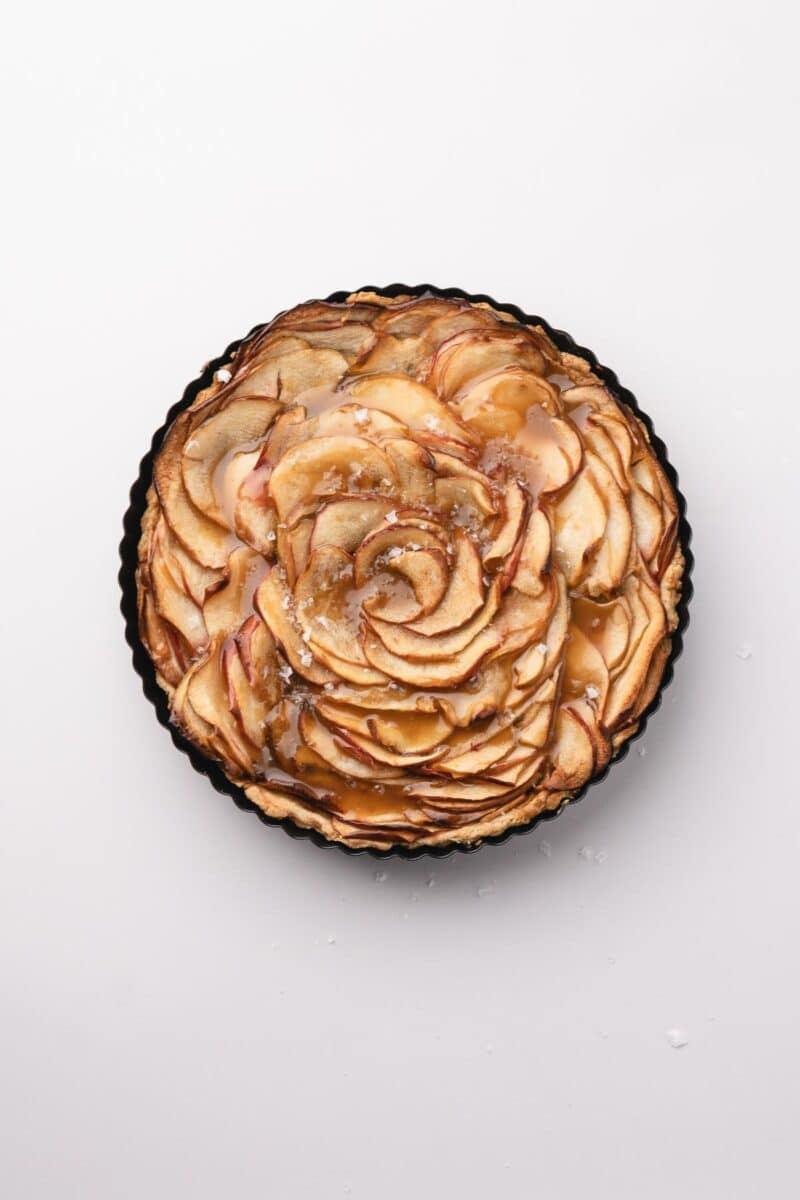
This Caramel Apple Tart is a lovely way to use the first good apples of the season. I layered thin slices of Honeycrisp and Pink Lady into tight overlapping circles over a buttery crust lightly covered with homemade apple butter. The apple slices baked down tender and settled with dark caramelized edges.
Homemade salted caramel goes over the top just before serving, along with a pinch of flaky sea salt. This caramel apple tart recipe is perfect if you want to bake the day before and finish with the caramel right at the table.
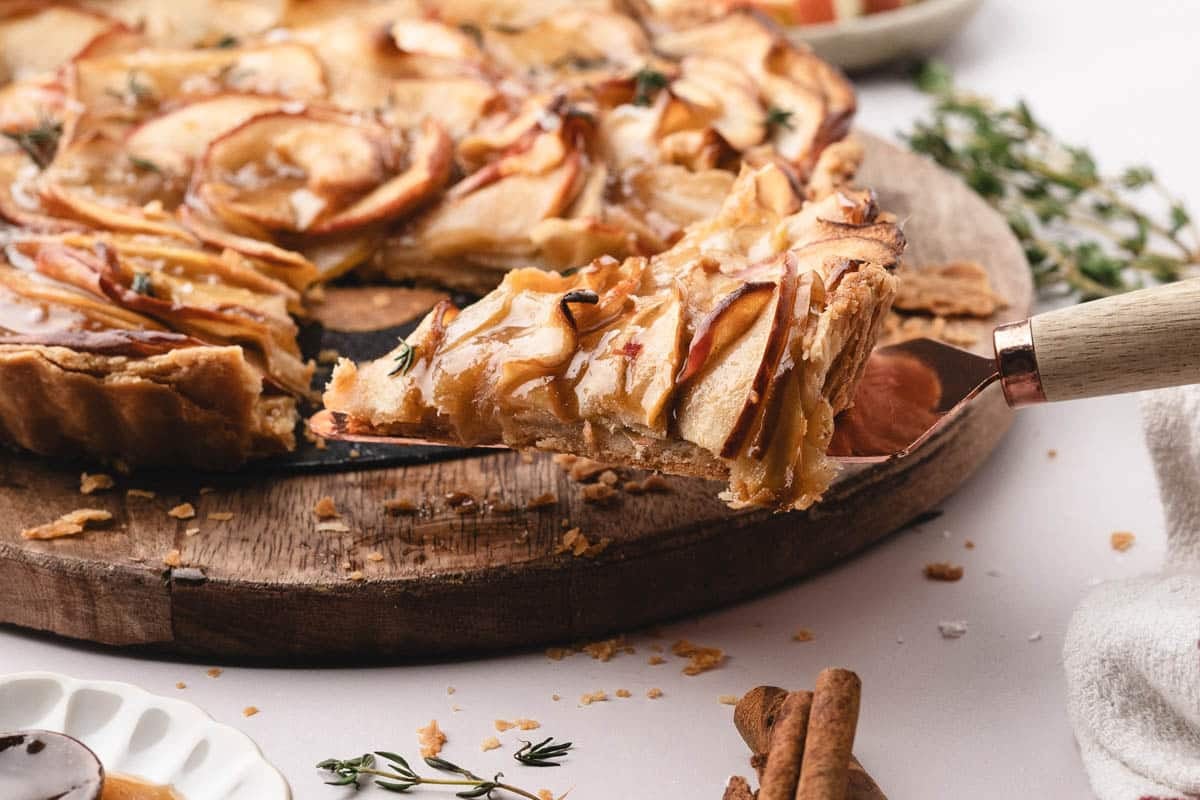

Getting this thing just right was a bit of a bear. I don’t usually do really pretty desserts because they tend to be a lot more work, and I’m overall a pretty lazy cook. But I wanted this apple tart to be simple but also impressive enough for company or to serve as a Thanksgiving dessert.
The most time-consuming aspect of this tart is slicing and layering the apples. It’s not hard by any means, just a little tedious. But the end result is so pretty, and the thin slices bake up nice and tender. And then when you slather on that Homemade Salted Caramel, well, somebody is going to be very happy with this dessert!
Testing results for caramel apple tart
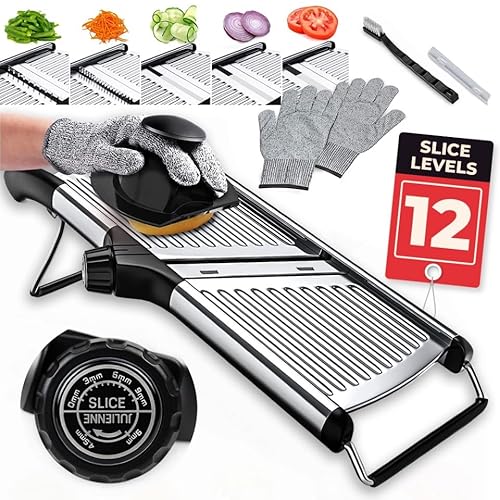
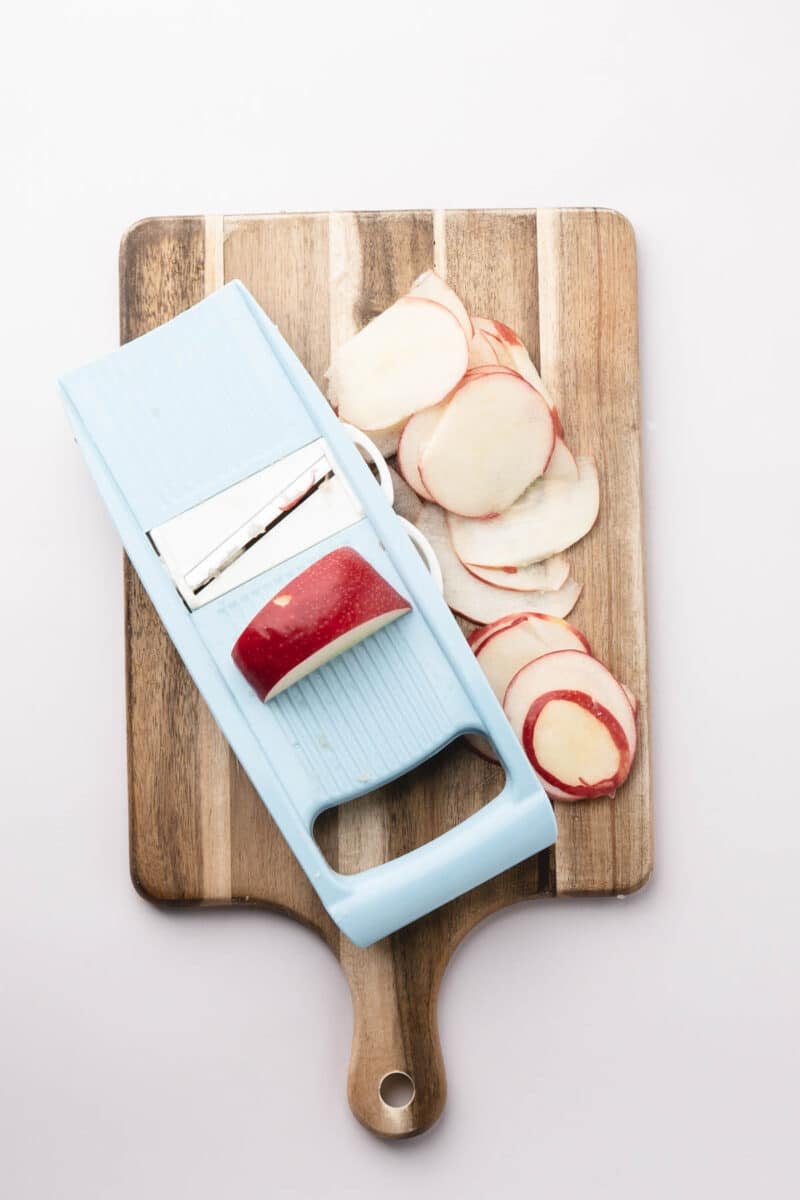
- I initially tried slicing the apples with a knife, and while that does work, you can get thinner slices with a mandoline. I found that slices cut any thicker than 1/16 inch cracked at the bend instead of curving into the spiral.
- Apples that went into the shell still damp from the lemon water left the pastry soft underneath. Draining them well and patting them dry with paper towels fixed that.
- Caramel poured over a tart still hot from the oven ran off the sides and lost its shine. I give it twenty minutes now and it stays glossy right where it goes on.

I hope you make this recipe. I think you’ll love it!

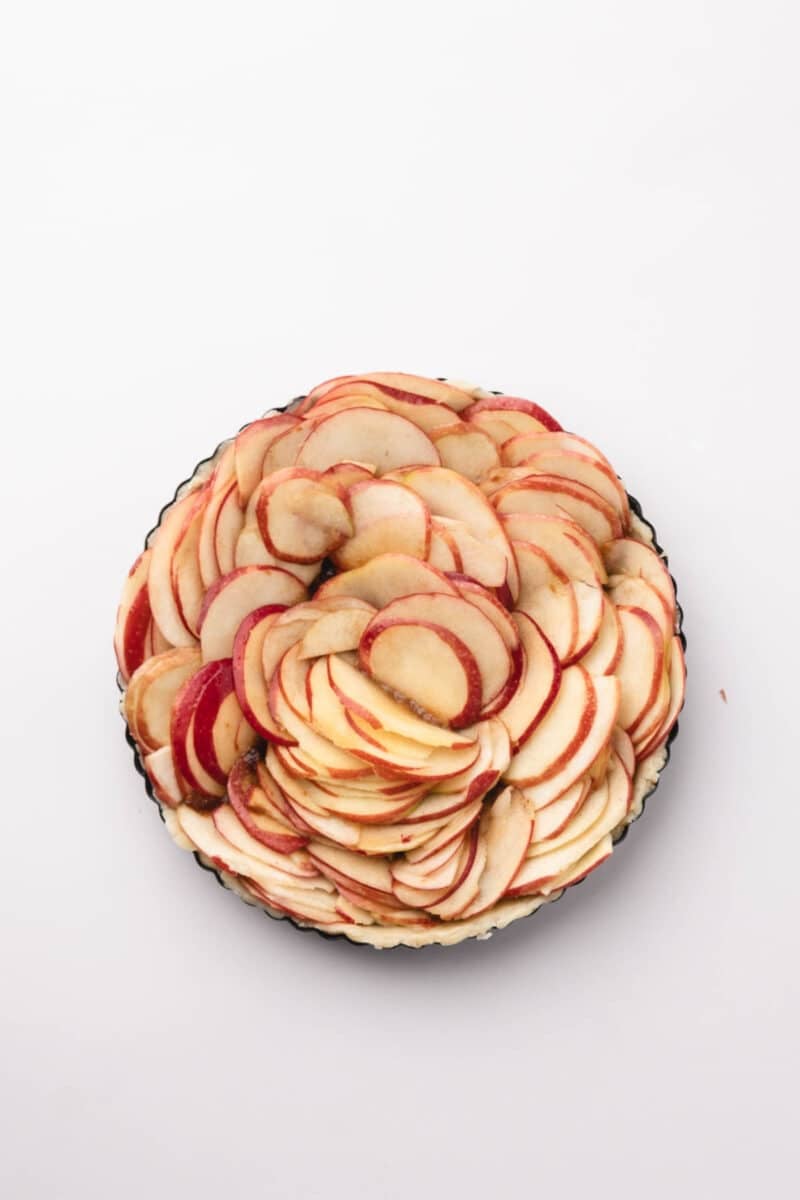
P.S. A little tip: Save five or six of the prettiest apple slices for the middle and curl them into a tight coil. That center coil is where a rose apple tart gets its name. Stand each slice slightly upright instead of laying it flat, and the top of an apple rose tart comes out ruffled rather than flush with the crust.
Ingredient notes
Here are a few things to know about the ingredients in this recipe.
➡️➡️➡️ The full ingredient amounts and instructions are listed below on the printable recipe card. Scroll below the recipe card for frequently asked questions and tips for success.
Apples: Four Honeycrisp and one Pink Lady. Honeycrisp slices hold their shape through a long bake and stay juicy, and the single Pink Lady adds enough tartness to stand up to all that caramel. Gala or Fuji also work if that’s what you have. Leave the peels on a couple of the red ones for color.
Lemon juice: This keeps the cut apples from browning before you place them in the tart shell.
Cornstarch: Thickens the juice the apples release in the oven so it doesn’t make the pastry soggy.
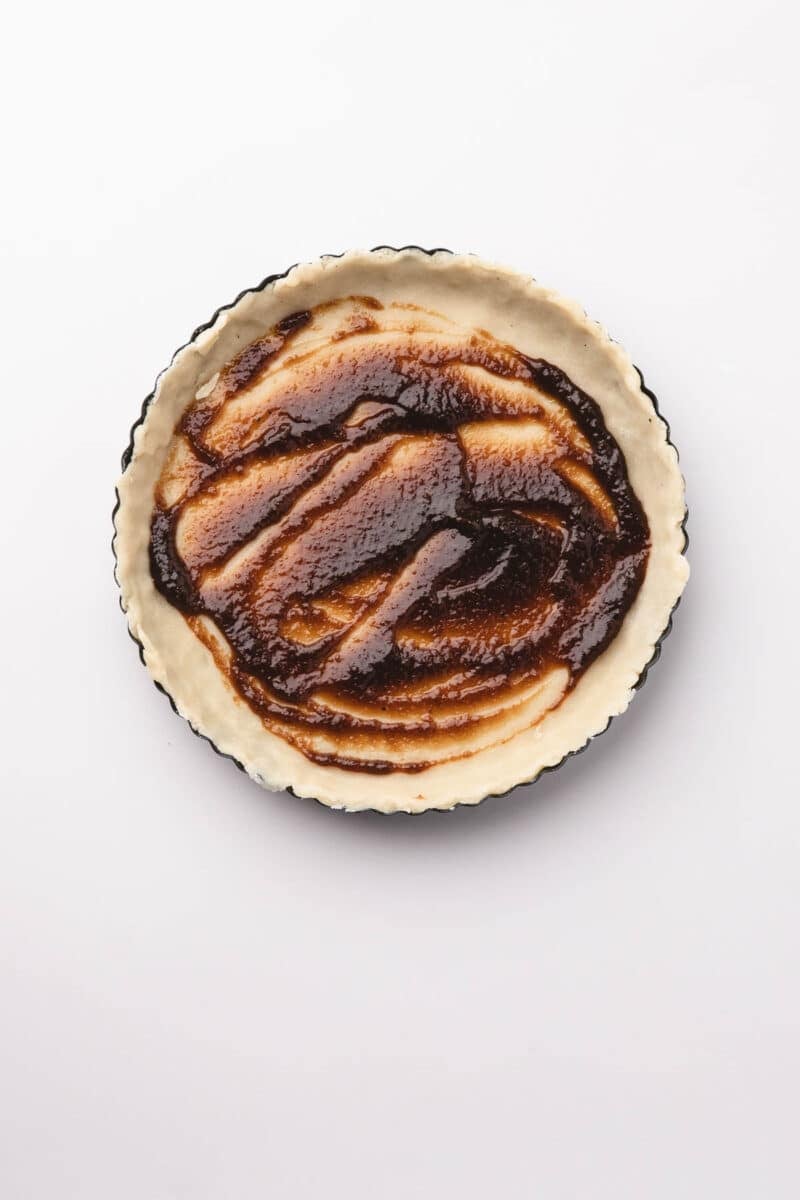
Apple butter: Optional, spread across the bottom of the chilled shell before the apples go in. It adds a concentrated spiced apple layer underneath all those thin slices. I used this Slow Cooker Apple Butter, and it was amazing, but any store-bought apple butter will work.
Flaky sea salt: This is finishing salt with big flat crystals, and table salt is not a substitute. Sometimes you have to splurge a little.
Store-bought shortcuts: If you don’t have time to make the dough, use refrigerated pie crust. I trust Pillsbury’s. You can also buy the caramel sauce. I like either Coop’s or Mrs. Richardson’s.
Pin this now to save it for laterHow to make caramel apple tart
- Make the crust. Cut cold butter into the dry ingredients, add ice water a little at a time until the dough clumps rather than crumbles, then chill the disk, roll it out, fit it into the tart pan, and chill it again.
- Slice and season the apples. Cut them as thin as the mandoline will go, hold them in lemon juice and water while you work, then drain and dry them completely before tossing with the sugars, spices, and cornstarch.
- Assemble. Spread the apple butter if you’re using it, overlap the slices in tight circles from the outside edge inward, and brush the tops with melted butter.
- Bake and cool. Bake until the crust is deeply golden and the apple edges caramelize, tenting the rim with foil if it darkens too fast. Let the tart cool before removing the ring.
- Make the caramel and finish. Melt the sugar to amber, whisk in butter, then cream, then vanilla and salt, and drizzle it over the cooled tart.
Related 📖 ➡️ How to cook and bake with apples
Why the crust stays crisp
This apple tart has no top crust, so it’s just the apple slices and the bottom crust. Apple pies are notoriously too full of liquid due to the juice from the apples as they bake.
Three things in this recipe help with the sogginess issue:
- The slices get patted dry after their lemon-water soak, so they’re not carrying surface water into the tart shell.
- The cornstarch tossed with the apple slices thickens the juice they release while baking.
- The shell goes into the oven straight from the refrigerator, which also helps prevent juice from soaking through.
That last one is why the pastry gets chilled twice, once as a disk and once already pressed into the pan. Twenty minutes after the shell is fitted is enough.
Variations
- Gala or Fuji. Either one works in place of the Honeycrisp.
- Pears. Replace two of the apples with ripe but firm pears.
- Dark brown sugar. Use it in place of the light brown for a deeper molasses note in the apples.
- Bourbon caramel. Add 1 tablespoon of bourbon to the caramel after the vanilla goes in.
- Browned butter. Brown the butter before brushing it over the arranged apples.
- Cranberries. Scatter a handful over the apple butter before the apple layers go on.
Make-ahead and storage
Make ahead. The tart dough can be made up to two days ahead and kept wrapped in the refrigerator. The salted caramel keeps for a week in a covered jar and loosens back up over low heat. You can also assemble the whole tart several hours before baking and leave it chilled until the oven is ready.
Storage. Once baked, cover the tart loosely with foil or plastic wrap and refrigerate it for up to four days. The crust softens a little each day but still tastes good. Let it sit out for twenty to thirty minutes before serving.
Freezing. Bake the tart and let it cool completely with no caramel on it. Wrap it tightly in plastic wrap and then foil and freeze for up to two months. You can wrap it in the tart pan if you don’t need the pan for a while. Otherwise, place it on a cardboard plate or something so it won’t get broken in the freezer. Thaw it overnight in the refrigerator, warm it at 300 degrees F for ten to fifteen minutes, then drizzle on fresh caramel and finish with flaky salt.
What to serve with caramel apple tart
Vanilla bean ice cream is definitely the choice here. You could also serve it with softly Whipped Cream, maybe with a little cinnamon or a touch of bourbon beaten in.
For drinks, hot apple cider and strong black coffee both cut the sweetness, and a maple bourbon Old Fashioned is what I would pour if the tart is the last thing on a holiday table. I also love to scatter on some toasted pecans or candied walnuts. Some people like a slice of Cheddar cheese along with their apple desserts (I am not one of them!)
If you make this recipe, please leave a comment and ⭐️⭐️⭐️⭐️⭐️ below!
➡️➡️➡️ Cooking from your phone? Members of The Red Clay Society read every recipe on the site with NO ADS, plus they get The Red Clay Journal, The Red Clay Kitchen cookbook, and The Front Porch, our member community.

Caramel Apple Tart Recipe
Equipment


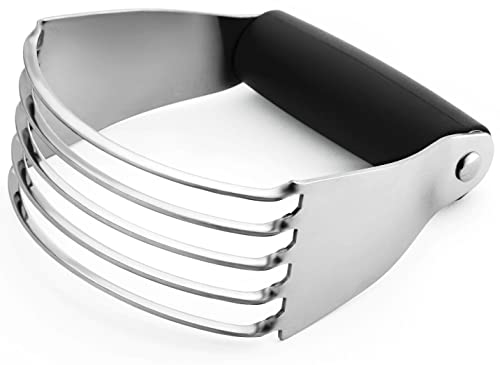

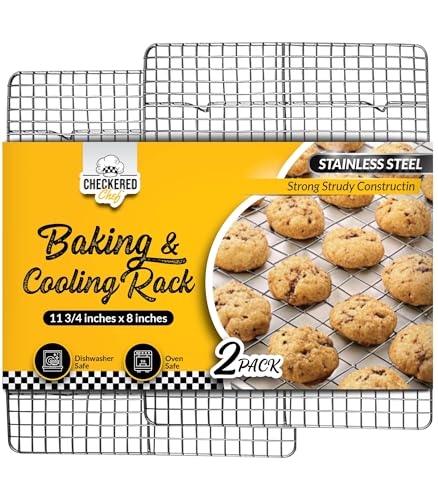
Ingredients
For the crust
- 1 ¼ cups all-purpose flour
- 1 tablespoon granulated sugar
- ½ teaspoon salt
- ½ cup unsalted butter, cold and cubed
- 3 to 4 tablespoons ice water
For the apples
- 4 Honeycrisp apples
- 1 Pink Lady apple
- 2 tablespoons fresh lemon juice
- ¼ cup light brown sugar
- 2 tablespoons granulated sugar
- 1 teaspoon ground cinnamon
- ¼ teaspoon ground nutmeg
- 1 teaspoon vanilla extract
- 1 tablespoon cornstarch
- ¼ cup apple butter, optional
- 2 tablespoons melted butter
For the salted caramel
- 1 cup granulated sugar
- 6 tablespoons unsalted butter
- ½ cup heavy cream
- 1 teaspoon vanilla extract
- ¾ teaspoon flaky sea salt
For finishing
- Flaky sea salt
- Fresh thyme leaves, optional
Instructions
Tart Shell
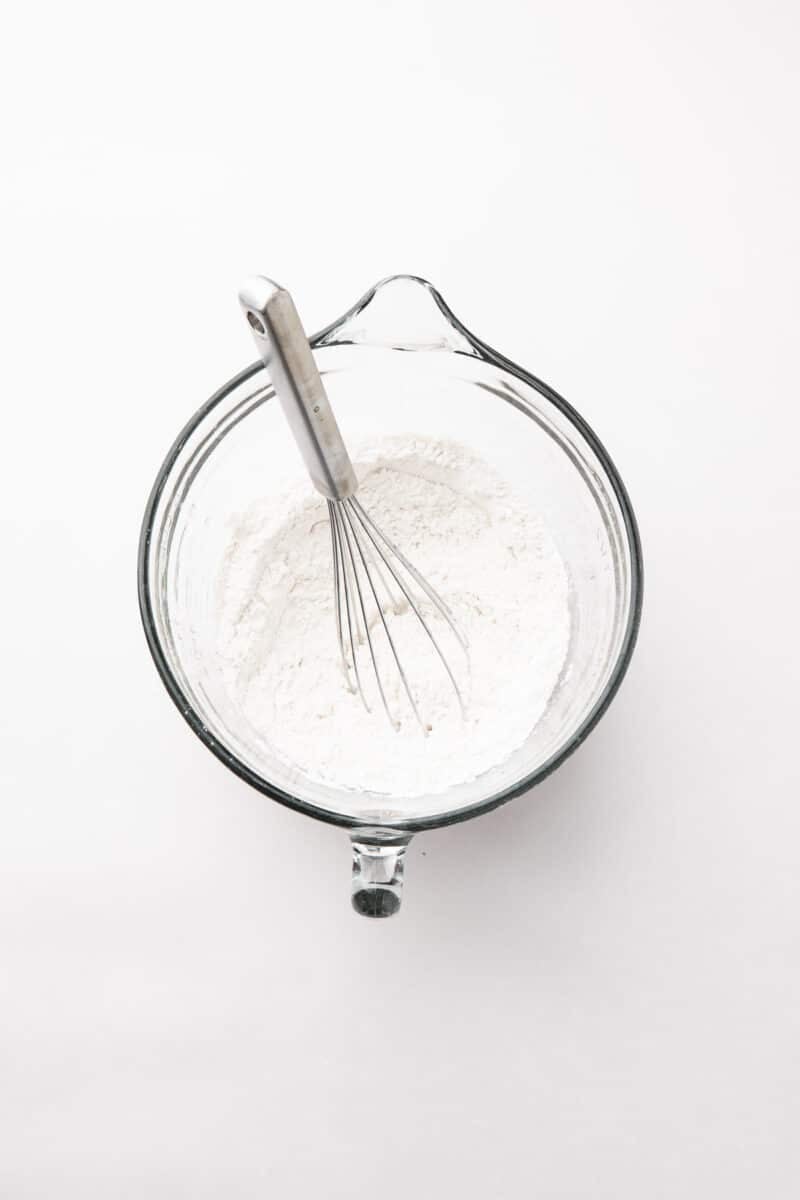
- Whisk 1 1/4 cups all-purpose flour, 1 tablespoon granulated sugar, and 1/2 teaspoon salt together in a large bowl.

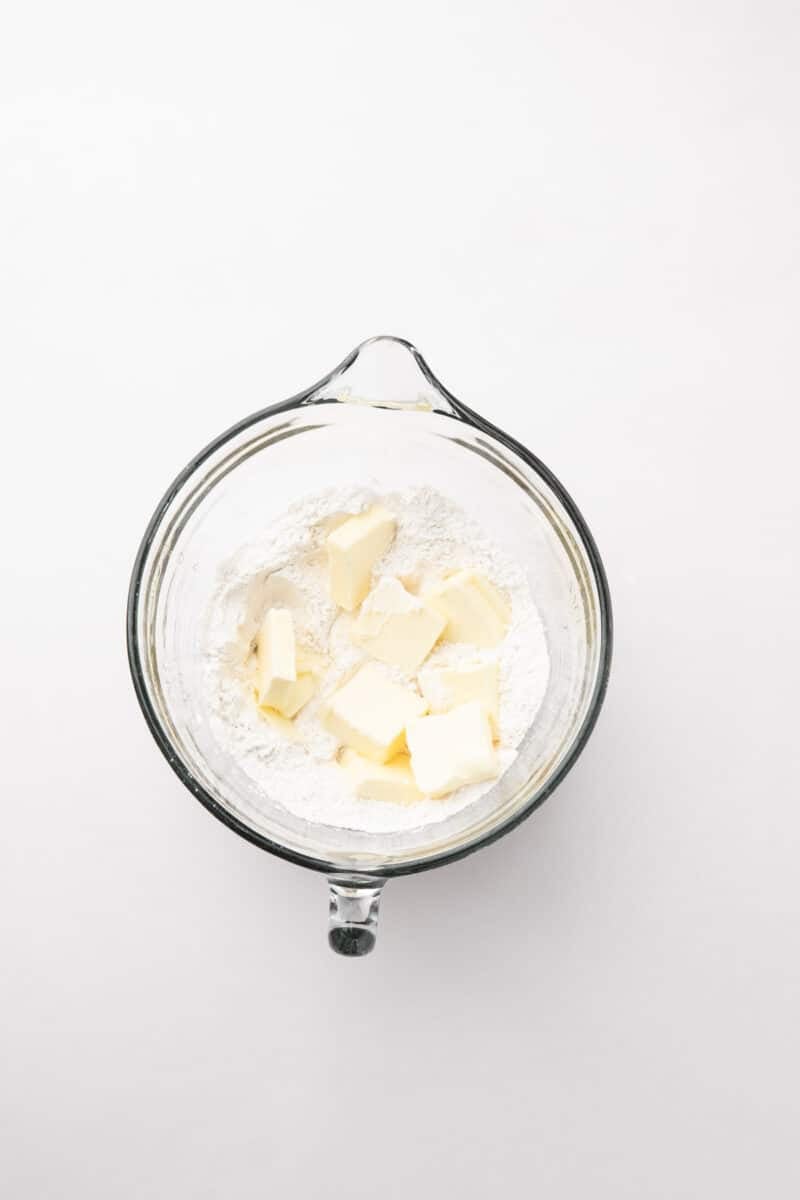
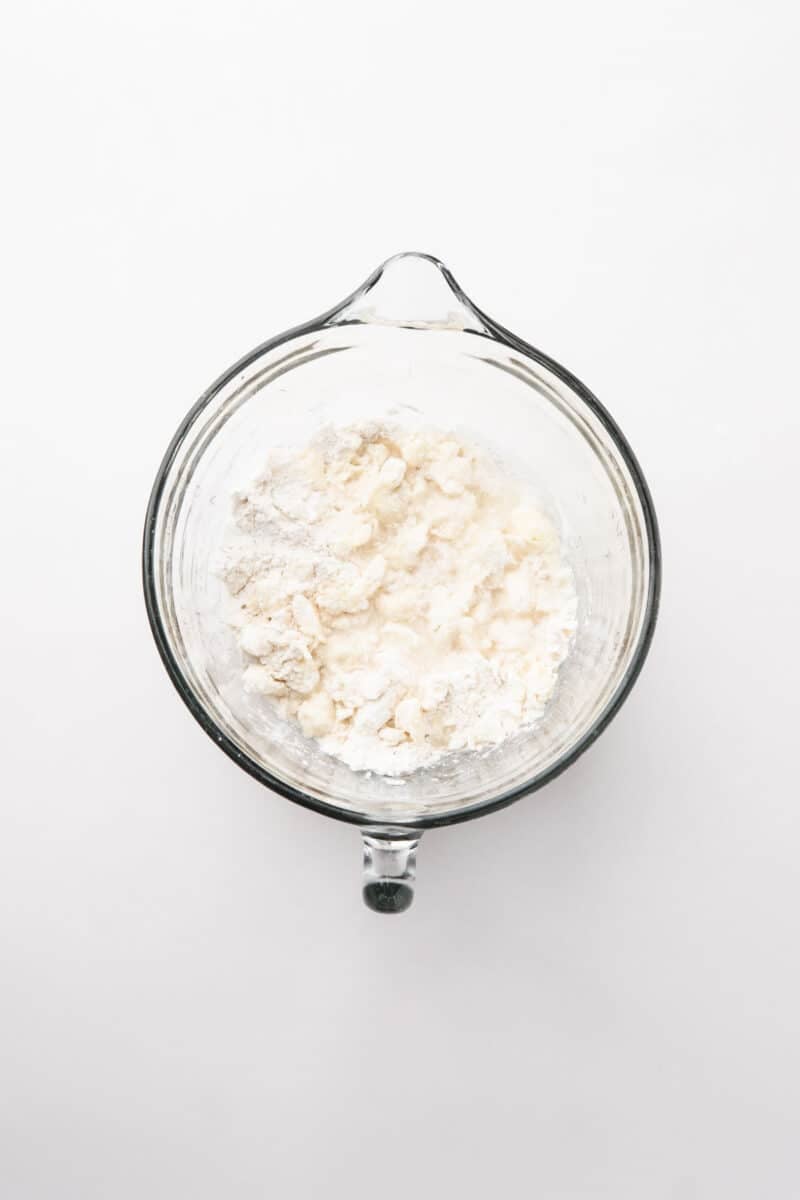
- Cut in 1/2 cup unsalted butter, cold and cubed until the mixture looks sandy with a few visible pieces of butter scattered through it.
- Drizzle in 3 to 4 tablespoons ice water one tablespoon at a time, mixing gently, just until the dough holds together.
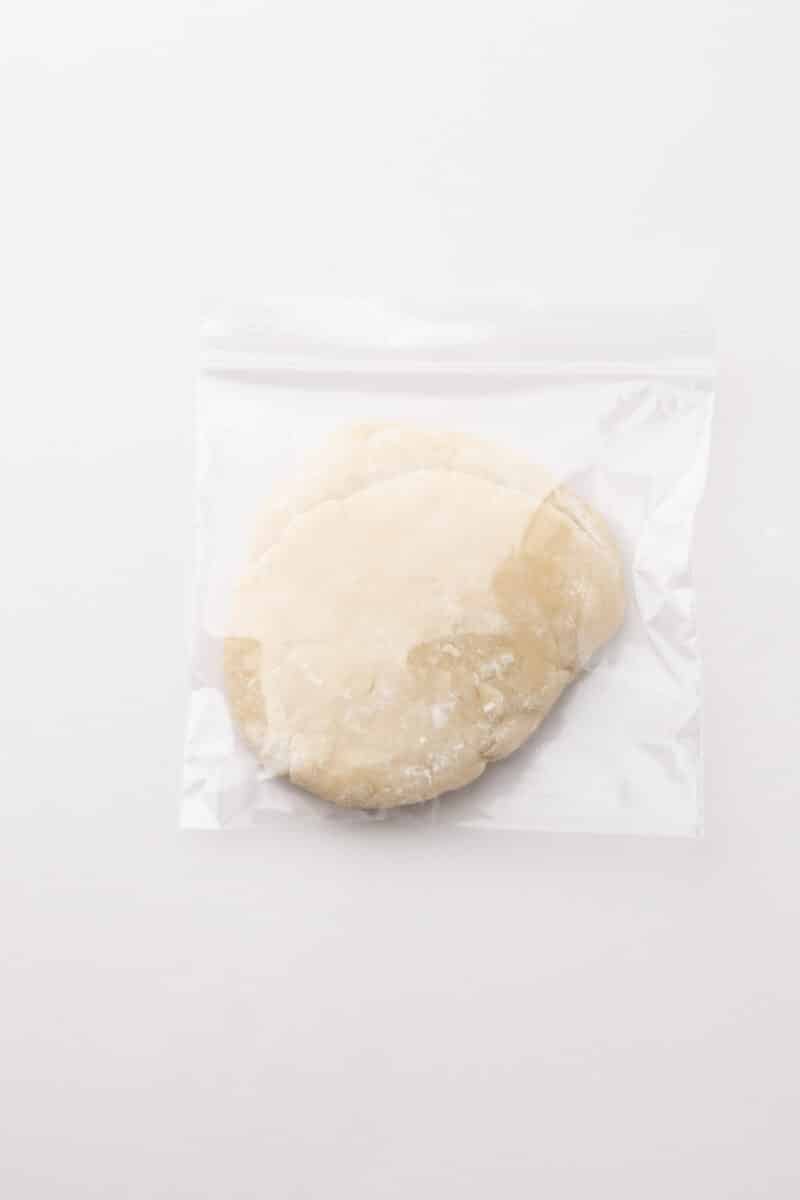
- Shape it into a disk, wrap it tightly, and refrigerate at least 1 hour.
- Preheat the oven to 375 degrees F.
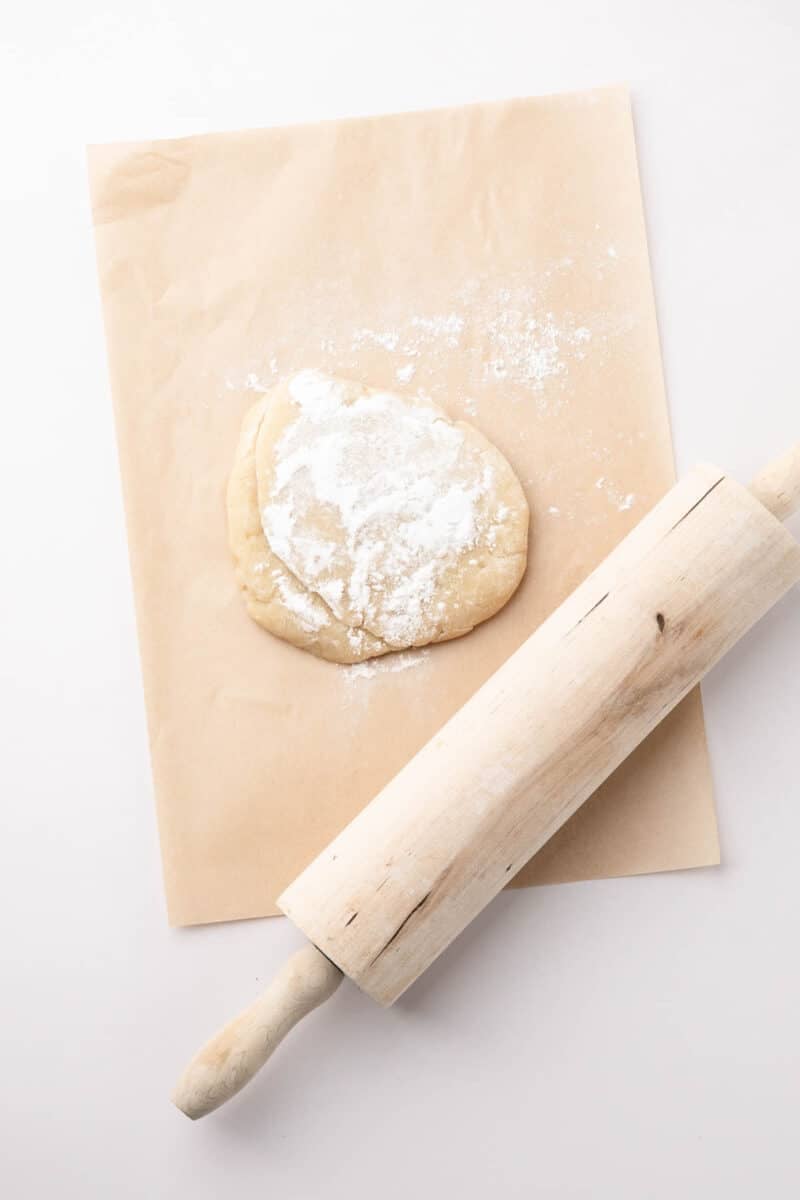
- Dust the work surface and roll the dough into a 12-inch circle.
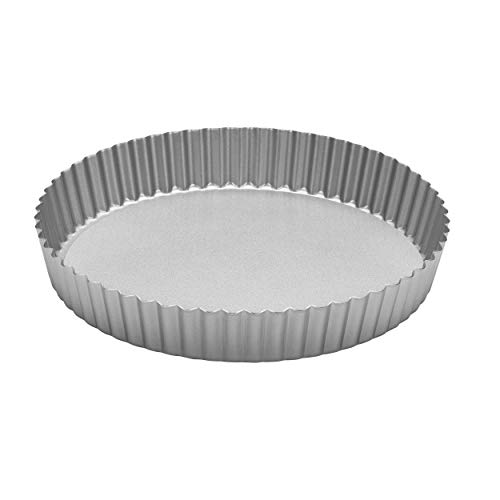
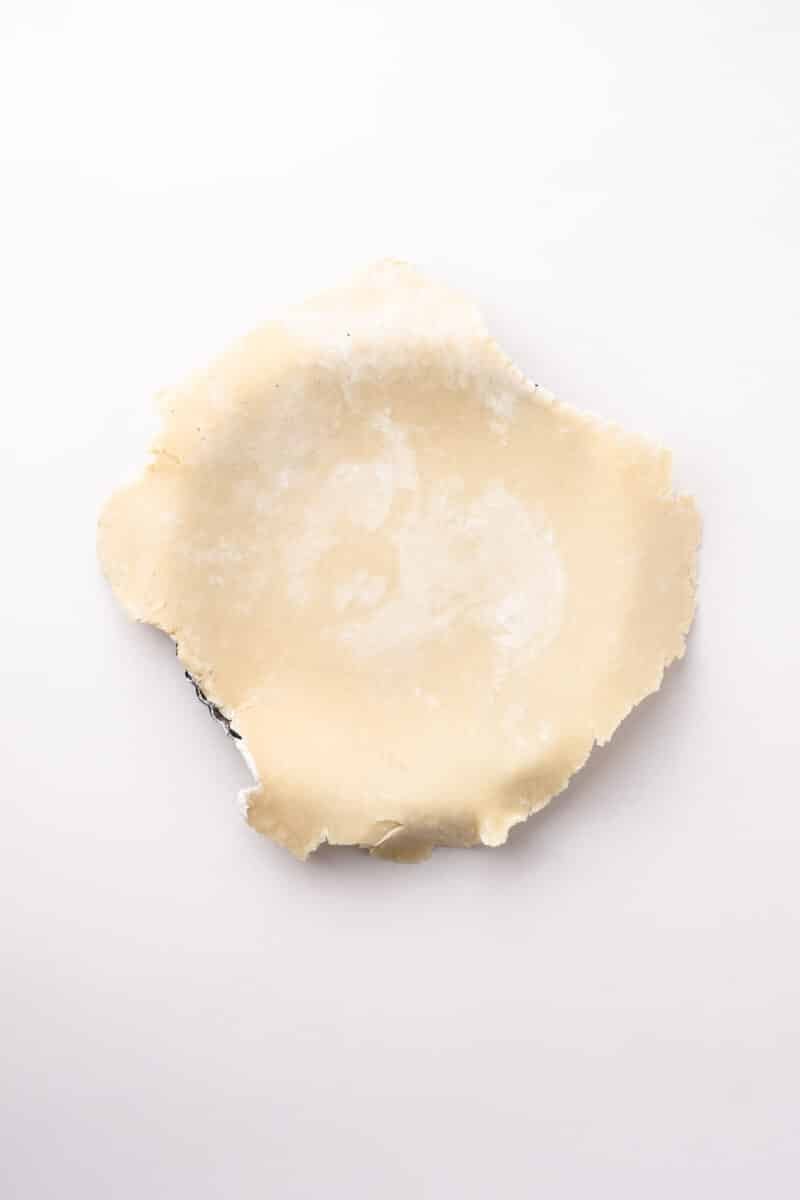
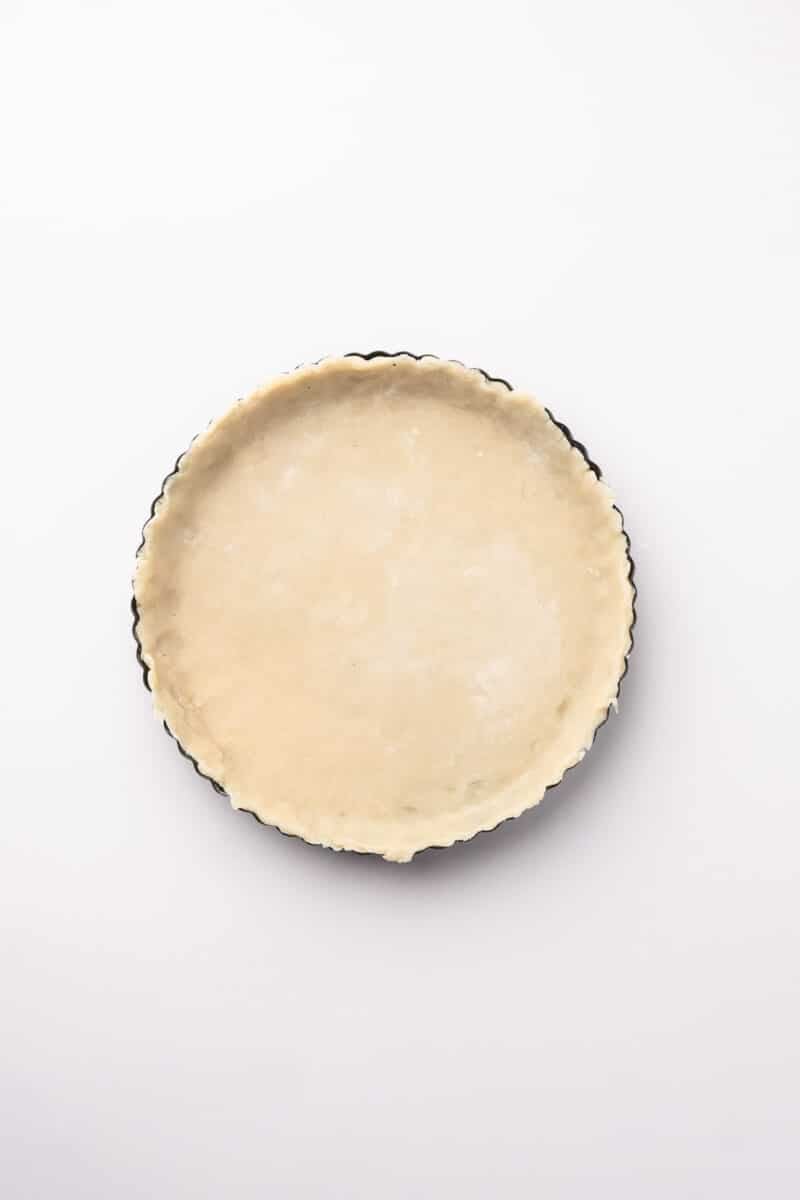
- Transfer it to a 9-inch tart pan with a removable bottom and press it gently into the bottom and sides without stretching.
- Trim the excess at the rim. Return the shell to the refrigerator for 20 minutes.
Apple Filling
- Slice the apples about 1/16 inch thick on a mandoline or with a very sharp knife.
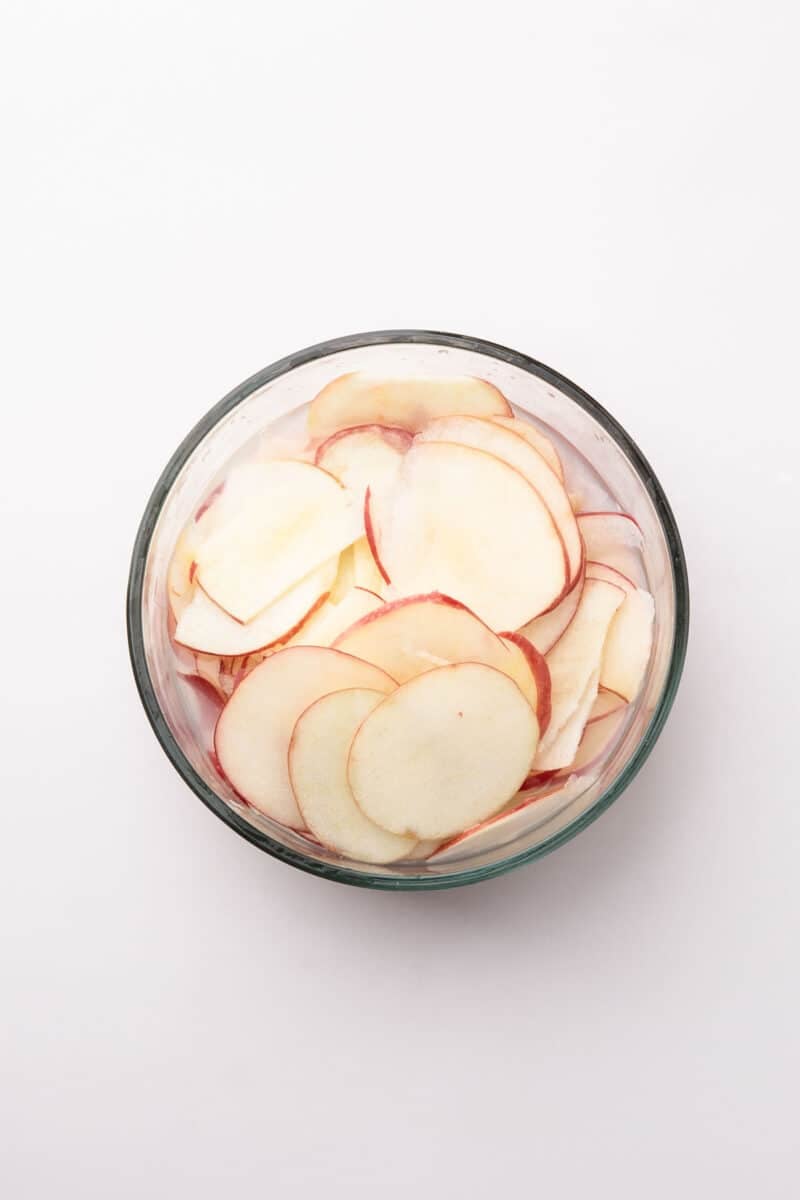
- Drop the slices into a bowl of cold water mixed with 2 tablespoons fresh lemon juice as you work. Drain well and pat completely dry with paper towels.
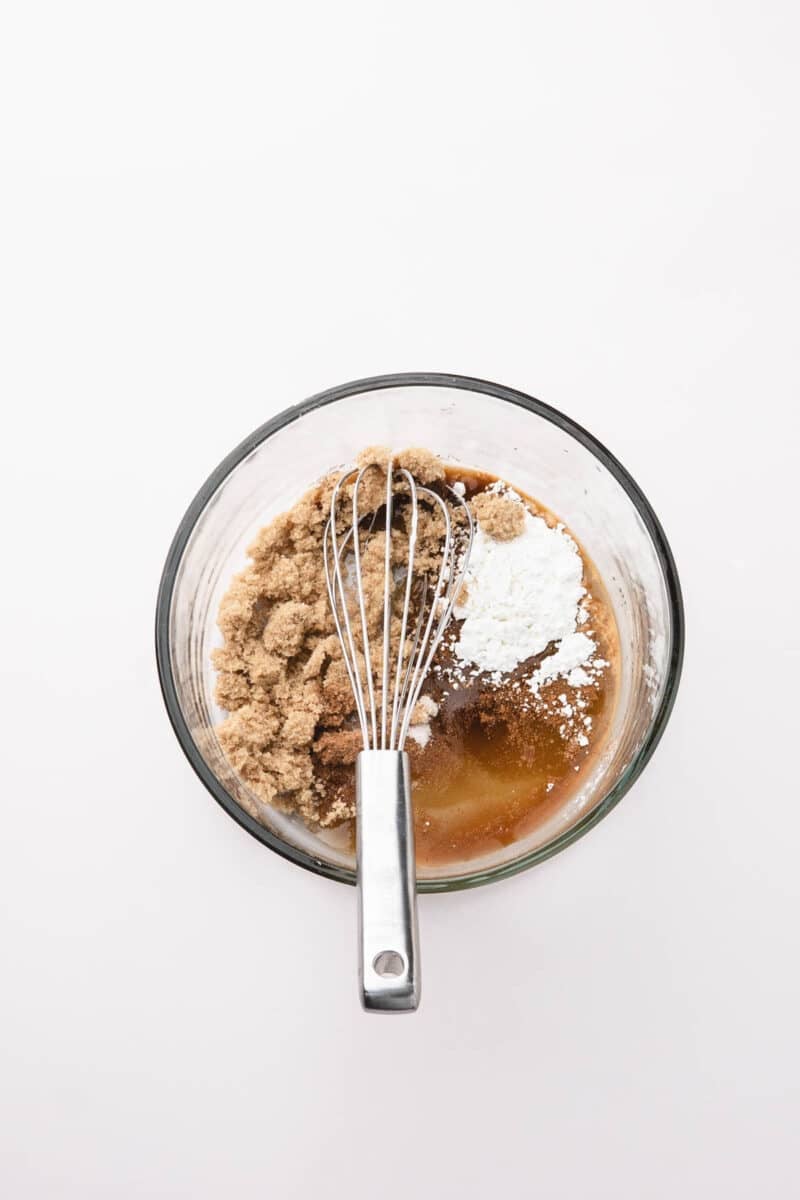
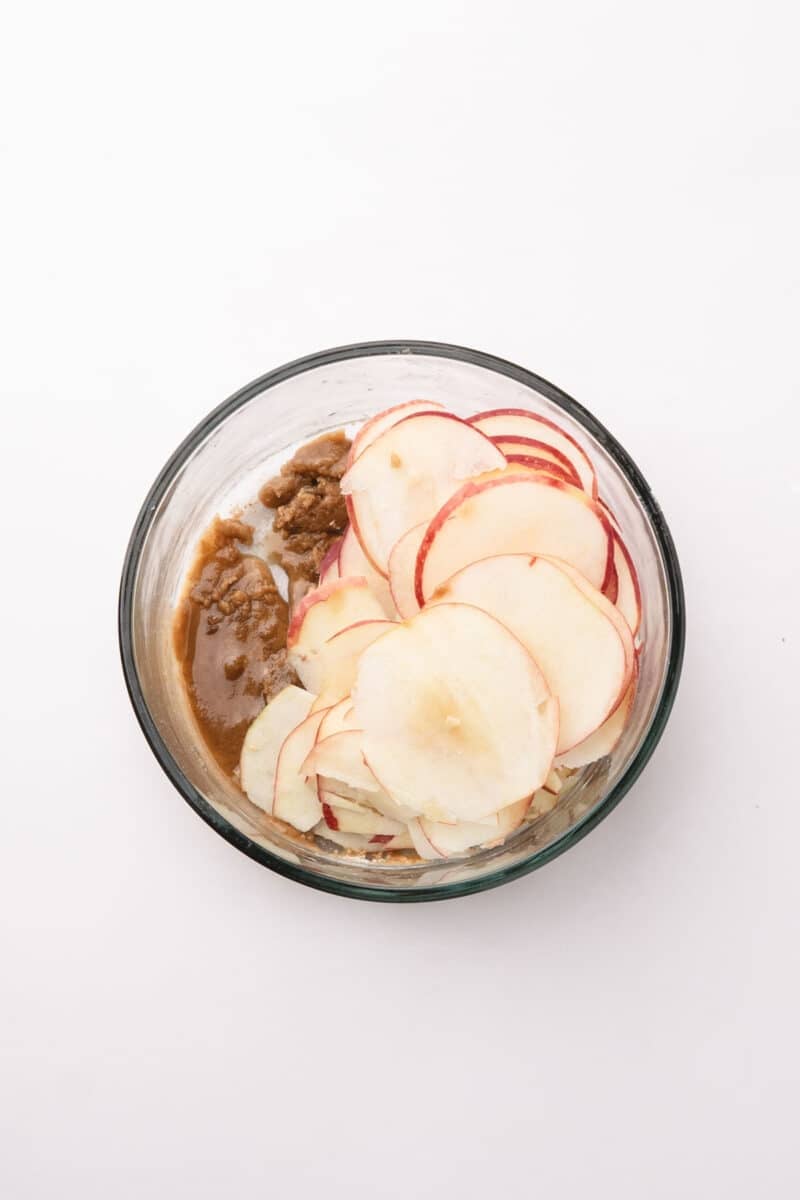
- Whisk 1/4 cup light brown sugar, 2 tablespoons granulated sugar, 1 teaspoon ground cinnamon, 1/4 teaspoon ground nutmeg, 1 teaspoon vanilla extract, and 1 tablespoon cornstarch together in a large bowl.
- Add the apple slices and toss gently until every slice is coated.
- If using apple butter, spread 1/4 cup apple butter, optional in an even layer across the bottom of the chilled shell.
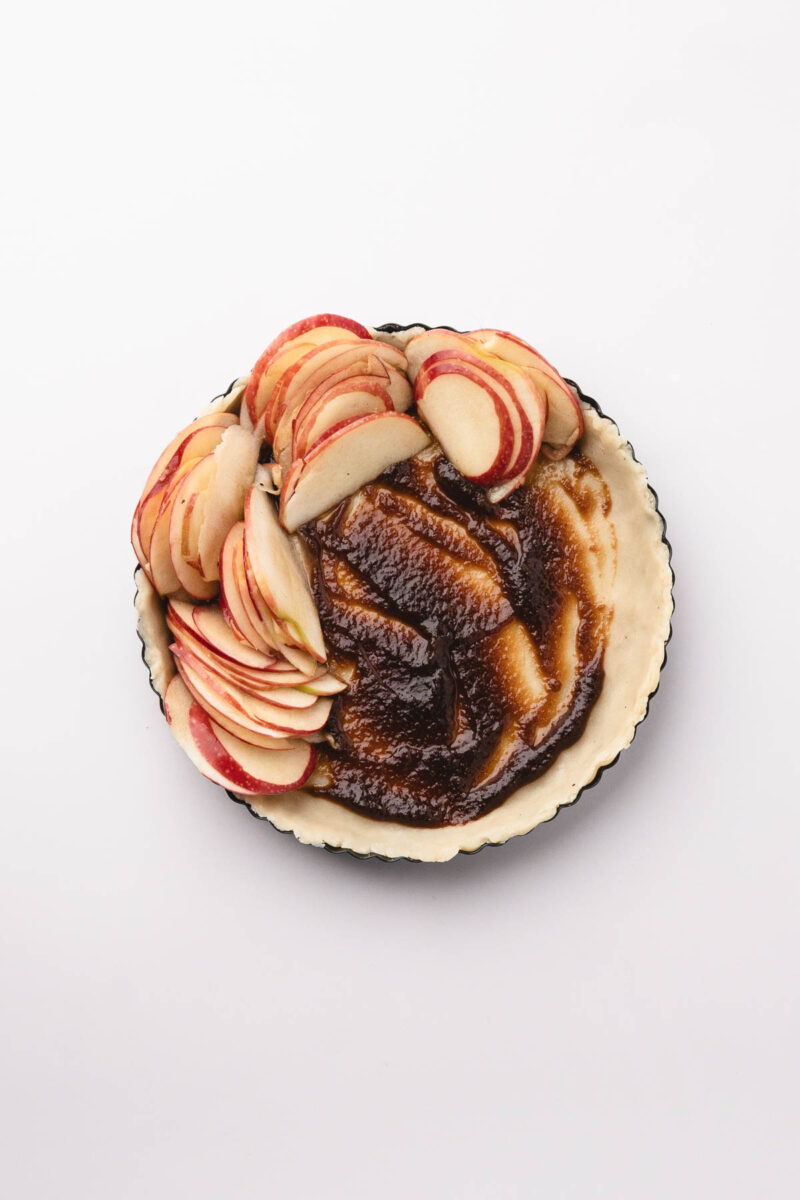
- Beginning at the outside edge, overlap the apple slices tightly and stand them slightly upright, working inward in concentric circles until you reach the center.
- Curl a few of the prettiest slices into a small rose and tuck it into the middle. Brush the tops lightly with 2 tablespoons melted butter.
- Bake 45 to 55 minutes, until the crust is deeply golden and the apples are tender with caramelized edges. If the crust browns too fast, tent the edges loosely with foil for the last 10 to 15 minutes. Cool the tart in the pan about 20 minutes, then lift away the ring.
Caramel Sauce
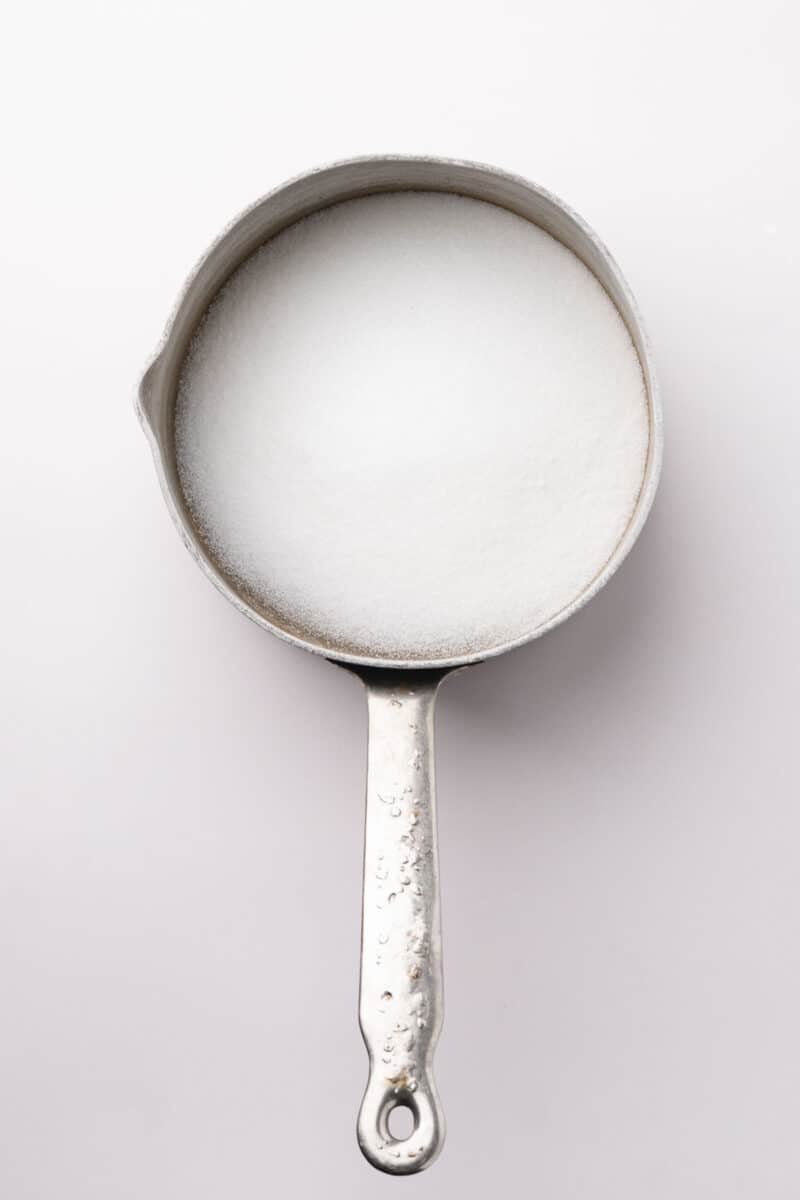
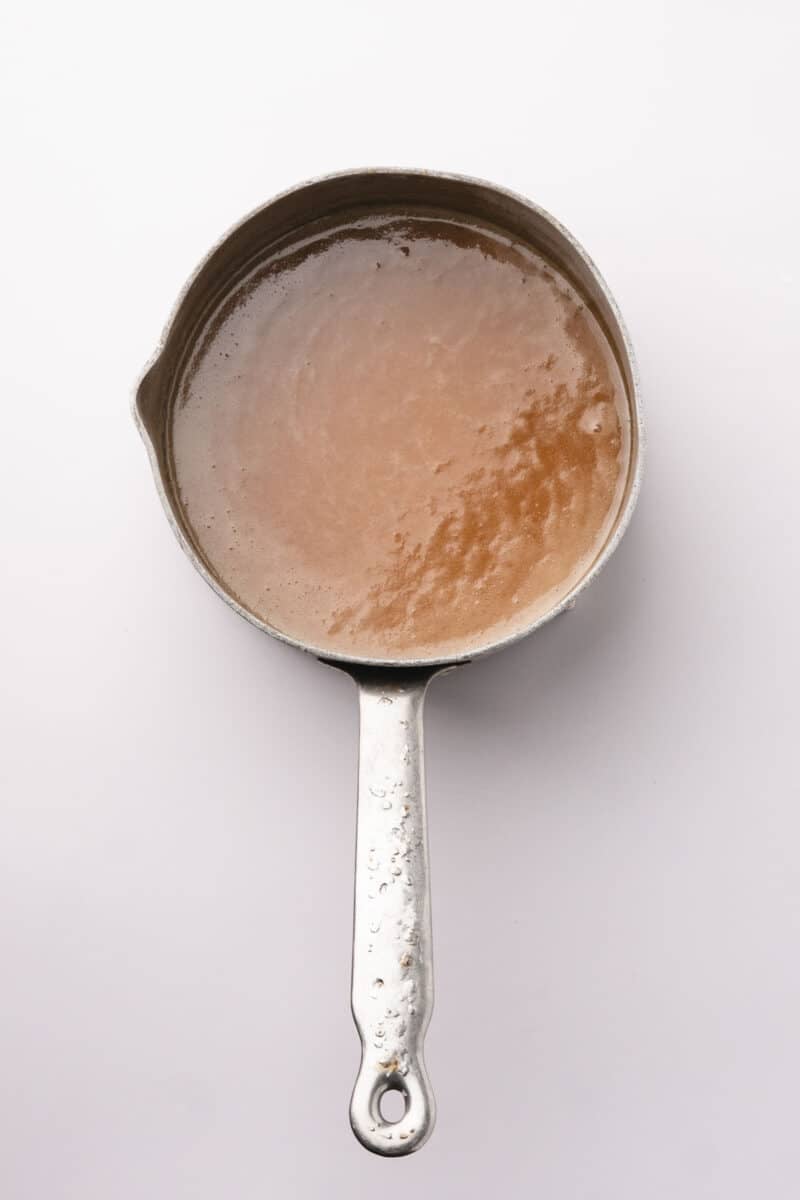
- While the tart cools, warm 1 cup granulated sugar in a heavy-bottomed saucepan over medium heat, stirring occasionally, until it melts to a smooth amber.
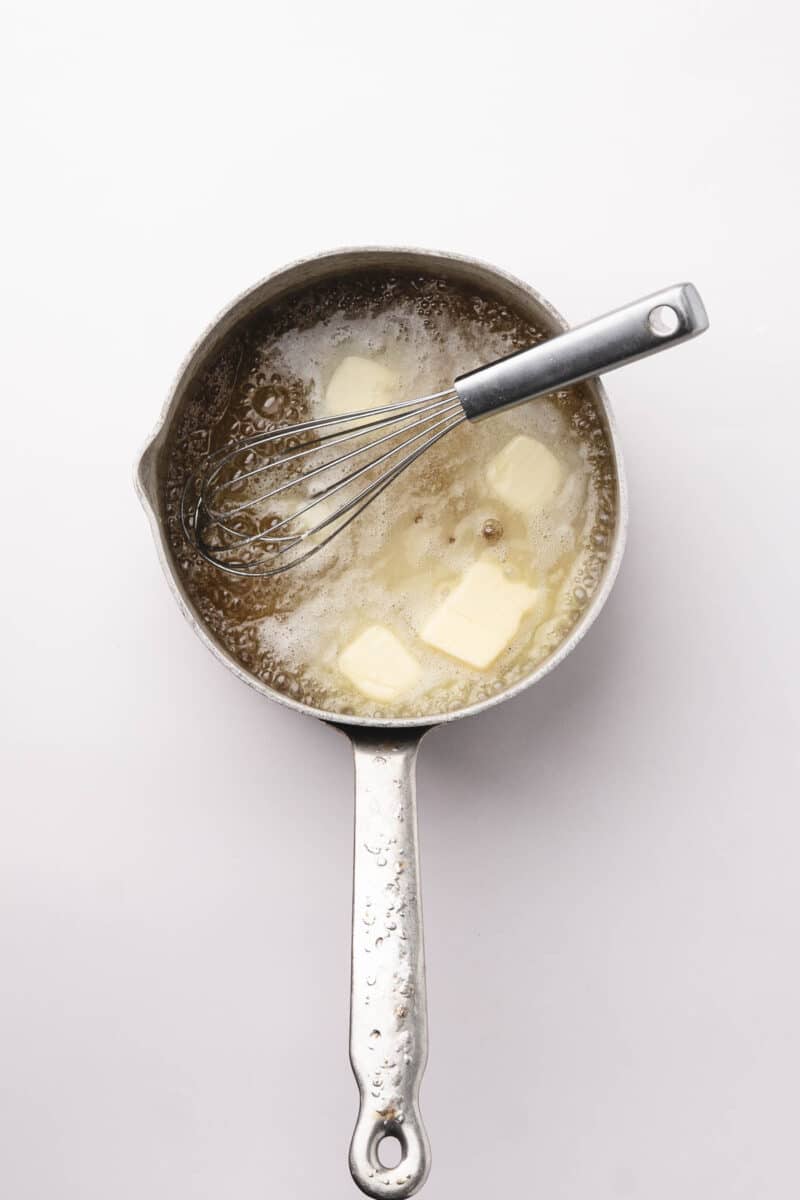
- Whisk in 6 tablespoons unsalted butter until fully incorporated.
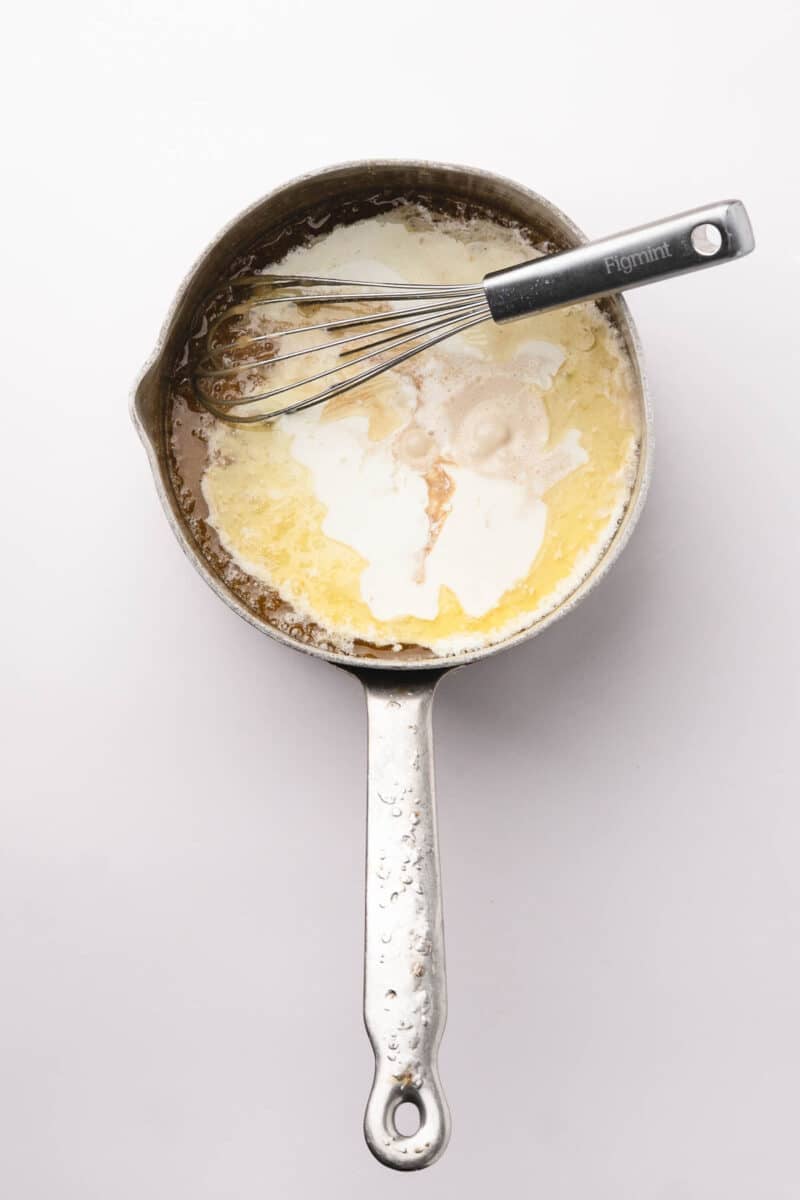
- Pour in 1/2 cup heavy cream slowly, whisking constantly, until smooth.
- Stir in 1 teaspoon vanilla extract and 3/4 teaspoon flaky sea salt. Let the caramel cool until thickened but still pourable.
- Drizzle the caramel generously over the tart just before serving and finish with a light sprinkle of flaky sea salt and thyme leaves, if using. Slice and serve slightly warm or at room temperature.
Notes
- Make the dough up to two days ahead and the salted caramel up to a week ahead.
- Bake the tart the day before and drizzle the caramel just before serving.
- Store covered in the refrigerator up to four days.
Nutrition
Questions and tips
Storage
Store covered in the refrigerator up to four days.
You can make the dough for this apple tart up to two days ahead and the salted caramel up to a week ahead. Bake the tart the day before and drizzle the caramel just before serving.
Very thin slices naturally lose water and shrink as they bake. Pack them tightly against one another when you arrange them so the tart still looks full when it comes out of the oven.
They’re cut a little too thick. A mandoline set to about 1/16 inch gives slices flexible enough to bend into the spiral without cracking.
Warm it gently over low heat, or stir in a tablespoon of warm heavy cream until it’s pourable again.
No. I think this tart is prettier with that thin sliver of peel left on. Leaving the peel on gives you color contrast and helps each slice hold its shape. But you do you! Peel them if you prefer a softer texture.
A 9-inch tart pan with a removable bottom.