This post may contain affiliate links. Please read our disclosure policy.
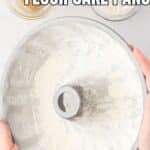
Greasing and flouring a cake pan takes about two minutes, and it’s the difference between a cake that slides out whole and one that leaves half its crust behind. My go-to is a thin coat of shortening with a light dusting of flour, and it’s the one I reach for first on a Bundt or a pound cake. Butter, cooking spray, baking spray with flour, and a homemade mix called cake goop all have their fans, so you’ll find each of them here too, along with what to expect from it.

Why you grease and flour a cake pan
Cake batter is mostly flour, sugar, eggs, and fat. The sugar and the egg proteins cling to bare metal as it bakes, and anywhere the batter touches the pan directly is a spot that can tear when you turn the cake out.
The grease puts a layer of fat between the batter and the pan. The flour gives that fat something to hold onto, so it stays on the sides instead of melting down into a puddle at the bottom as the oven heats up. Together they leave a thin, dry shield that the baked cake lets go of easily.
A quick-baking sheet cake can sometimes get by with grease alone. A tall pound cake or a Bundt sits in the oven for an hour or more, though, and that’s plenty of time for one bare spot to stick.
Grease and flour a cake pan with shortening
This is my preferred method. Solid vegetable shortening is pure fat with no water, so it won’t steam against the pan or leave damp patches where the flour clumps. It also stays put at room temperature while you work.
- Scoop a small amount of shortening onto a paper towel.
- Rub it over the bottom and up the sides of the pan in a thin, even layer. Get into the corners, the seam where the sides meet the bottom, and every ridge of a Bundt pan.
- Hold the pan up to the light and look for dull spots of bare metal. Touch up anything you missed.
- Add 1 to 2 tablespoons of all-purpose flour to the pan.
- Tilt and tap the pan, turning it as you go, until the flour coats every greased surface.
- Turn the pan upside down over the sink or the trash can and give it a few firm taps to knock out the extra flour.
You want a thin white film over the whole pan, with no shiny patches and no loose drifts of flour. A heavy layer of flour can bake into a pale, dusty crust on the outside of the cake, so don’t skip the tapping.
The other ways to prep a pan
Butter
Butter works, and some bakers like the flavor it leaves on the crust. It isn’t pure fat, though. Each stick contains water and milk solids, and the water can steam the flour loose in spots while the milk solids brown and grab the batter during a long bake. If butter is what you have, use it softened rather than melted, rub it on in a thin layer, and flour the pan exactly as you would over shortening. Check the corners and ridges twice.
Cooking spray
Plain nonstick cooking spray is the fastest route. Give the pan a light, even coat, then flour it the same way. Spray beads up and runs down the sides of the pan, so add the flour right after you spray, before the oil has a chance to pool in the bottom.
Baking spray with flour
These sprays come with the flour already mixed in, and they promise to grease and flour in one step. I don’t like them, and I haven’t had good results, so I keep doing it in two steps with shortening and flour.
Cake goop, a homemade pan coating
Cake goop greases and flours in a single coat. Stir together equal parts all-purpose flour, vegetable oil, and shortening until the mixture is completely smooth, with no lumps of flour or shortening left. A quarter cup of each makes a good-size batch.
Use a pastry brush to spread a light layer over the inside of the pan. Work it down into the corners and ridges. That’s the whole job. There’s no extra flour to dust on and nothing to tap out. Cake goop is handy when you’re prepping several pans at once, since you can mix one batch and brush every pan from the same bowl. Keep any leftovers in an airtight container in the refrigerator for up to two weeks.
A few of my favorite cake tools
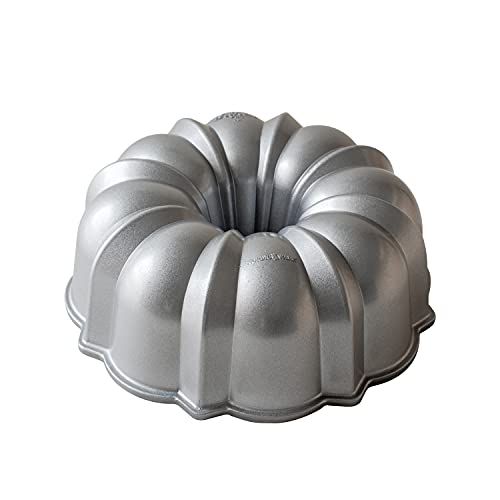
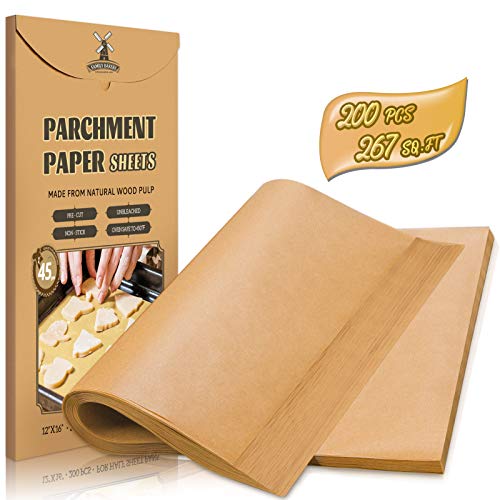
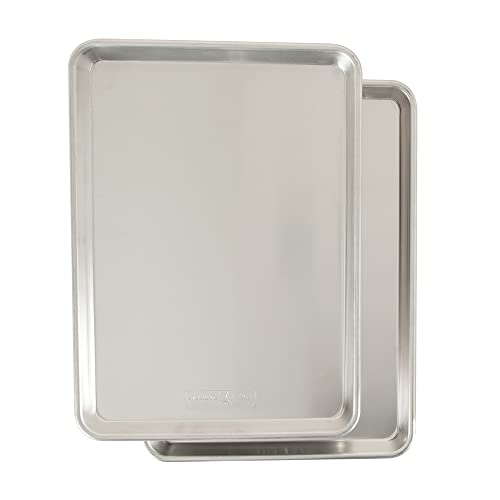
These are my most used cake pans, along with my favorite parchment paper sheets and rounds.




Getting a Bundt cake out in one piece
A Bundt pan has more surface area than any other cake pan you own, and every groove is another place for the cake to catch. Shortening and flour or cake goop both work well here. Use a pastry brush to push the fat into the grooves and around the center tube, and check the pan against the light before adding the batter.
Once the cake is baked, let it rest in the pan for the time the recipe gives before you turn it out. A cake that’s too hot can tear, and one left too long can stick as the sugars cool and set. For my lemon blackberry pound cake with a blackberry glaze, I set a timer for 10 minutes as soon as it comes out of the oven, then invert the pan onto a wire rack.
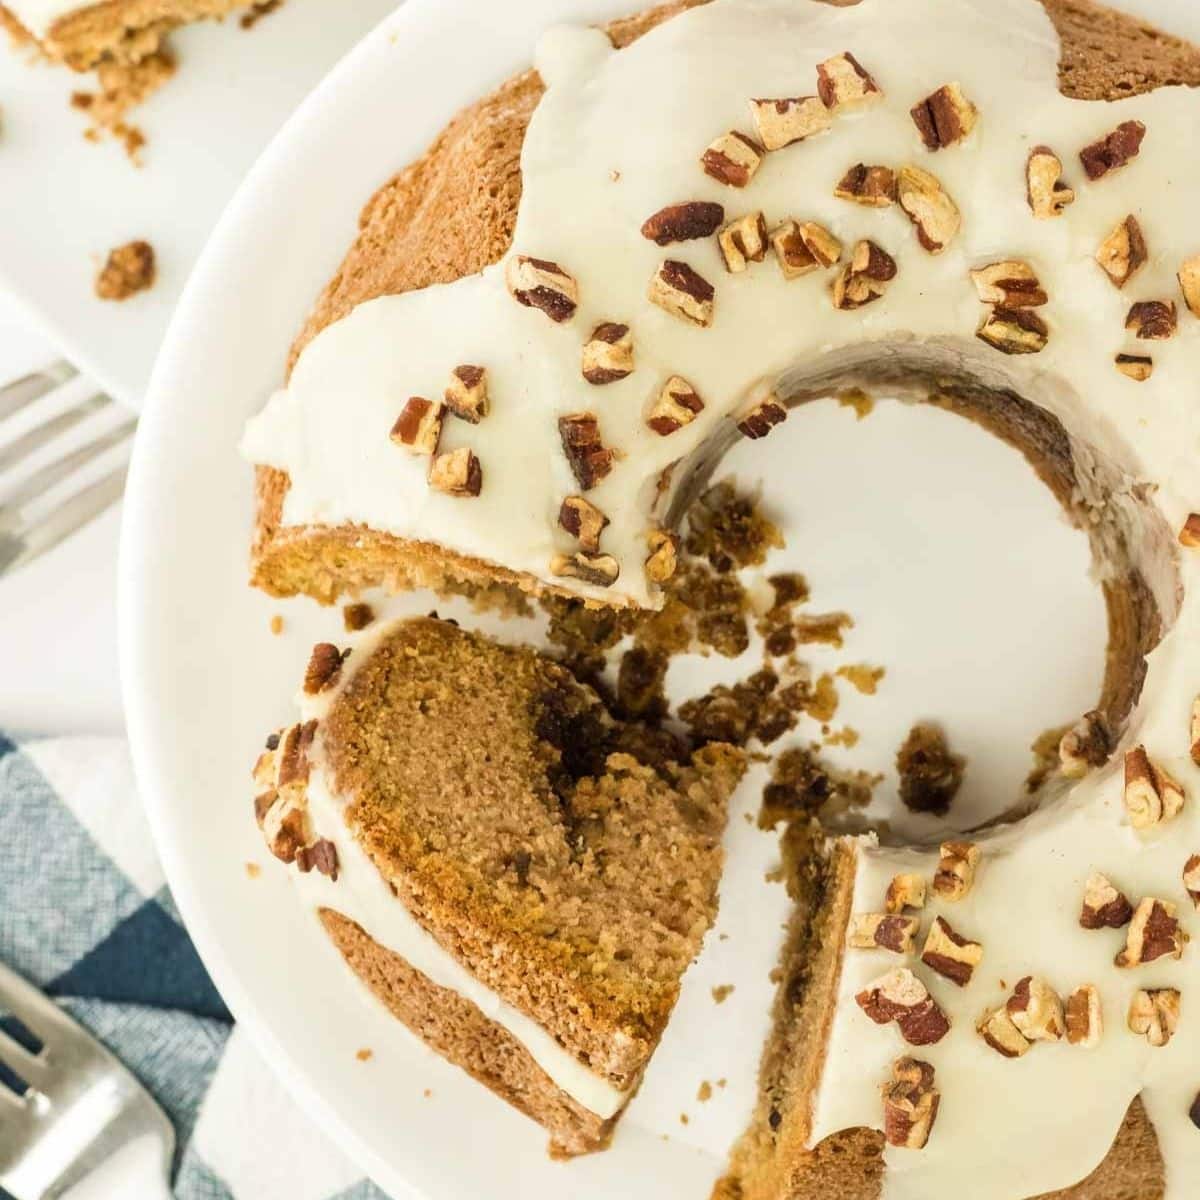
Start with my cinnamon Bundt cake with a brown sugar swirl. When you’re ready for something with more color, try the red velvet Bundt cake with a cream cheese glaze.
Put it to work on your next cake
Pound cakes need the same care as a Bundt. My old-fashioned cream cheese pound cake is the one I’d start with, and the easy lemon pound cake finished with a lemon glaze takes the same prep.
Layer cakes and sheet cakes are more forgiving, but a greased and floured pan still keeps the edges clean on a moist yellow layer cake or a buttermilk chocolate sheet cake.
If you’re deciding what to bake next, my collection of Southern cake recipes runs from pound cakes to layer cakes. For the tools that make cake day go smoothly, check out my list of baking supplies.
If you enjoyed this article, please leave a comment and ⭐️⭐️⭐️⭐️⭐️ below!
➡️➡️➡️ Reading from your phone? Members of The Red Clay Society read every recipe and article on the site with NO ADS, plus they get The Red Clay Journal, The Red Clay Kitchen cookbook, and The Front Porch, our member community.