This post may contain affiliate links. Please read our disclosure policy.

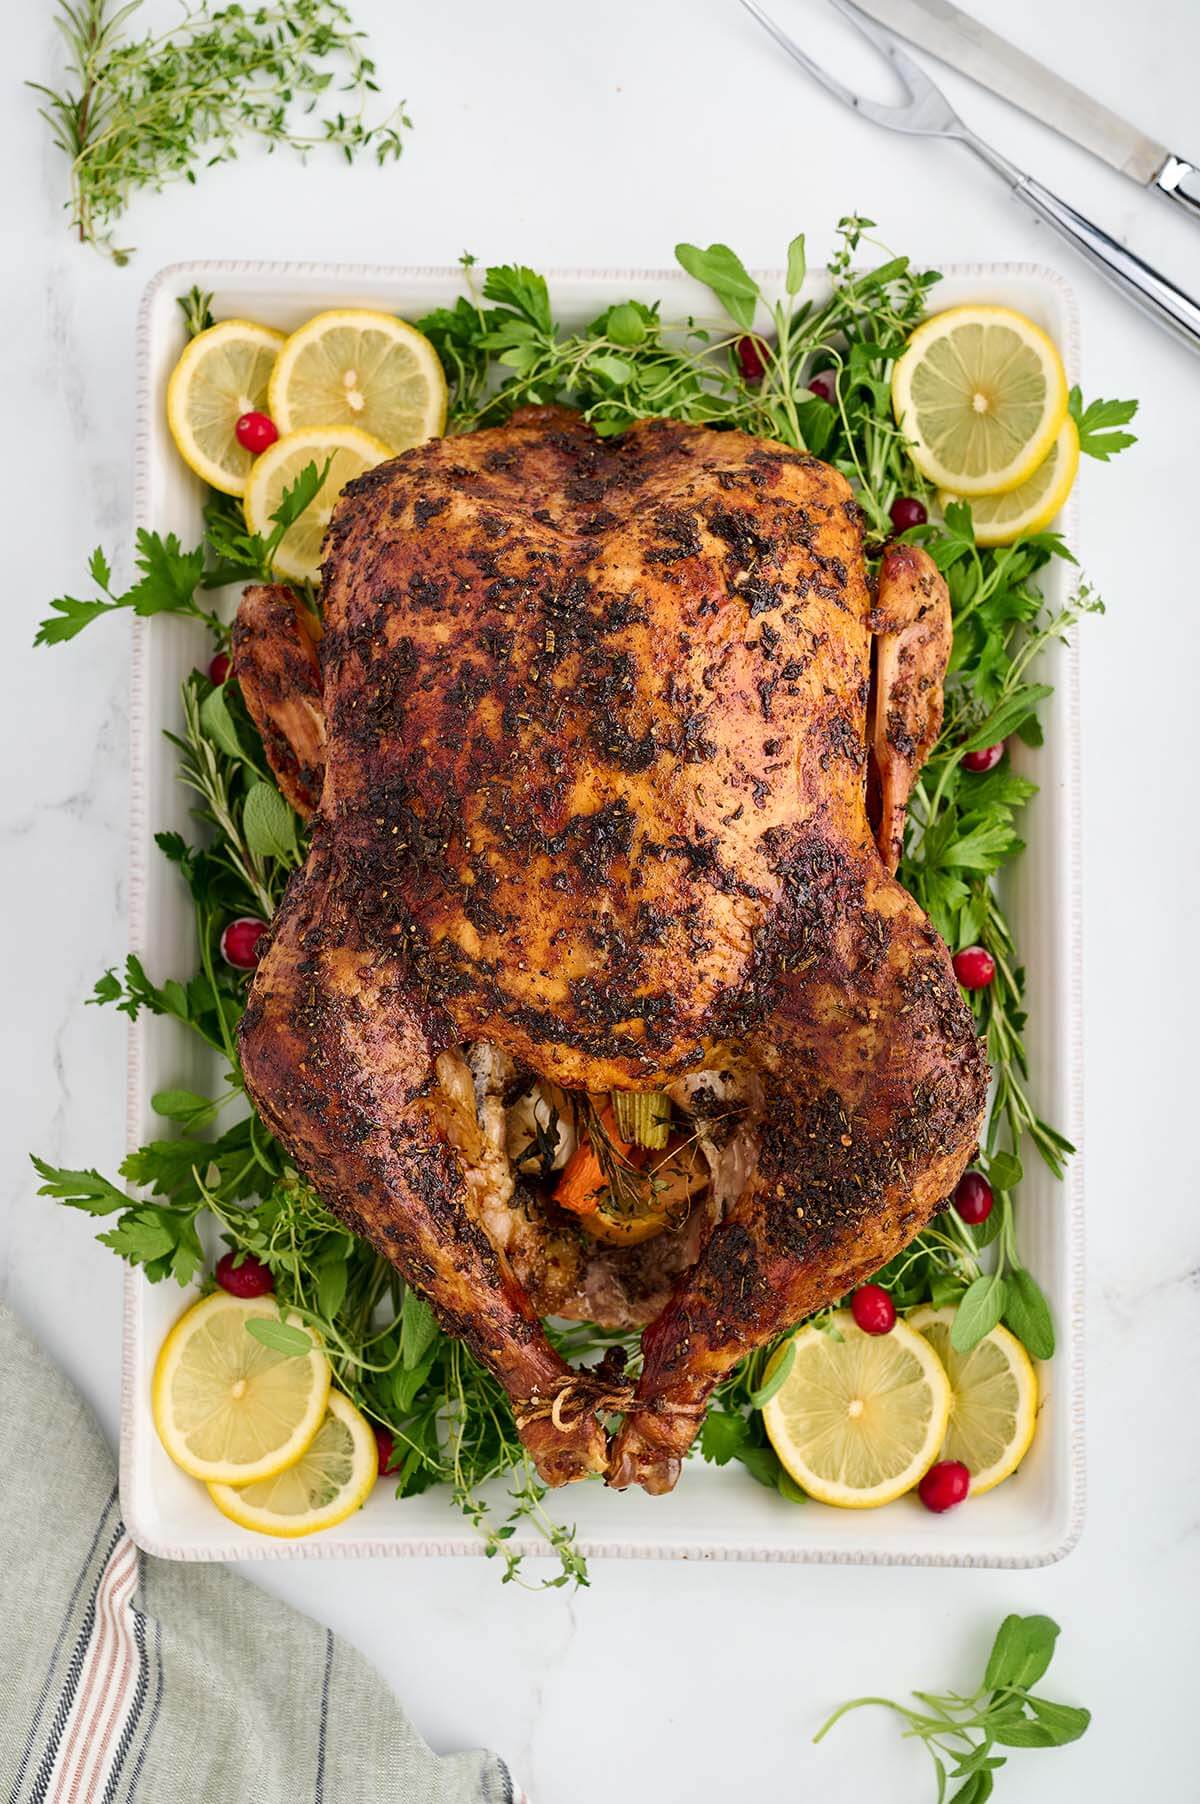
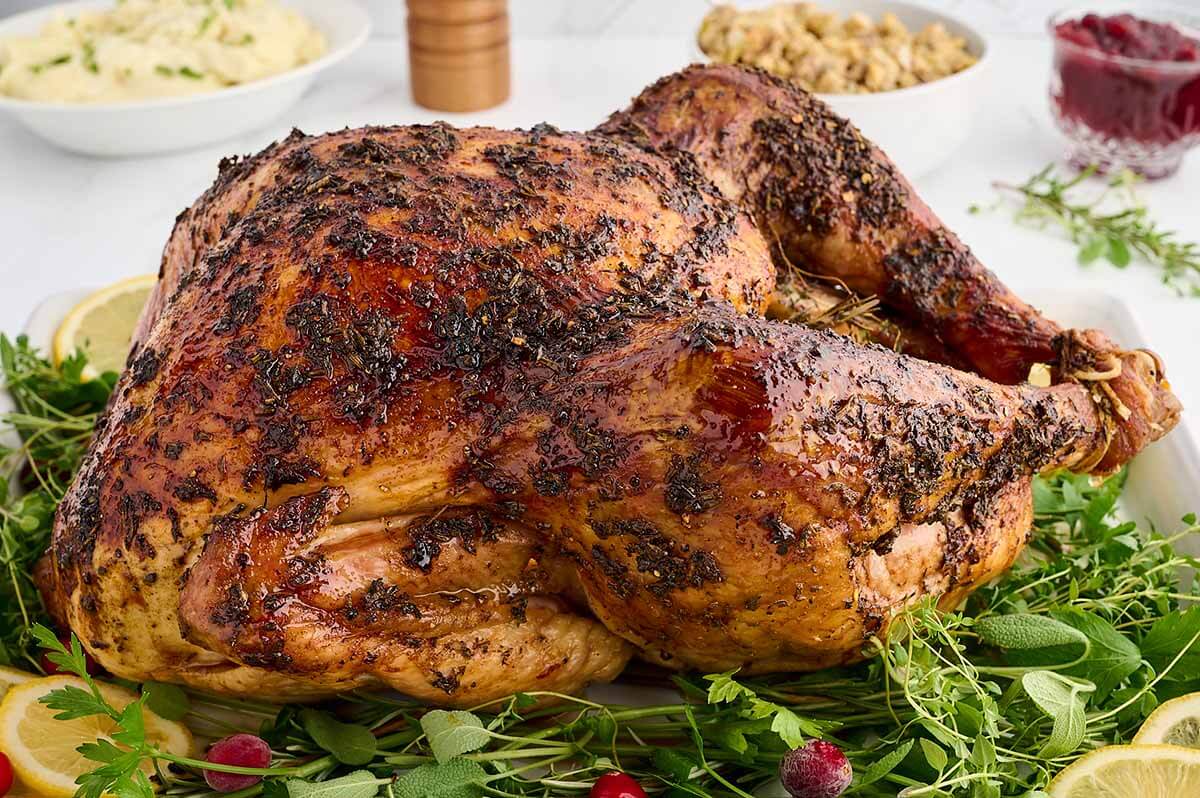
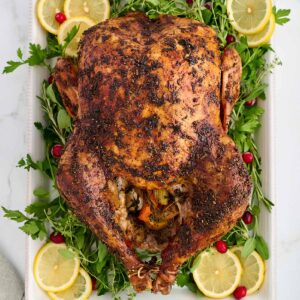
Roast turkey made simple and delicious! This foolproof recipe delivers juicy meat and crispy skin, making your turkey the perfect centerpiece for any holiday table.
The holiday season is upon us, and what better way to celebrate than with a perfect roast turkey recipe? Whether you’re a seasoned cook or a kitchen newbie, this guide provides all you need to make a turkey that’s tender, juicy, and packed with flavor.
Being in charge of the roast turkey for Thanksgiving can be a daunting prospect, especially for first-time cooks.
And the Internet can make it a very confusing process: there are about as many ways to roast turkey as there are turkeys.
Our roast turkey recipe
I’ve been responsible for the turkey for my husband’s family for more than 20 years now, so I’ve tried many different methods.
I’ve roasted the bird upside down, on its side, under foil, at high temperature, at low temperature—and needless to say, I’ve had some roast turkey disasters over the years.
After lots of trial and error, the recipe I’m sharing here is what works best for me, and I’m confident this roast turkey will work great for you as well!
For more in-depth tips on cooking your Thanksgiving turkey, see our post on How to Cook a Turkey. We cover everything from selecting the turkey to thawing and storing your leftover turkey.
How to Cook a Turkey
Learn how to cook a turkey that’s perfect every time. Our guide covers turkey selection, thawing tips, cooking methods, and storage tips.
Why roast a turkey
When it comes to cooking turkey, you’ve got options like frying, grilling, and smoking. But let’s talk about why roasting is often the best way to go:
Simplicity: Season your turkey, place it in a large roasting pan, and let the hot oven work its magic.
Universally Loved Flavor: Roasting yields tender meat with a balanced, crowd-pleasing taste.
Flexibility: Feel free to get creative with herbs and spices to give your turkey different flavors. Ever had a Cajun Turkey?
Convenience: No need to stand over the turkey and watch it. You can get other dishes ready while you’re oven is doing the hard work!

Roasting turkey breast side down
Roasting a turkey breast side down has been a topic of culinary debate for years. Advocates argue that this method allows the juices to flow into the breast, keeping it moist during the cooking process.
Skeptics, however, point out that it may result in a turkey that’s not as visually appealing since the skin over the breast won’t brown as much.
It’s a matter of personal preference, and both methods have their pros and cons.
I do like the method of starting the turkey with the breast side down; however, since I usually cook a 20+ lb. turkey, this method doesn’t work well for me.
I always slather my turkey in herb butter before roasting, so just imagine trying to turn a heavy, hot, slippery turkey onto its back after it’s been in the oven for an hour.
After a couple of years of trying this and ending up either burned or with broken turkey parts, I’ve given up on this one.
Companion recipes
Prepping your turkey
Before the big day, there are a few simple steps to prepare:
Thawing: Plan for about 3-4 days to thaw a frozen turkey in the fridge.
Brining: Go wet brine or dry brine, but either way, aim for 12-24 hours.
Drying: Remove excess moisture by letting the turkey sit uncovered in the fridge for a few hours or overnight.
Cooking time and temperature
Note: This timeline only includes the actual day of prep and cooking time. For an accurate timeline that includes brining and resting overnight, please refer to our post on How to Cook a Turkey.
Preparation: Takes 30-40 minutes.
Roasting: Around 15 minutes per pound at an oven temperature of 325°F.
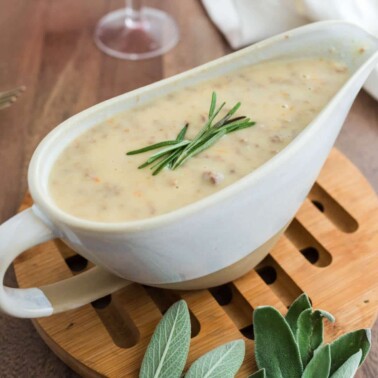
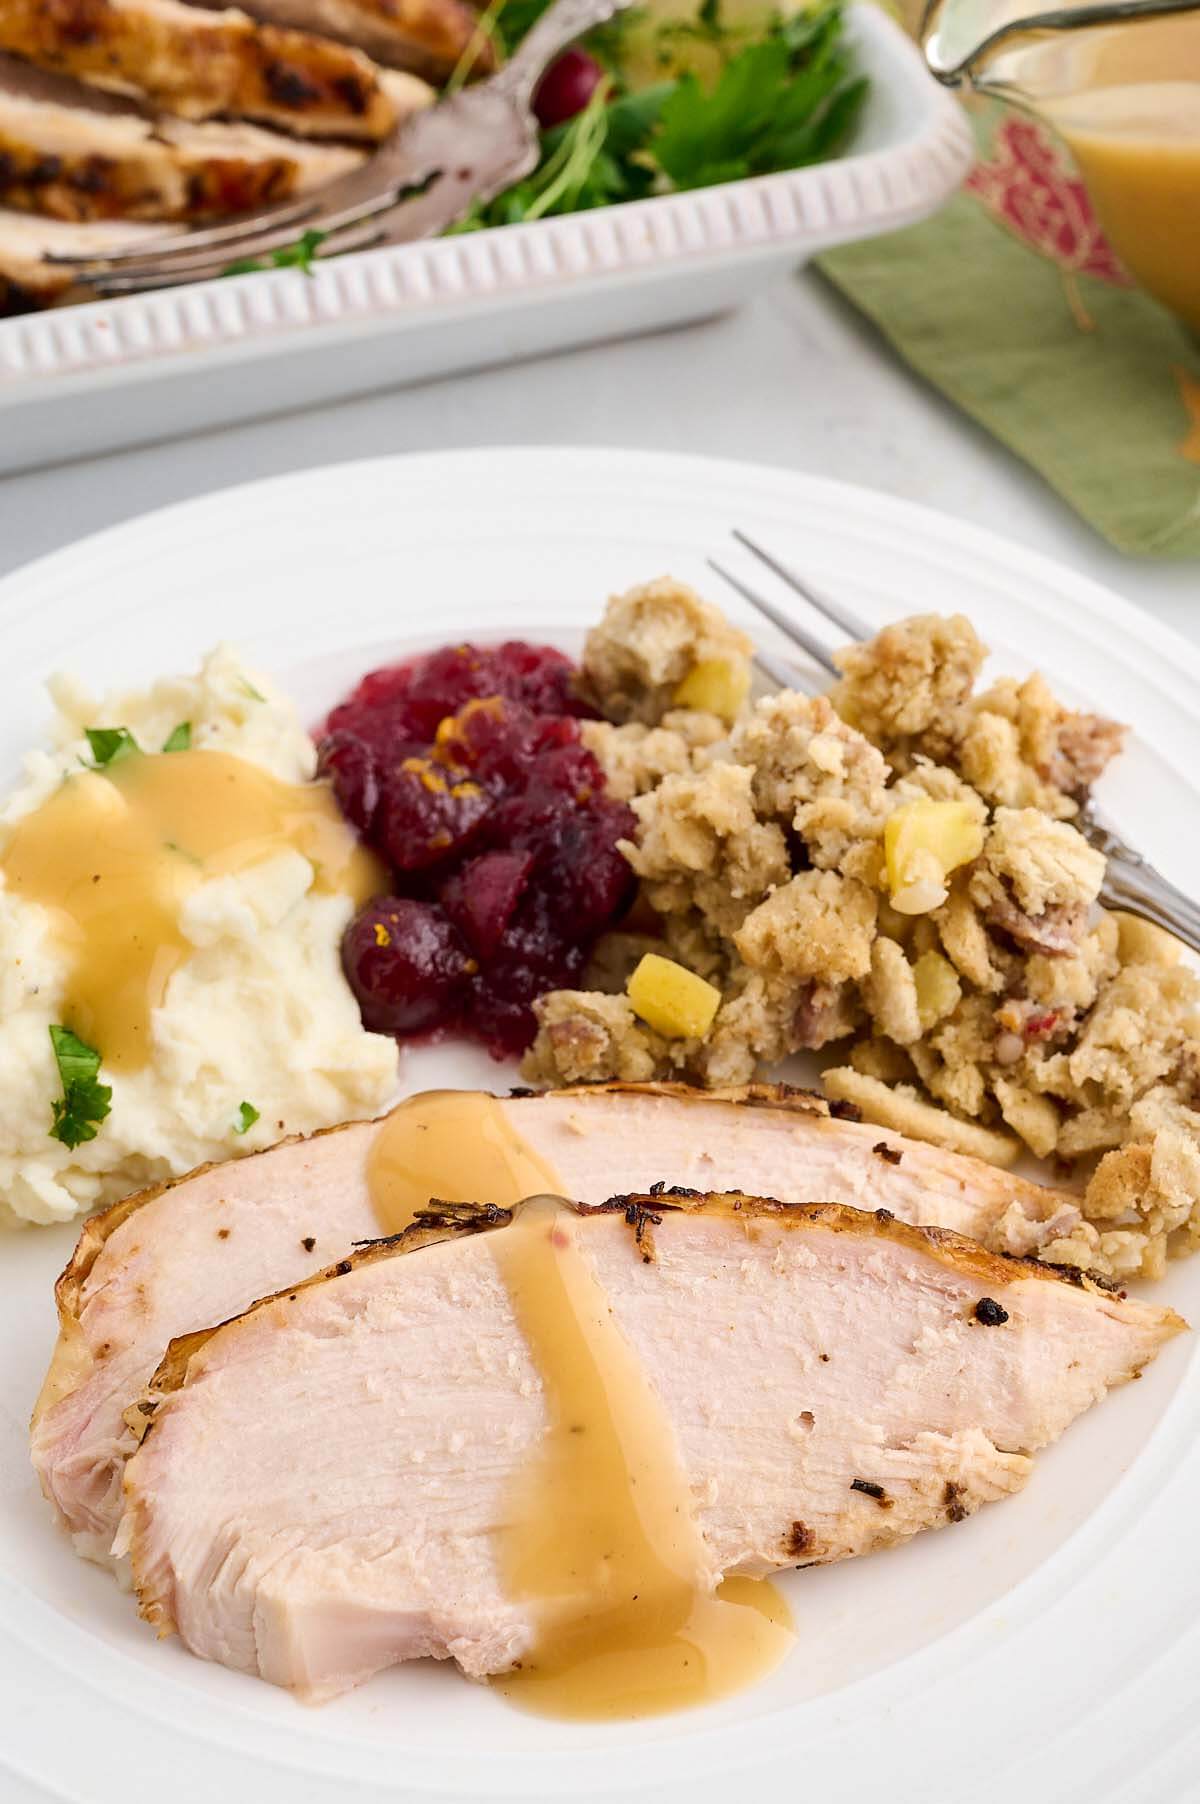
Resting: Give it 30 minutes so the turkey rests and the juices settle in. Use this time to whip up some turkey gravy from the pan juices at the bottom of the roasting pan.
Ingredients
For the perfect roast turkey, you’ll need:
Turkey: The star of our dish. We like heritage or organic turkey, but this roast turkey recipe will work with any turkey.
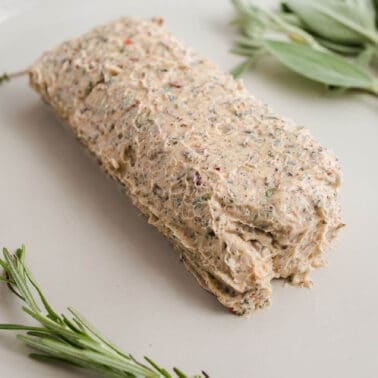
Herb Butter: A flavor-packed spread that also helps achieve that coveted crispy skin.
Turkey or Chicken Stock: Adds moisture and flavor from the bottom up.
Fresh Herbs: Rosemary, sage, and thyme are classic choices that never disappoint.
Onion, Carrots, and Celery: The aromatic trio that forms the base for roasting.
Lemons: Inject a burst of citrusy flavor.
Apple: A sweet note to complement the savory elements.
Variations
Variations in the turkey game are endless, but let’s keep it simple:
For a dry brine, use a mixture of kosher salt and your favorite herbs. Here’s a great dry brine recipe.
If you’re into a wet brine, just ensure you have a large enough container and enough cold water.
Note: we always use a wet brine for the turkey!
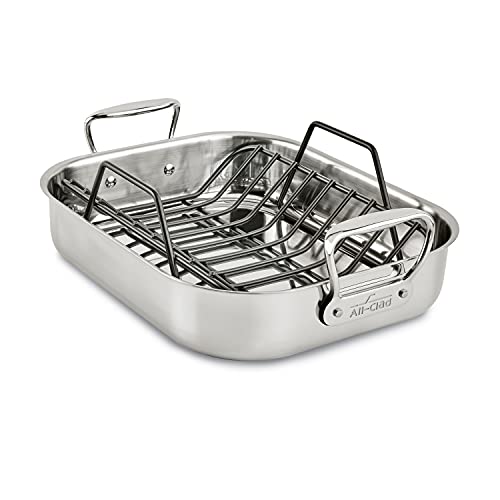
Helpful tools
Preparation and planning are the keys to a successful dinner, whether it’s Thanksgiving with the whole family or a simple dinner party for friends. Having the right tools makes everything easier and helps you run your kitchen more efficiently.


How to roast a turkey
If you wet-brined the turkey, then remove it from the brine and rinse thoroughly, then pat the turkey dry with paper towels. Then clean your sink!
To achieve that irresistibly crispy skin, let your turkey sit uncovered in the fridge overnight.
This drying step makes a world of difference, but if you’re pressed for time, just make sure to dry it thoroughly with paper towels.
- Position your oven rack at its lowest setting and preheat to 325°F.
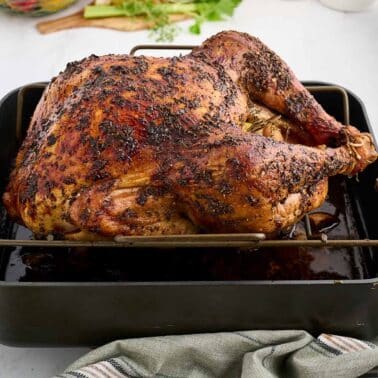
- Place the turkey in a large roasting pan with a roasting rack, and then tuck the wing tips underneath the back of the turkey. Then tie the legs together with kitchen twine or tuck them under the little piece of skin at the end of the turkey.
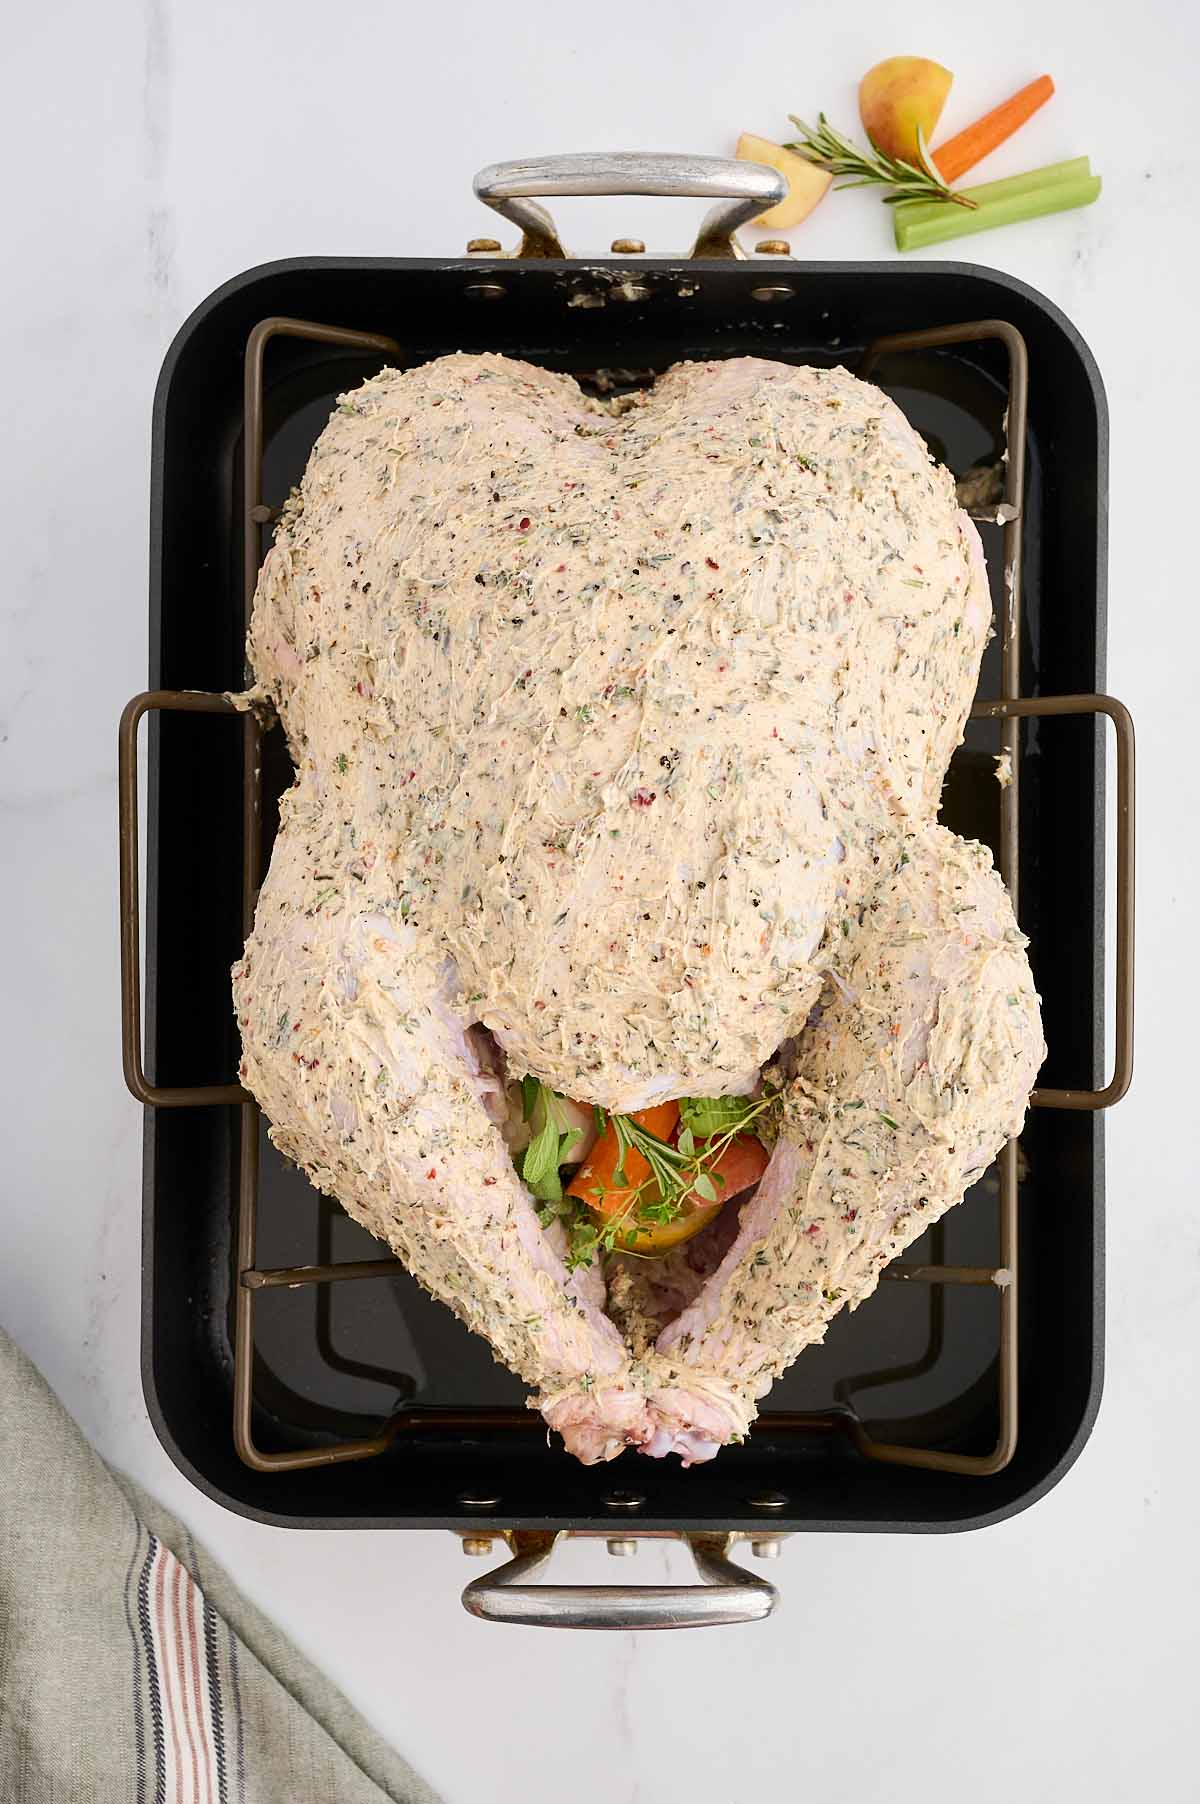
- Rub the herb butter all over: the top, bottom, legs, and sides, and carefully underneath the breast skin. When trying to spread the butter underneath the skin, you have to break the membrane holding the skin to the flesh. Just press your fingers under it, and it will break. Be gentle so you don’t tear the skin.
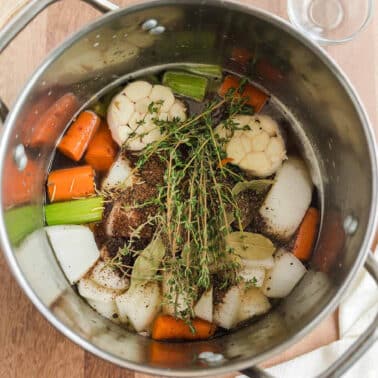
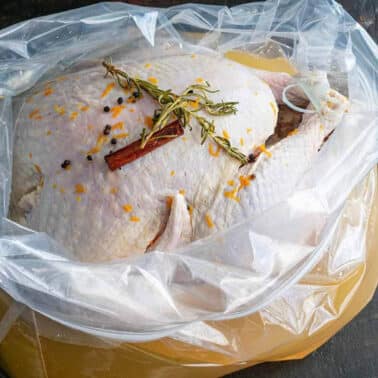
- Add stock to the bottom of the pan and stuff the turkey with aromatics: we use rosemary, thyme, sage, onions, carrots, and celery. Take a couple of lemons, halve them, squeeze the juice inside the cavity, and then throw the lemon halves in the turkey. If there’s room, you can toss in a cut-up apple too.
- Take two pieces of heavy-duty aluminum foil, butter one side, or spray with cooking oil, and cover that breast completely.
- Place the pan in the oven and set your timer. Lift the foil and baste the turkey about once an hour.
- Be sure you figure cook time at about 15 minutes per pound, and remove the foil about an hour before the turkey should be done. Baste the breast again so it will brown nicely. You can also turn the turkey on each side for about 15 minutes if you want the bottom/side to be a little more browned.
- Place the meat thermometer into the thickest part of the thigh, but not touching the bone, and when the internal temperature reaches 160°-165°, remove the roasted turkey from the oven. The turkey will continue to cook after it comes out of the oven. Let the roast turkey rest for at least half an hour before you slice it.


A lot of experts will tell you not to baste the turkey because every time you open the oven door, you lose heat, so the turkey takes longer to get done. Maybe it does.
But I baste every year, and as long as you don’t overcook the turkey, then it’s not a problem. I like how it helps the skin get nice and golden brown and slightly crispy—perfect roast turkey.
FAQs
What’s the rule of thumb for turkey size?
Generally, aim for about 1.5 pounds of turkey per guest. This will leave you with some lovely leftover turkey for sandwiches and turkey pot pie.
Can I use a frozen turkey?
Absolutely, just be sure to allow extra time for thawing in the refrigerator. It usually takes a few days for a frozen turkey to thaw completely.
How to make turkey gravy?
Oh, we’re glad you asked! Save those turkey drippings and follow this recipe for the best turkey gravy you’ve ever had!
So, there you have it! Your roadmap to the perfect Thanksgiving turkey, complete with moist and juicy meat, crispy skin, and all the wonderful flavors of the holiday.
Enjoy it with your favorite sides like Southern green beans and cranberry sauce for a holiday meal that’s truly special.
More from Southern Food and Fun
For more ideas and recipes, see our Southern Thanksgiving Menu. And don’t forget about the Thankfulness Tablecloth!
If you make this recipe, please leave a comment and ⭐️⭐️⭐️⭐️⭐️ below!
Join Southern Food and Fun Community group
and Southern Potluck group!
And please follow us on social media:
Roast Turkey Recipe
Ingredients
- 1 20 lb. turkey
- Herb butter
- 2 cups turkey stock
- Assorted herbs: rosemary, sage, thyme
- 1 onion, quartered
- 2 carrots, chopped
- 1 celery rib, chopped
- 2 lemons
- 1 apple
- Turkey Brine
Instructions
Note about timing
- A frozen turkey will take at least 3 days to thaw out in the refrigerator, then a day to brine and a day to sit in the refrigerator after brining. Plan your cooking time far enough in advance that you can let the turkey sit out for at least an hour before roasting, and half an hour to an hour after roasting. If using a pre-basted turkey, decrease the amount of salt in the brine and the brining time, otherwise the turkey will be too salty. If you've brined the turkey overnight, remove it from the containerand pat dry all over with paper towels. Now let the turkey sit, uncovered, on a cookie sheet or even in the roasting pan for several hours or overnight in the fridge. This helps to dry the skin so it will get nice and crispy, while the meat stays moist from the brine solution. If you don't have time for this step then just be sure to get the turkey as dry as you can with paper towels.
Cooking the turkey
- Position the oven rack on the lowest setting and preheat the oven to 325°.
- Place the turkey in a large roasting pan with a rack and then tuck the wing tips underneath the back of the turkey.
- Tie the legs together with twine or tuck them under the little piece of skin at the end of the turkey. Then rub the herb butter all over: top, bottom, legs, sides, and carefully underneath the breast skin. When trying to spread the butter underneath the skin, you have to break the membrane holding the skin to the flesh. Gently press your fingers under it and it will break.
- You don’t need to salt the turkey if you’ve brined it, but you can grind a little fresh pepper if you like.
- Pour a couple of cups of stock or broth in the bottom of the pan and place a few herbs and vegetables inside the turkey: rosemary, thyme, sage, onions, carrots, celery.
- Add two lemons, halved, and squeeze the juice inside the turkey cavity then throw the lemon halves in there also. If room, you can add a cut-up apple.
- Take two pieces of heavy duty aluminum foil, butter one side or spray with cooking oil, and cover that breast completely.
- Slide the roasting pan onto the lowest oven rack and close the door.
- After one hour, baste the turkey with some of the juices from the pan, lifting up the foil to baste underneath.
- Continue basting every hour but no sooner than that.
- Calculate cooking time at about 15 minutes per pound, and remove the foil about an hour before the turkey should be done. Baste the breast again so it will brown nicely.
- If your turkey is not too large to handle safely, then you can turn it on each side for 10-15 minutes to brown underneath the legs.
- Place the meat thermometer into the thigh at the thickest part, but not touching bone, and when it reads 165°, remove the turkey from the oven. Let it rest for at least half an hour before you slice it.
Nutrition
UPDATE NOTES: This post was originally published November 18, 2011, and on October 11, 2023, was updated with one or more of the following: step-by-step photos, video, updated recipe, new tips.


Actually I will use the gremolata on other dishes too from now on. And last – I used mashed potatoes (as I did not have polenta) it worked perfect. Thank you for the great recipe.
Great recipe and also very detail steps. I turn the turkey upside down to prevent the breast from drying out.
Great article.
Raj
Great recipe and also very detail steps. I turn the turkey upside down to prevent the breast from drying out.
Great article.
Raj
Great tips! I hope you and your family had a wonderful Thanksgiving!
Great tips! I hope you and your family had a wonderful Thanksgiving!
Beautiful Bronze Bird! Although my daughter is often in the kitchen with me, I know the day will come when I’ll have to give her the step by step on roasting a turkey…I’m so printing this out for that time! 🙂 Thanks
Beautiful Bronze Bird! Although my daughter is often in the kitchen with me, I know the day will come when I’ll have to give her the step by step on roasting a turkey…I’m so printing this out for that time! 🙂 Thanks