This post may contain affiliate links. Please read our disclosure policy.

Learn how to cook a turkey that will be the star of your Thanksgiving dinner. Our comprehensive guide covers fresh vs. frozen options, brining methods, thawing times, cooking techniques, and storage tips to make your holiday cooking stress-free and delicious.
Unlock the secrets to the perfect turkey, from selecting the best type to brining, thawing, cooking, and storing. Your best Thanksgiving turkey recipe starts here.
Your ultimate guide to a perfect Thanksgiving turkey
Thanksgiving is one of those holidays that centers around good food, family, and a mouthwatering turkey.
Whether it’s your first time cooking turkey or you’re a seasoned pro looking for new tricks, we’ve got you covered.
This guide will walk you through every aspect, from choosing between a fresh or frozen turkey to checking that all-important internal temperature for perfectly cooked meat.
Grab your apron and meat thermometer, and let’s make this year’s bird the best one yet!
Table of contents
Fresh turkey vs. frozen
Fresh or frozen, organic or wild—know what you’re putting on your Thanksgiving table.
Frozen turkeys
- Self-Basting: Pre-infused with a solution to keep the meat moist. Less work for you.
- Heritage: Slow-growing, traditional breeds that are raised antibiotic-free. These birds are all-natural and contain no additives or injected solutions. Richer, more robust flavor.
Fresh turkeys
🦃 Heritage: Slow-growing, traditional breeds that are raised antibiotic-free (look for the USDA Process Verified seal) and sold fresh or frozen. These birds are all-natural and contain no additives or injected solutions.
They are typically smaller birds and older at the age of slaughter, which produces sturdier meat and a richer, more robust flavor.
🦃 Organic: This may be the only turkey that you can actually trust has not received antibiotics.
The rules are still iffy, so look for the accompanying USDA Process Verified seal, which means the agency has performed inspections to verify that the producer is doing what it says it is.
These birds are fed organic feed that is non-GMO. Great for a natural taste.
🦃 Natural: Minimally processed, no artificial elements. Good for first-time turkey cooks.
🦃 Free-Range: Allowed outdoor access, generally more flavorful.
🦃 Kosher: Salted and processed under strict religious guidelines. Comes pre-brined.
Antibiotics in turkeys
Deciphering food labels can feel like you’re reading a foreign language sometimes, especially when it comes to buzzwords like “antibiotic-free,” “no antibiotic residues,” and “no growth-promoting antibiotics.”
Here’s the real dish on these labels so you can shop smarter and feel confident in your choices.
❎ Beware of these tricky labels
- First off, “antibiotic-free” and “no antibiotic residues” are terms that aren’t even approved by the USDA.
- So, if you spot them on your turkey label, proceed with caution. It’s important to note that any animal given antibiotics has to go through a government-required withdrawal period to make sure there are no residues left.
- Basically, if you see these terms, it doesn’t give you much concrete information about antibiotic usage.
❎ The misleading magic of “no growth-promoting antibiotics”
- Sure, it sounds good, but it’s not as wholesome as it seems. According to FDA guidelines, using antibiotics just for the purpose of making animals grow bigger is already not allowed.
- This label isn’t telling you anything groundbreaking; it’s more or less a given.
❎ The loophole you should know about
- The catch here is that animals with the “no growth-promoting antibiotics” label could still have been administered antibiotics but for disease prevention.
- And that’s a concern, y’all because overuse of antibiotics for this reason can contribute to antibiotic-resistant bacteria, a problem nobody wants on their dinner plate.
❎ Don’t be fooled by “natural” and hormone claims
Now let’s talk about those “all-natural” and “raised without hormones or steroids” claims.
- These phrases might evoke images of happy, healthy animals, but they’ve got nothing to do with antibiotic use. In the world of meats and poultry, “natural” simply indicates minimal processing and a lack of artificial ingredients.
- As for turkey, hormones and steroids are already off-limits in production, so these labels aren’t giving you any extra assurance.
Know before you go
In short, it’s all about:
- Being cautious with non-USDA-approved terms like “antibiotic-free” and “no antibiotic residues.”
- Understanding that “no growth-promoting antibiotics” is more marketing jargon than a health guarantee.
- Recognizing that disease prevention can be a loophole for antibiotic use.
- Not letting the terms “all-natural” and “raised without hormones or steroids” mislead you into thinking they imply no antibiotics or better quality.
Wet brine vs. dry brine
- Wet Brine: Soak your turkey in a mixture of cold water, kosher salt, and fresh herbs. Ideal for moist turkey meat.
- Dry Brine: Rub kosher salt and spices directly onto the bird. Perfect for a crispier skin.
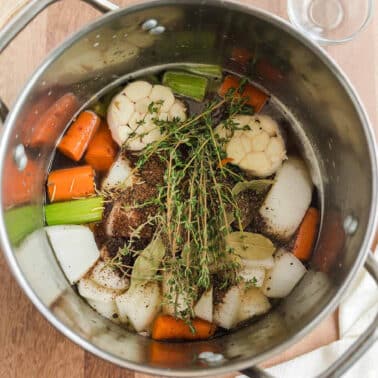
Turkey Brine Recipe
1 day 30 minutes
Get ready for the juiciest, most flavorful turkey ever with this easy turkey brine recipe, using kosher salt, fresh herbs, and dried spices.
How to thaw a turkey
For that perfect turkey, starting with a fully thawed bird is crucial. Here are the different methods and what each involves:
Fridge thawing
Pro Tip: Make sure your fridge is at or below 40°F for food safety reasons.
- Before You Begin: Place the frozen turkey, still in its original packaging, in a plastic bag to prevent any leakage from contaminating other food.
- Location: Put the bagged turkey on a tray with sides and place it at the bottom of your fridge.
- Thawing Time: Allow 24 hours of thawing time for every 4-5 pounds of turkey. So, for a 16-pound turkey, you’ll need a good four days.
Cold water thawing
- Bag It: Make sure the turkey is in a leak-proof plastic bag to prevent cross-contamination and to prevent the turkey from absorbing water.
- Submerge: Place the bagged turkey in your sink or a cooler and submerge it completely in cold water.
- Time and Change: Cold water thawing is faster but requires more attention. You’ll need to change the water every 30 minutes.
- Thawing Time: Expect to allow 30 minutes per pound, so for that same 16-pound turkey, you’re looking at a minimum of 8 hours.
Microwave thawing (this is not a joke!)
Note: This method works best with a small turkey and should only be used as a desperate last resort.
Check your owner’s manual: You’ll want to know the size of turkey that can comfortably fit in there, how many minutes per pound you should set it for, and the proper power level for thawing. Make sure you remove all external packaging and place the bird on a microwave-safe dish to catch any dripping juices.
Based on weight: Generally speaking, you should plan for about 6 minutes per pound. Don’t forget to give it a few turns and even flip it during the process to ensure even thawing
Watch out for overcooking: If your turkey starts to cook instead of just defrosting, give it a time-out for about 5 minutes before you continue.
Midway through, consider shielding the wing tips and drumsticks with a little foil (the USDA says you can do this, but I still wouldn’t! Too traumatized from inadvertent microwave sparks from the early versions.) This helps to keep those smaller parts from cooking while the rest of the bird catches up.
Warning: If using the cold-water or microwave method, you should cook the turkey immediately after thawing.
How NOT to thaw a turkey
When it comes to thawing that Thanksgiving turkey, there are some methods you’ll want to steer clear of.
Trust me, the last thing anyone wants is to ruin the star of the holiday feast.
Definitely don’t do these
- Leaving the turkey out on the counter, in the garage, or on the back porch to thaw is a big no-no.
- Using a brown paper grocery bag or a plastic garbage bag as your thawing method? Not a good idea.
- As tempting as it might be, don’t even think about using the dishwasher to thaw your turkey—yes, folks have tried it!
Basically, if it’s not the fridge, cold water, or the microwave, it’s not an approved method for thawing.
How long to thaw a turkey
Thawing a turkey requires planning and patience, but a well-thought-out timeline can save you from last-minute stress.
Fridge Thawing Timeline
- 16-pound turkey: Start thawing four days before cooking.
- 20-pound turkey: Start thawing five days before cooking.
- 24-pound turkey: Start thawing six days before cooking.
Cold Water Thawing Timeline
- 16-pound turkey: Minimum of 8 hours; start on Thanksgiving morning if you’re cooking in the afternoon.
- 20-pound turkey: Minimum of 10 hours; start very early Thanksgiving morning.
- 24-pound turkey: Minimum of 12 hours; start the night before or very early on Thanksgiving Day.
Keep these timelines in mind and adjust them based on the size of your bird. The aim is to eliminate any Thanksgiving Day surprises when you realize your turkey is still part rock-hard, part frozen!
By paying attention to the thawing process, you’re already halfway to that delicious, juicy turkey that will be the talk of your Thanksgiving dinner.
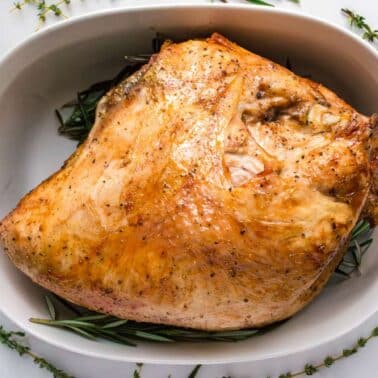
How to cook a turkey
Cooking turkey doesn’t have to be a one-size-fits-all affair. Here’s a rundown of different ways to cook a turkey to make your bird a gorgeous centerpiece of the table.
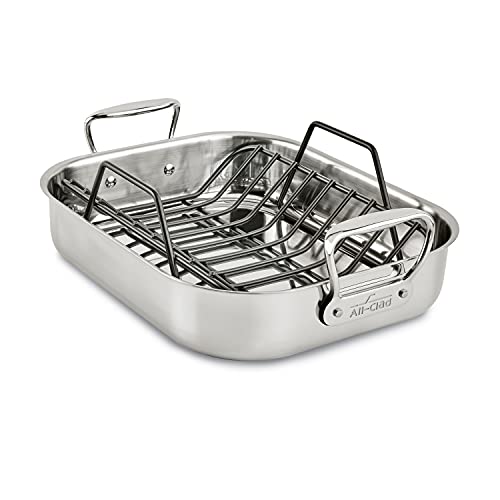
Roasting
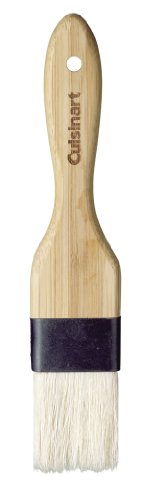
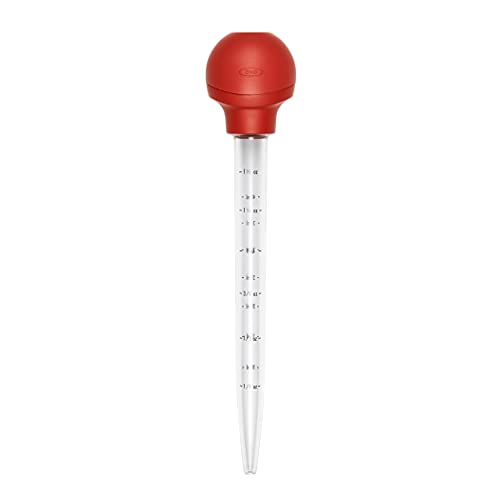
The Basics: Place your turkey on a roasting rack inside a roasting pan. You can use an oven bag for a self-basting effect and aluminum foil to tent the bird if it’s browning too quickly.
- Temperature: Preheat oven to 325°-350° F (follow recipe instructions.)
- Basting: Optional, but helps create juicy meat and crispy skin.
- Oven Time: Roughly 13 minutes per pound, depending on the size of the turkey.
Deep-Frying
Safety First: Always follow safety guidelines. Do this outdoors and away from any structures.
Smaller turkeys work best for deep-frying. Do not stuff a turkey that you intend to fry.
Actually, we would say do not stuff ANY turkey cooked with ANY method!
- Turkey: Should be completely thawed and 8-10 pounds.
- Oil: Use oil with a high smoke point, such as peanut, refined canola, corn oil, rice oil, and sunflower.
- Cook Time: Generally 3-4 minutes per pound at 350°F. Some recipes will specify 325°F or 375°F.
Smoking
Follow a proven recipe for best results. We recommend a smaller turkey for smoking, no more than 12-15 lbs.
- Wood Chips: Use hickory, cherry, or apple wood for the best flavors.
- Temperature: Maintain a smoker temperature of around 225-250°F.
- Time: Expect about 30-40 minutes per pound.
Grilling
We love this recipe for grilled turkey. This method is a little quicker than smoking.
- Type of Grill: Charcoal or gas, though charcoal often imparts a smokier flavor.
- Temperature: Maintain a grill temperature of around 425-450°F.
- Time: Cooking time is roughly the same as roasting, about 15 minutes per pound.
- Tip: Place the turkey in a pan to catch drippings, perfect for gravy!
Spatchcocking
This is our favorite way to roast chicken in the oven and works great with turkey too.
You can spatchcock the turkey yourself, or have your butcher do it for you.
- What is it: This involves removing the turkey’s backbone and flattening the bird.
- Benefits: Cooks evenly and in less time.
- Oven Temperature: Preheat to a higher temperature, around 450°F. You’ll turn the heat down during the cooking process.
- Time: About 6 minutes per pound.
Each cooking method has its merits and can yield a mouthwatering turkey.
Whether you’re looking for the easiest way to achieve a juicy turkey or you’re an adventurous cook seeking to try something new like spatchcocking, the key is to monitor internal temperatures with a reliable instant-read thermometer.
Trust us, your Thanksgiving guests will thank you!
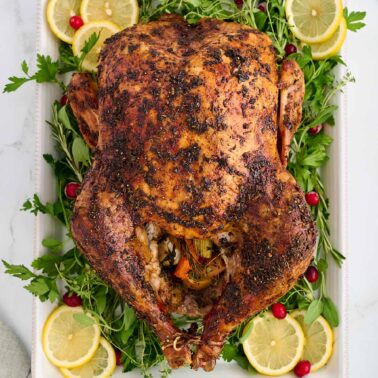
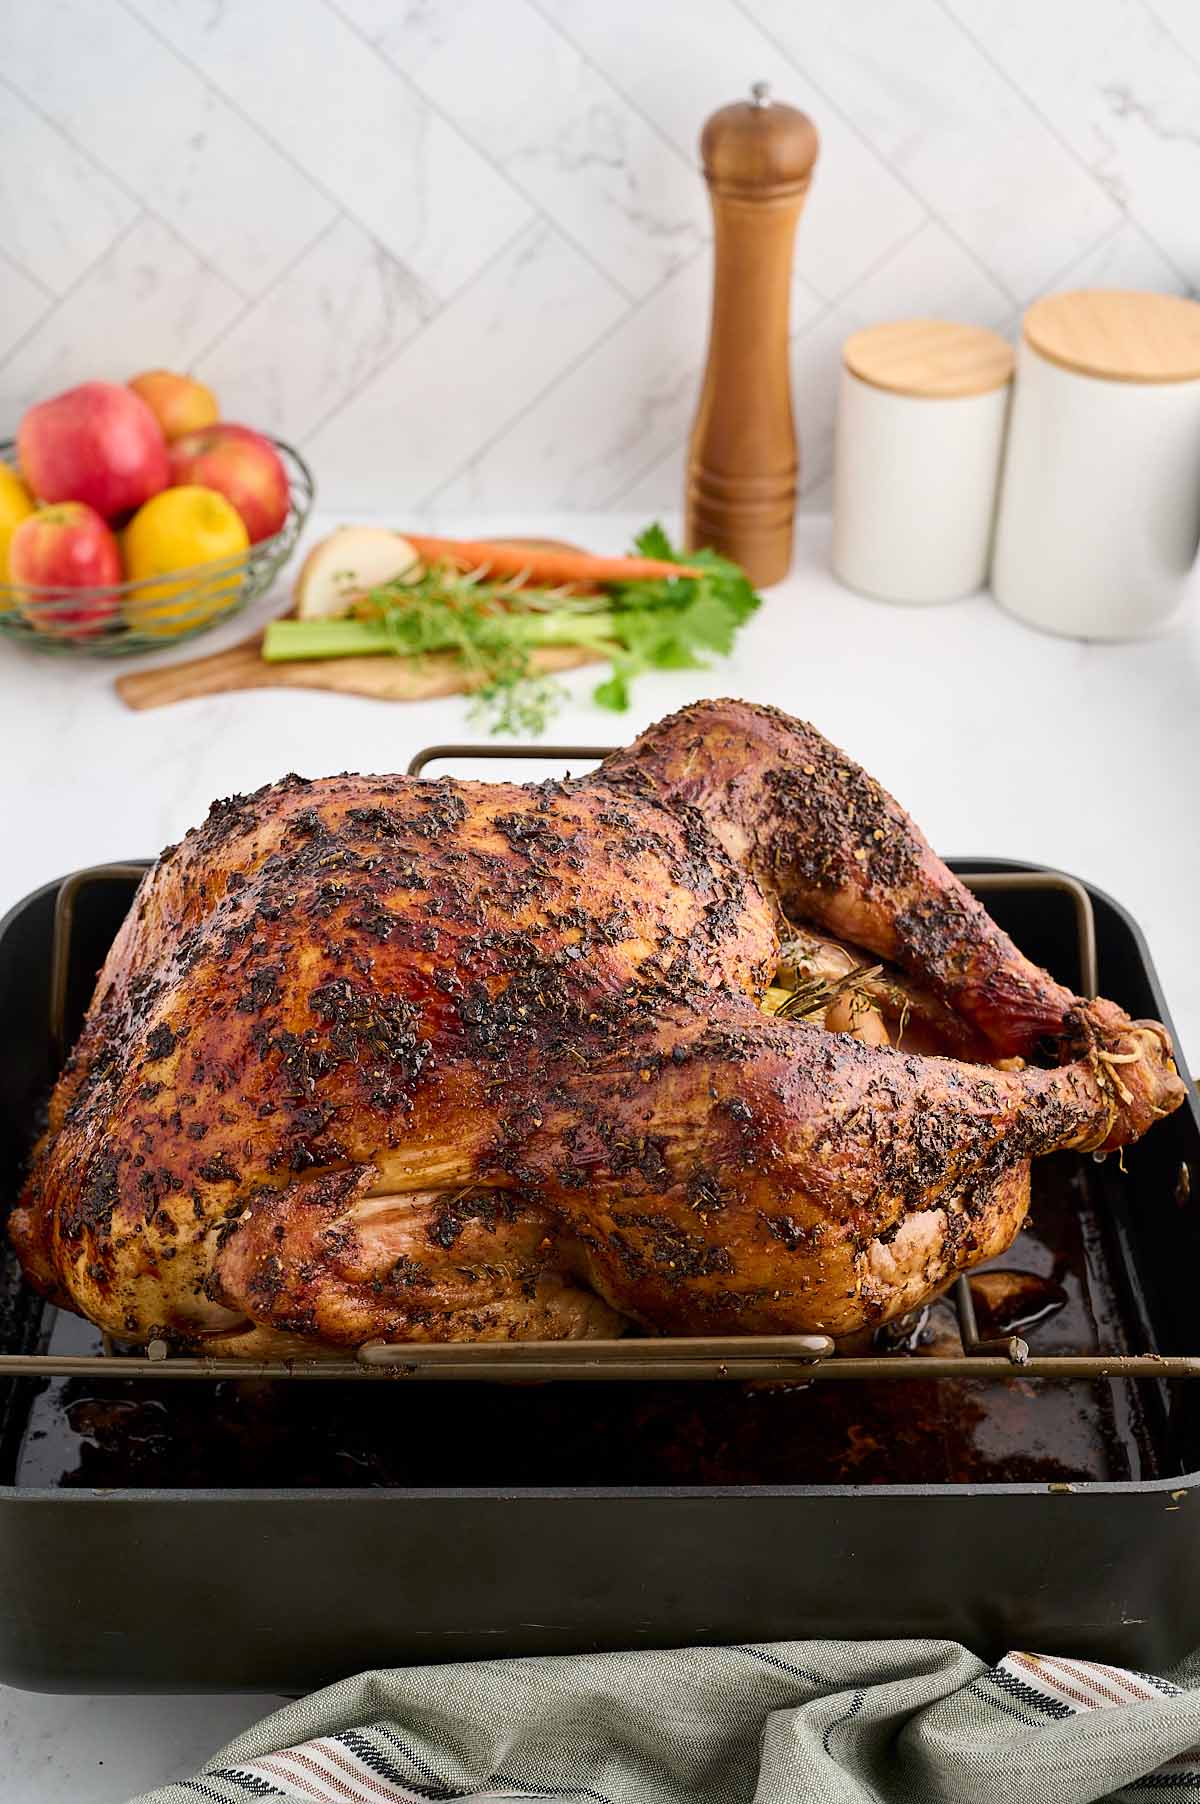
Roast Turkey Recipe
4 hours 30 minutes
Roast turkey made simple and delicious! This foolproof recipe delivers juicy meat and crispy skin for a perfect centerpiece.
What temp is turkey done
According to the USDA, a turkey is safe to eat when cooked to an internal temperature of 165°F, as measured with an instant-read meat thermometer.
You should check the temperature in the innermost part of the thigh and wing and the thickest part of the breast.
Even if your turkey has a pop-up timer, we recommend using a thermometer to check for doneness.
A lot of times, the turkey is done before the timer pops up, and this leads to the dry, tasteless turkey that many of us remember from years ago.
Keep in mind that meat continues to cook after you remove it from the oven, known as carryover cooking.
If your thermometer shows a temperature just a few degrees below the target, it’s usually safe to take the turkey out of the oven because it will reach the desired temperature as it rests.
By checking multiple spots with an instant-read thermometer, you ensure that the entire turkey, from white meat to dark meat, is perfectly cooked.
This is a good rule of thumb to follow for the juiciest, most delicious Thanksgiving dinner.
How to store turkey leftovers
Best safety practices say that turkey meat should be refrigerated within two hours of cooking.
Divide your leftovers into smaller containers, and don’t try to refrigerate a whole, hot turkey.
- Refrigerator: Turkey meat can last 3-4 days when stored in a sealed container.
- Freezer: For longer storage, wrap turkey slices in aluminum foil and place them in an airtight container or for best results, use a vacuum sealing machine. Store for up to 2-6 months.
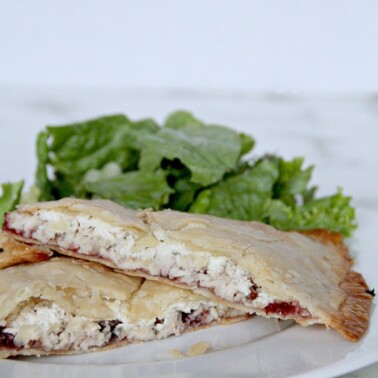
Leftover Turkey Hand Pies with Cranberry and Boursin
30 minutes
Leftover Turkey — Use all your leftovers to make these delightful hand pies: pie crust dough, turkey, cranberry sauce, and just add a little Boursin cheese.
From choosing between a wet or dry brine to calculating the proper cooking time, we’re making sure you know how to cook a turkey and all the relevant aspects that are involved.
Whether you’re cooking turkey for the first time or the fiftieth, this is your one-stop resource for a juicy, flavorful, and perfect Thanksgiving turkey.
Enjoy your holiday feast!
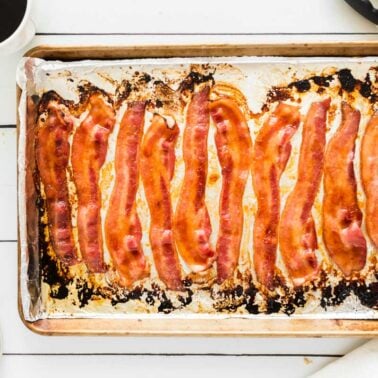
Thanksgiving Favorites
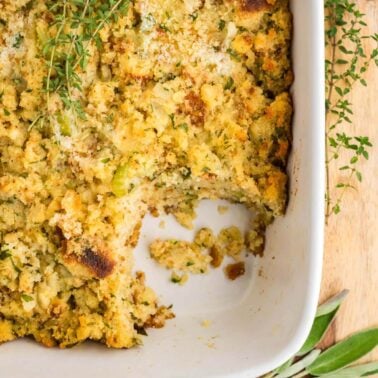
Southern Cornbread Dressing
1 hour 30 minutes
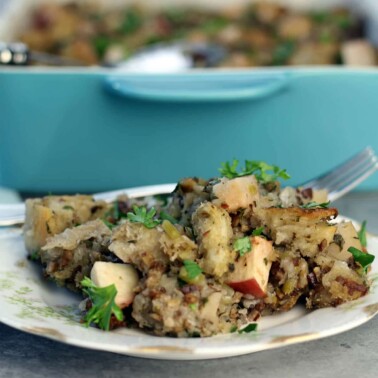
Apple Sausage Stuffing
2 hours 30 minutes
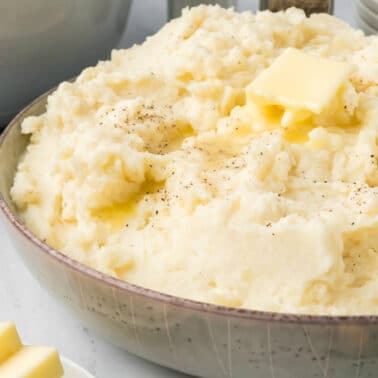
Southern Mashed Potatoes
50 minutes
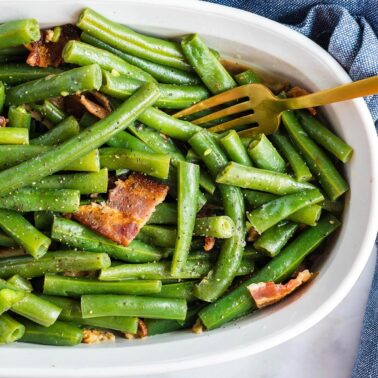
Old-Fashioned Green Beans
50 minutes
Check out our Holiday Recipe Collection!
Some helpful tools
Disclosure: Some of the links below are affiliate links. This means that, at zero cost to you, we will earn an affiliate commission if you click through the link and finalize a purchase.