Southern Cheese Straws Recipe makes crispy, buttery, homemade cheese crackers and it’s so easy! Keep them in the freezer for surprise guests.
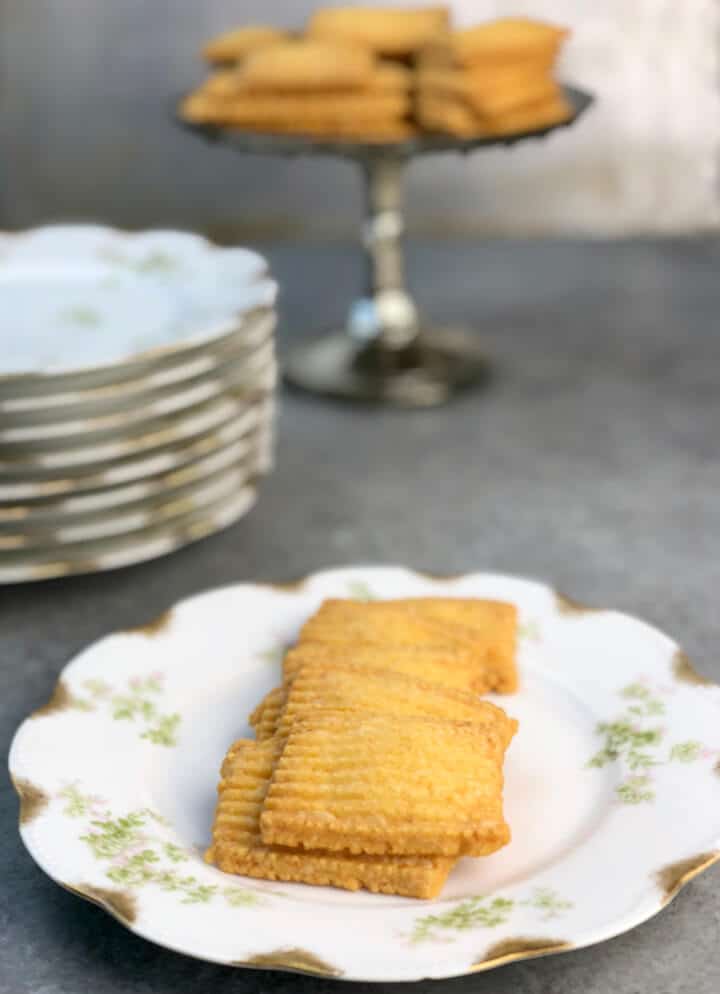
If you attend a bridal or baby shower in the South, or a church dinner on the grounds, or just about any type of party, you are going to encounter cheese straws.
How can anyone resist the crisp snap of baked sharp Cheddar cheese?
I cannot, so I don’t make these very often unless there will be people to help eat them! And because we all love cheese, usually when cheese straws are on the menu we also have my famous Homemade Pimento Cheese.
The best cheese straws recipe comes from my trusty Taste of Georgia cookbook. It’s simple and delicious, as the best recipes usually are.
And, this cheese straws recipe is so easy that anyone can make them. I almost always have some dough in the freezer so if having an impromptu gathering, I can just slice and bake a few.
Tools for making Southern cheese straws
I highly recommend using a food processor to make cheese straws. I have this one from Cuisinart and love it because it holds 14 cups and is so powerful.
And it comes with two smaller work bowls for when you don’t need the big bowl.
I also recommend a cookie press, but you need a good one. I’ve bought cheap ones before and couldn’t get the dough to press out.
Ingredients
- Butter – use good quality unsalted butter
- Flour – I recommend White Lily all-purpose
- Cheddar Cheese – good quality cheese is a must – I use Cracker Barrel
- Cayenne Pepper
How to make Southern cheese straws
Step 1. Start by grating the cheese in the food processor.
Then remove the cheese and place 3 cups of all-purpose flour in the food processor with 1/2-1 teaspoon Cayenne pepper.
Step 2. Pulse a few times until the pepper is mixed well with the flour. Then add the cheese back in, along with 2 sticks diced, unsalted butter.
**Cook’s Tip: The butter should be cold not room temperature.
Step 3. Now just pulse or run the processor a few times until the butter and cheese are mixed into the flour and dough starts to form.
You want a ball of dough to form so it will take a couple of minutes.
**Cook’s Tip: If you don’t have a food processor, then just use a fork and your hands until everything is very well mixed.
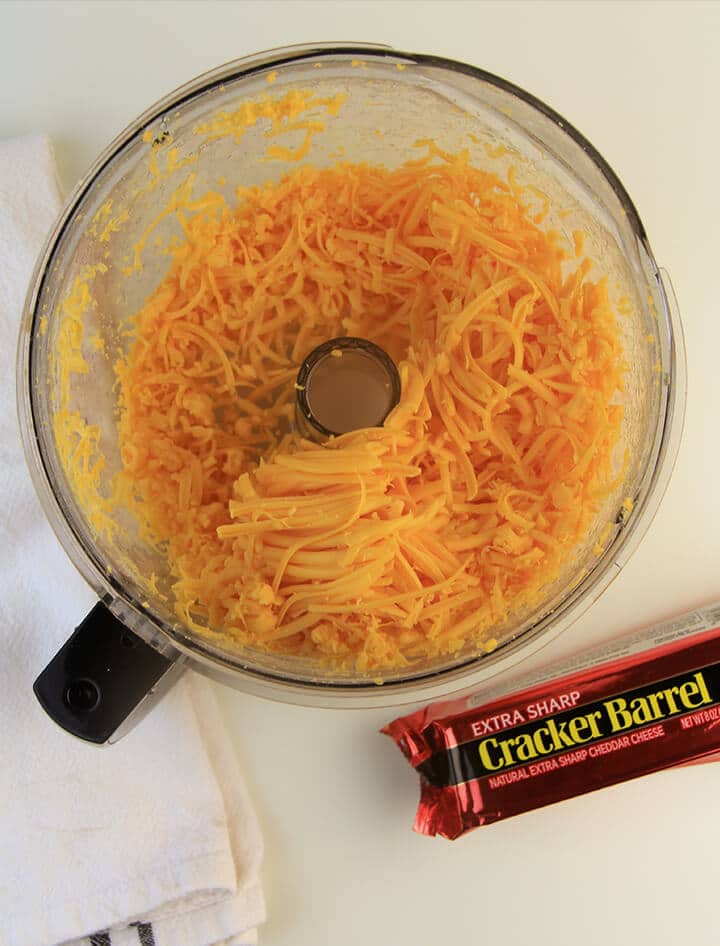
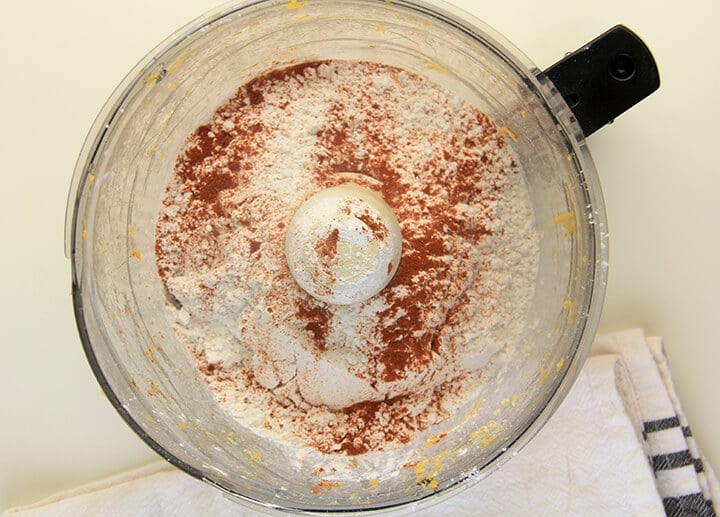
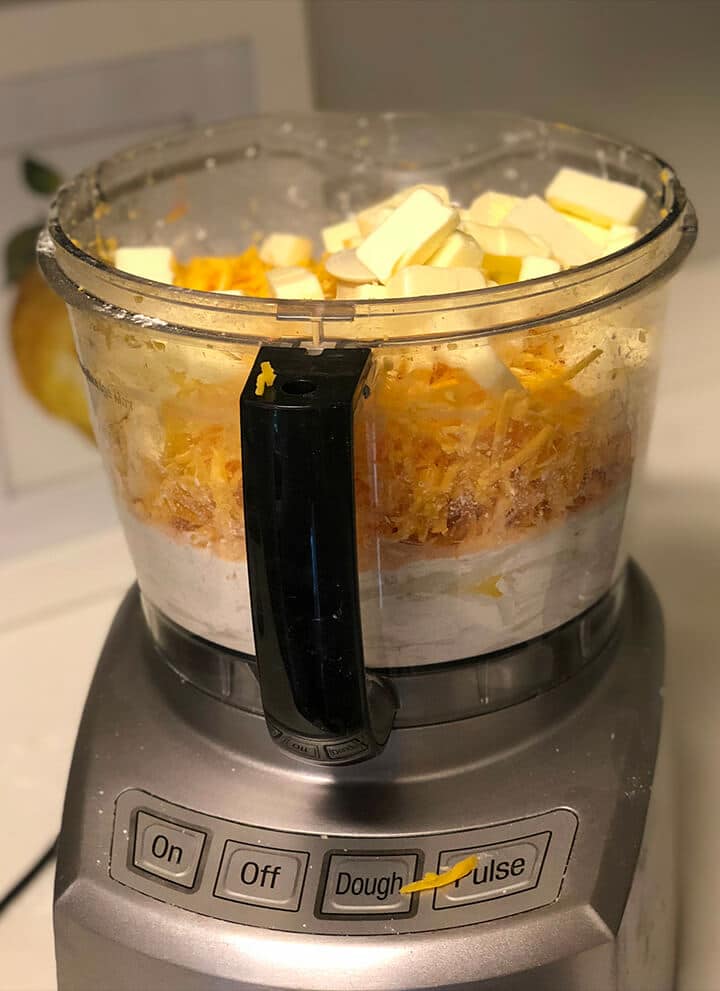
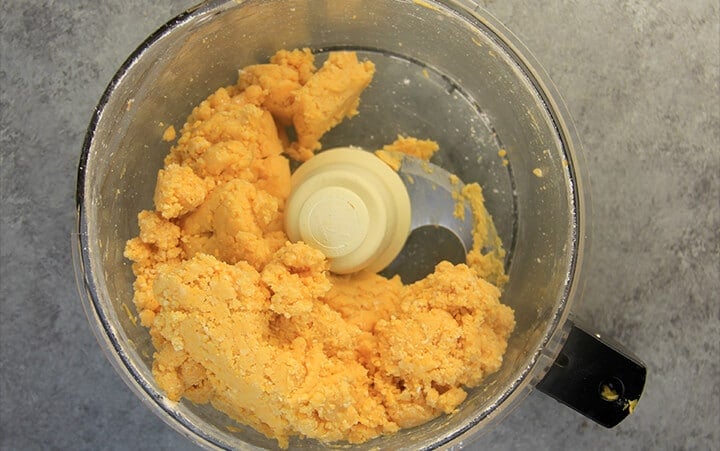
Step 4. You can either press the dough through a cookie press, or chill and slice into cookies.
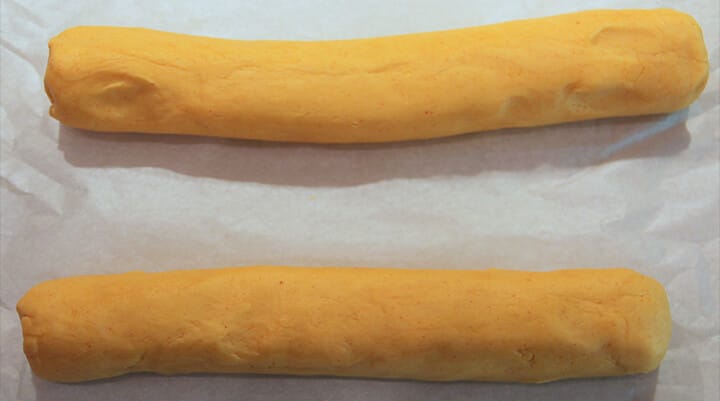
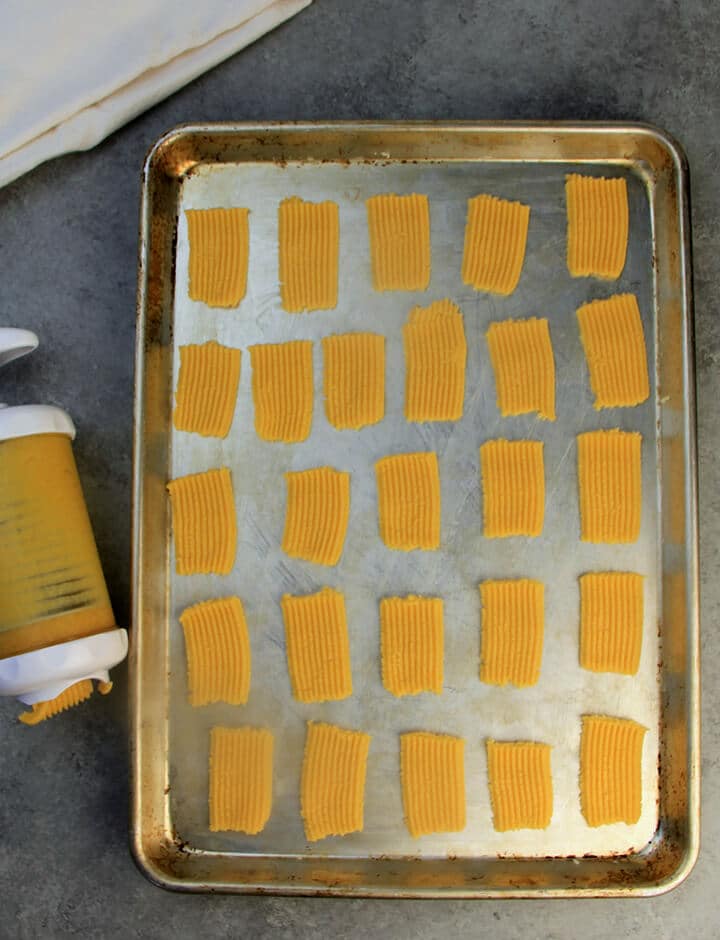
**Cook’s Tip: If you want to bake immediately, then cookie press is the way to go. If you want to make the dough ahead of time or if you don’t have a cookie press and want to slice, then you’ll need to chill the dough for at least thirty minutes.
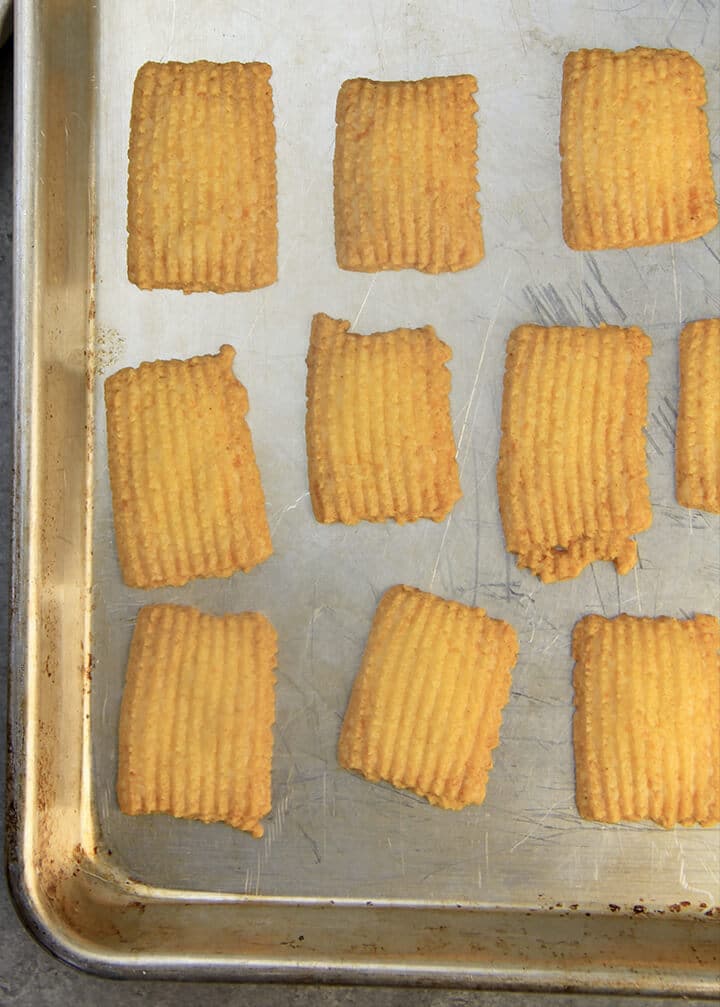
Step 5. The cheese straws won’t spread too much, so you can bake relatively close together. Place your pressed or sliced cookies on a buttered baking sheet and bake at 375° for 14-15 minutes, until they start to turn a nice golden brown.
**Cook’s Tip: They will get a little crispy and be perfect!
Pro tip: How to make cheese straws without a cookie press
I don’t always use a cookie press to make these cheese straws because I’ve had a difficult time finding one that’s sturdy enough for this thick dough.
I have a cookie press from Williams Sonoma that works ok and one from Pampered Chef that I like a little better. And if you get a good cookie press, you can use it to make almost any cookie, like these easy Sugar Cookies.
To make cheese straws without a cookie press, just roll the dough into small logs, chill for about half an hour, then slice and bake. They won’t be as pretty as the ones made with a cookie press but they will taste exactly the same!
Make-ahead tips for cheese straws
- If having a party, you can make the dough up 3-4 days in advance. Just roll into logs, wrap in wax paper, and chill. The dough will keep for several days and you can bake as needed.
- Freeze the dough if you want to have it on hand when you have impromptu guests. I always keep some frozen cheese straw dough in my freezer! Wrap in wax or parchment paper, then wrap again in foil, then place in large freezer bags. The cheese straw dough will keep in the freezer for 3-4 months.
- You can also freeze the cheese straws after you’ve baked them. Place the crackers on a baking sheet for a couple of hours until frozen, then place them all in a freezer bag. Freezing first on the baking sheet prevents them from sticking together in the bag.
More great party foods
We love serving these cheese straws for parties like bridal showers or luncheons. To round out the menu, we suggest adding simple foods like Chicken Salad, Cream Cheese Pound Cake, Pimento Cheese sandwich squares, Cucumber Tea Sandwiches, and of course, you can never go wrong with Southern Pecan Divinity Candy.
More from Southern Food and Fun
If you make this recipe, please leave a comment and ⭐️⭐️⭐️⭐️⭐️ below!
Join Southern Food and Fun Community group
and Southern Potluck group!
And please follow us on social media:
Southern Cheese Straws
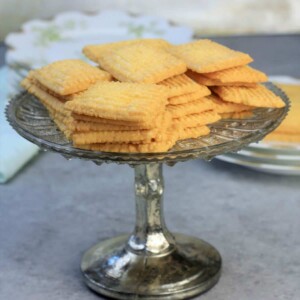
Ingredients
- 1 pound sharp Cheddar cheese
- 3 cups all-purpose flour
- 2 sticks unsalted butter, diced
- 1/2-1 teaspoon Cayenne pepper
Instructions
- Preheat oven to 375. Butter two large baking sheets. Grate cheese in bowl of food processor and remove to another bowl.
- Place flour and Cayenne pepper in food processor and pulse to combine. Add cheese and butter to food processor and run until well mixed and a ball of dough forms. If you don’t have a food processor, just use a fork and stir until well mixed.
- Press dough through cookie press onto cookie sheets. Bake at 375 for about 14 minutes or until golden brown.
- You can also wrap the dough in wax paper and chill for thirty minutes, then slice thinly (about 1/4 inch) into cookies and bake. Or you can freeze the dough until needed.
Notes
Tips for Making Cheese Straws
- Use cold, unsalted butter.
- If you don’t have a food processor, then use a fork and your hands until everything is very well mixed.
- Dough can be made 3-4 days in advance. Roll into logs, wrap in wax paper, and chill.
- If you want to bake immediately, then cookie press is the way to go. If you don’t have a cookie press and want to slice, then you’ll need to chill the dough for at least thirty minutes.
How to Freeze Cheese Straws
- Dough: Wrap logs in wax or parchment paper, then wrap again in foil, then place in large freezer bags. The cheese straw dough will keep in the freezer for 3-4 months.
- You can also freeze the cheese straws after you’ve baked them. Place the crackers on a baking sheet for a couple of hours until frozen, then place them all in a freezer bag. Freezing first on the baking sheet prevents them from sticking together in the bag.
Nutrition
Update Notes: This post was originally published October 28, 2013, and on October 2, 2018, was updated with one or more of the following: step-by-step photos, video, updated recipe, new tips.
This post is part of my favorite Southern Foods at Home collection.





Better have a big strong processor. Burned mine up
I’m so sorry that happened, Barbara! You may have left the processor running too long once the dough came together. Once it makes a ball, you can remove it.
What kind of cookie press did you use to make the flat cheese straws. Where can I get one?
I have one from Pampered Chef that works well. Also one from Williams Sonoma. Either can make the flat press or other designs.
Fante’s Nana Anna’s Easy Cookies Cookie Press Is the best cookie press I have found.
I will have to look for this one. Thanks!
@Dianne,
I have one but half of the dough ends up on the wrong side of the disk
I have to take it apart put the dough back on the right side of the disk
My cheesestraws always end up flat melted sheet, why? I’m using GFflour and store bought shredded cheese.
It’s probably the flour and cheese that you’re using. I’m sorry but I have not tried a gluten free option for these so I don’t really have a helpful suggestion. I would just play around with some different gluten free options — but definitely grate your own cheese and use a high quality Cheddar!
It could be because you are using GF flour and store-bought shredded cheese. The recipe calls for regular flour and you should almost always grate your own cheese for best results.
I added a teaspoon of paprika , 1/2 t of white pepper, 1/2 t garlic powder, 1t cayenne
Yum!
Can I roll this out and cut with a cookie cutter ?
I would not do them that way but I don’t see why you couldn’t as long as you roll pretty thin.